
Do you want to make boho-inspired barefoot sandals for summer? This project takes under an hour to complete, and you can get all the materials at your local craft store. We used the Bead Landing brand, but any beading will work.
Things You'll Need
Video of the Day
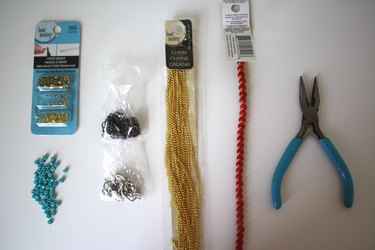
- Approximately 85-inches Gold Chain 243.5 cm
- 6 4 mm jump rings
- Cutting pliers
- Jewelry pliers
- 2-inch eye pins
- Approximately 24 Beads
- 8.5 mm lobster claw clasps
Video of the Day
Note: This is for a size 7 foot. You may need more or less gold chain depending on your foot size.
Tip: Size your chain by wrapping it around the outline of the sandal. Starting at your ankle, pull the chain to your bottom of your toe and back to your ankle, then around your ankle two times. This should give you an idea of how much chain you need.
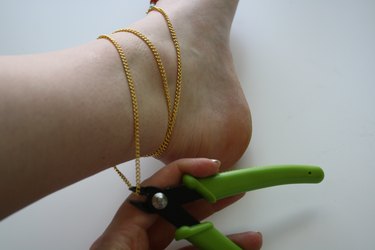
Step 1: Cut the Chain
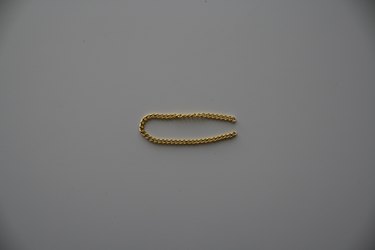
Cut a 4-inch piece of chain using the clippers.
Step 2: Connect the End of the Chains
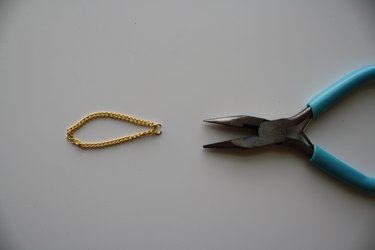
Using a pair of pliers, grasp the jump ring on either side and pull apart in a twisting motion. Slide one link from each end of the chain onto the jump ring. Reverse the twisting motion with your pliers to put the jump ring back together. You should now have a 2-inch loop.
Step 3: Connect the Eye Pin
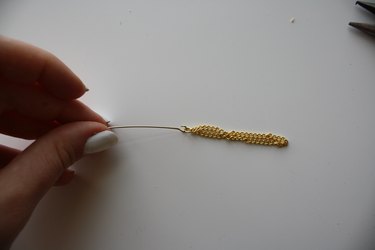
Thread the open end of the eye pin through the jump ring. Close the eye pin similar to the way you closed the jump ring.
Step 4: Lay Out the Beads
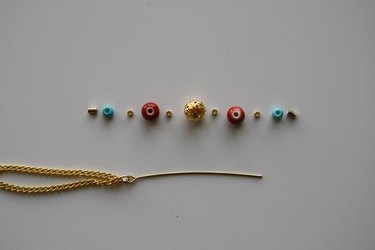
Prepare your design by laying out the beads in whatever design you choose. You can arrange them however you like, but make sure you mimic the pattern on both sandals.
Step 5: Thread the Beads On the Eye Pin
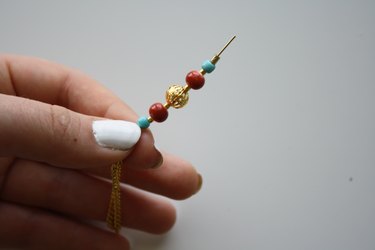
Thread your beads onto the eye pin.
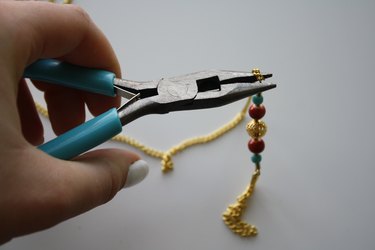
Step 6: Close the Eye Pin
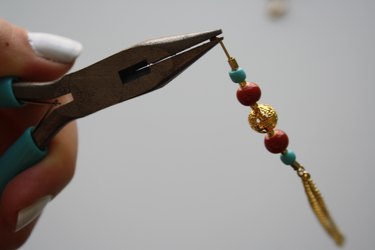
Use your pliers to bend the straight end of the eye pin into a hook.
Step 7: Connect the Eye Pin to the Chain
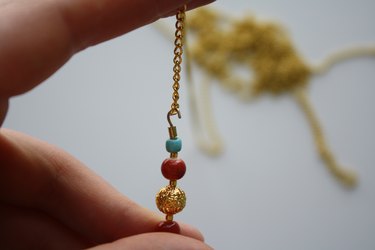
Loop the hook through the end link of your remaining chain.
Step 8: Close the Eye Pin
Close the hook to secure the eye pin to the chain.
Step 9: Wrap the 2-inch Loop Around Your Toe
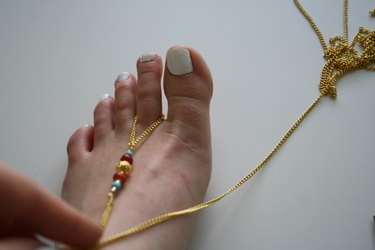
Wrap the 2-inch loop around your toe.
Step 10: Wrap the Chain Around Your Ankle
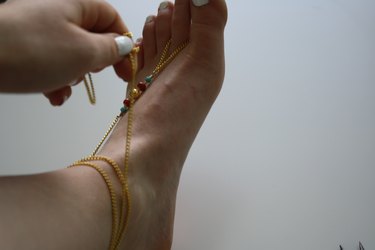
Wrap the chain around your ankle two times and then back to the eye pin.
Step 11: Attach the Chain to the Eye Pin
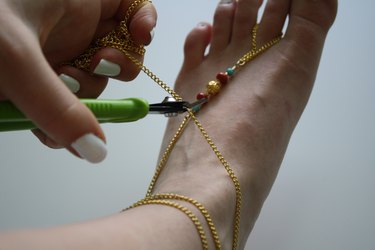
Cut the chain where it meets the eye pin. Use another jump ring (see step 2) to connect the loose chain to eye pin.
Step 12: Cut the Chain in the Back of the Ankle
Cut the chain at the center back of the ankle.
Step 13: Add a Lobster Claw
Connect a jump ring to one raw end of the chain. Add a second jump ring to the other raw end of the chain and add a lobster claw.
Variations

Add a fun twist to this project if you'd like. Use a piece of hemp, braided rope, leather strips, seashells, glass beads, charms or any other jewelry element you have on hand.