This craft project is for the birds — and that's a good thing. Colorful birdhouses liven up the yard while providing a welcome resting stop for our aviary friends. Instead of buying one from the store, make your own birdhouse from an ornamental gourd. It's so fun and easy to make, your creativity will take wings.
Video of the Day
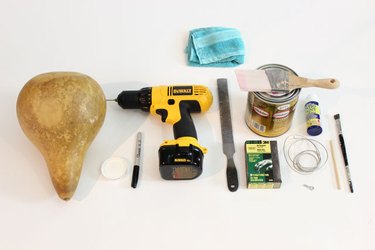
Things You'll Need
2-inch round lid or template for desired hole size
Marker
Drill with 1/8-, 3/16- and 1/16-inch drill bits
Hammer
Rasp
#80 grit sandpaper or medium coarse sanding sponge
15/16-inch eye screw
Damp cloth
Exterior paint
3-inch wide paintbrush
3/16-inch wood dowel, 4 inches long
Outdoor craft paint
Small paintbrush
Wire
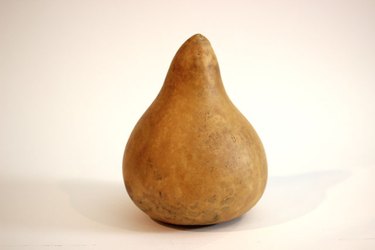
Step 1: Choose a Gourd
The thick-skinned gourds used for making birdhouses are called lagenaria gourds, or more commonly, birdhouse gourds. If you grow them or buy them from the farmer's market, they will take up to a year to dry, so the easiest way to obtain a gourd is to purchase one already dried, cleaned and ready to decorate. They are sold by size, measured by the width. The gourd I used here is 7 inches wide by 11 inches high.
Video of the Day
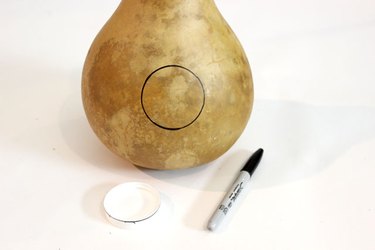
Step 2: Draw the Hole
Draw a circle with a marker in the middle of the widest area of the gourd to indicate where the hole will be. The size of the circle depends on what type of bird you would like to attract. The one pictured is about 2 inches in diameter, which is the size of the lid of a spice jar.
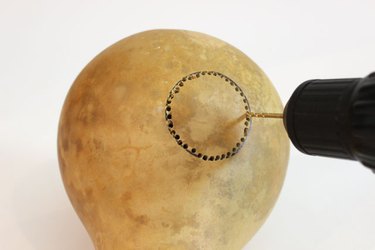
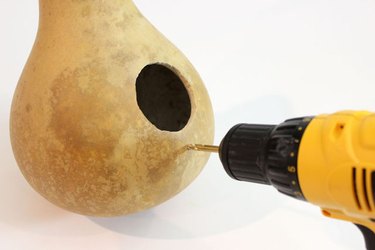
Step 3: Drill Holes
Using a 1/8-inch drill bit, drill small holes around the circle you've drawn. These little holes will weaken the shell to allow you to create the larger opening. You can also use a hole drill bit, but these larger drill bits are difficult to use, as you can lose control of both the drill and the gourd. For a novice woodworker, it's much easier to use this method.
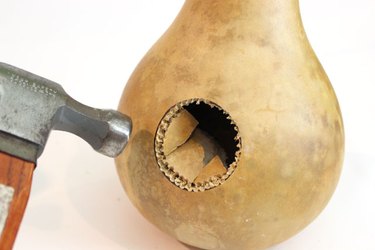
Step 4: Punch out the Hole
Punch the hole in with a hammer. Go ahead and give it a big whack — you will not break the gourd. Only the hole will cave in. Throw away the broken pieces as well as the dried innards of the gourd.
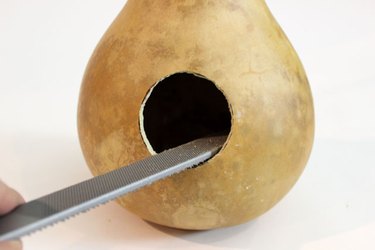
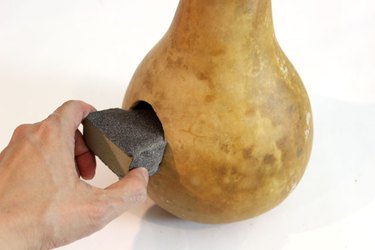
Step 5: Smooth out the Hole
Because the hole you created is uneven, you'll want to smooth out the rough edge with a rasp. A rasp is a large, coarse file, like the ones they would hide in cakes in old prison movies. Go all around the hole with the rasp until it is no longer ragged.
Step 6: Sand the Hole
The rasp chips away at the uneven edges, but you will still need to sand the hole to given it a smooth finish. Use coarse sandpaper or a sanding sponge.
Step 7: Drill a Perch Hole
Using a 3/16-inch bit, drill a small hole about 1 inch below the main opening. I used a 3/16-inch bit because the wood dowel I had for the perch is also 3/16 inch in diameter. If your dowel is a different size, select a corresponding drill bit.
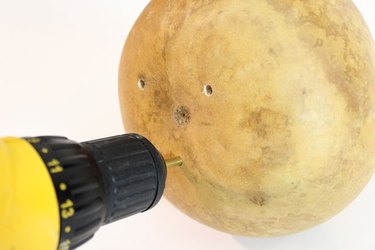
Step 8: Drill Drainage Holes
In case of rain, you don't want the birdhouse to flood — and subsequently rot. Therefore, drill three holes using the 3/16-inch bit at the bottom of the gourd for drainage.
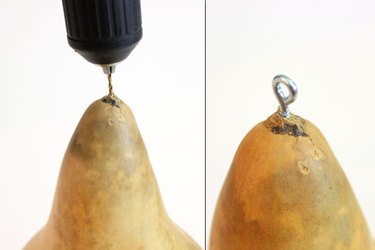
Step 9: Attach an Eye Screw
To hang the gourd birdhouse, insert an eye screw at the top of the gourd. Eye screws come in various sizes. The one used here is 15/16 inch. Drill a starter hole in the gourd with a small 1/16-inch bit to make it easy to turn the eye screw.
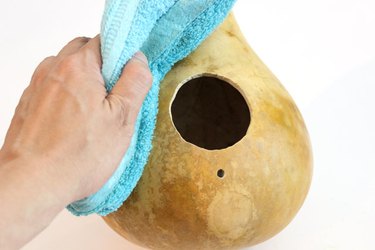
Step 10: Clean the Gourd
Wipe the outside of the gourd with a damp cloth to remove any remaining dirt or dust. Because the gourd I ordered online arrived already cleaned, no additional scrubbing or sanding was necessary. (If your gourd is not clean, sand the surface and wash in a solution of 1 part bleach to 10 parts water. Then rinse with clear water and allow to dry completely.)
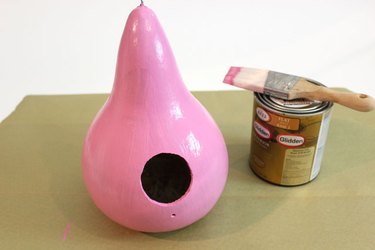
Step 11: Paint the Exterior
Using a 3-inch brush, paint the gourd with exterior house paint, which will withstand the elements. Apply at least two coats for even coverage.
Tip
Paint the top portion of the gourd first so it can sit while the paint dries. Then turn the gourd over and paint the bottom.
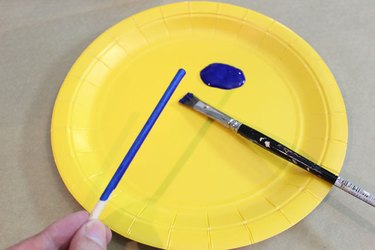
Step 12: Paint the Perch
Use a small brush to apply outdoor paint to the wood dowel.
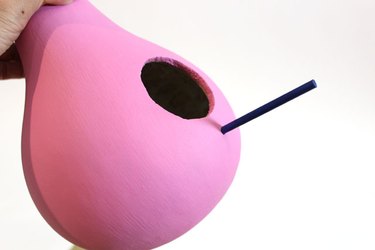
Step 13: Insert the Perch
When the paint on both the gourd and the perch is dry, insert the perch into the small hole in front. It should fit snugly, as the hole and dowel are the same size.
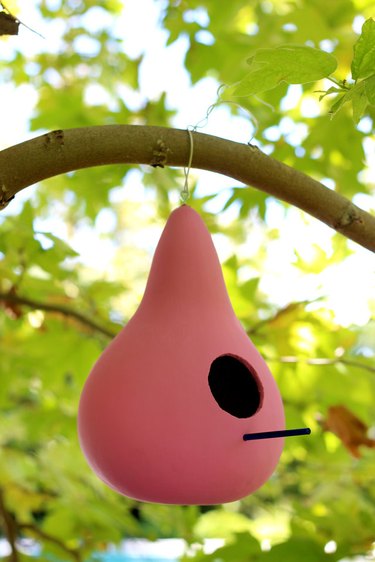
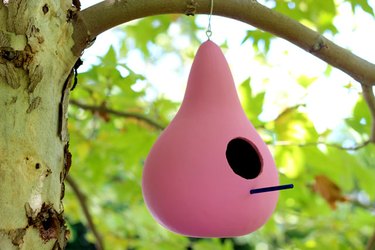
Step 14: Hang the Birdhouse
Thread the eye screw with a wire and tie a knot to make a hanging loop.
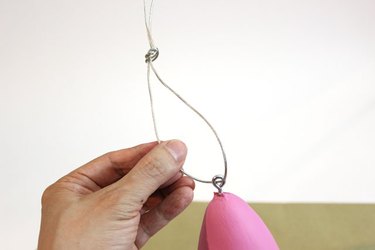
Hang the birdhouse on a tree branch, and get ready to welcome your new neighbors.