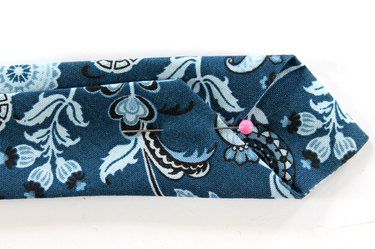
If shopping for the perfect Father's Day gift for that dapper father in your life has you fit to be tied, how about making a new skinny tie for his special day? Popular in the 20s, the 60s, the 80s and today, skinny ties are an affordable way to keep a wardrobe looking chic — and you can even use a "vintage" piece to help construct your latest project. Whether you keep it conservative with a silk fabric or more casual with a cotton print, ties are a great way to personalize an outfit and make a style statement. And when it's handmade with love, it could definitely be one of those ties that bind!

Video of the Day
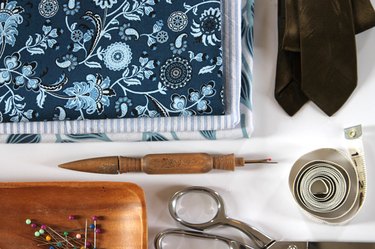
Things You'll Need
Old tie to use for a pattern
Seam ripper
Iron and ironing board
1 yard of fabric
Pins
Sharp scissors
Measuring tape
Sewing machine
Needle and thread
Step 1: Take Apart the Old Tie With a Seam Ripper
Use a seam ripper to deconstruct an old tie with the same dimensions of the new tie you'd like to make. Pay attention to how the old tie was sewn together as you take it apart. This will help you understand the tie making process. Keep all of the pieces to use as the pattern for the new tie.
Video of the Day
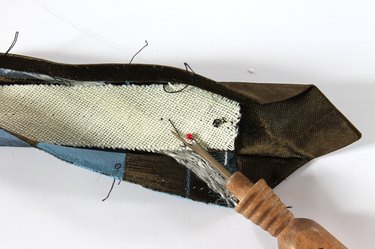
Tip
Instead of buying new cotton-canvas interlining for the tie, you can just reuse the interlining from the old tie. Recycling this piece will save you money and time.
Step 2: Press the Old Tie Parts With an Iron to Create Pattern Pieces
Use an iron to press out all of the wrinkles from the old tie pieces.
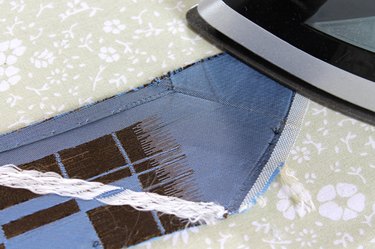
This tie had three pieces: the interlining and two pieces of the outer fabric, which is called the "envelope."
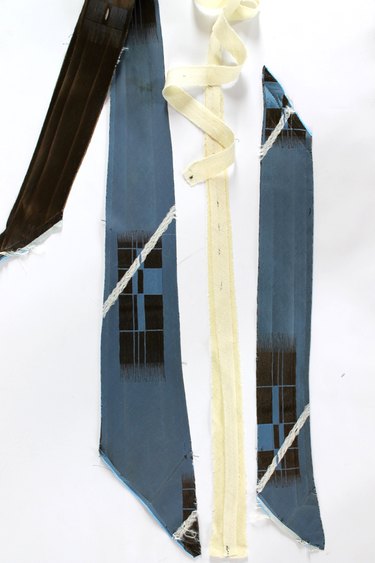
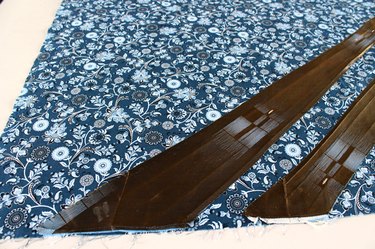
Step 3: Lay the Pattern Pieces on the "Bias" of the Fabric
It's important to cut the pattern pieces for the envelope of the tie on the "bias," a 45-degree angle, of your new fabric. Cutting the tie on the bias will increase the tie's flexibility and will allow it to return to its original shape more easily. It will also hang from the knot evenly.
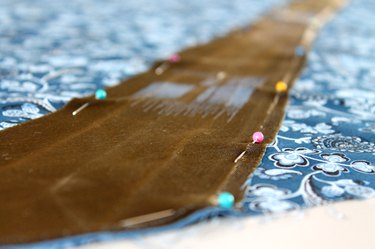
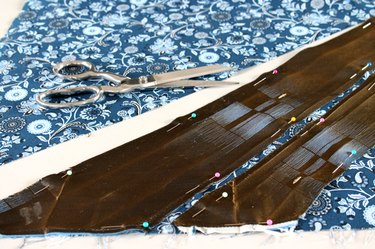
Step 4: Pin the Pattern Pieces in Place and Cut the New Tie Pieces
Use straight pins to place the pattern pieces on the bias. Then, use sharp scissors to cut out the new tie pieces.
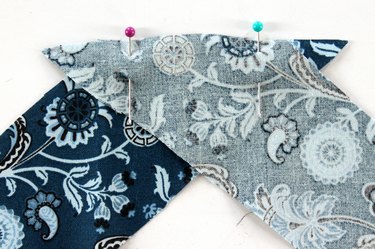
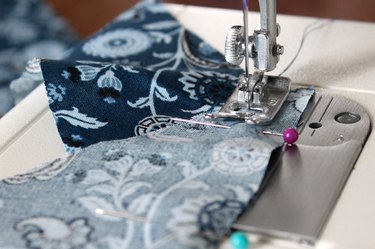
Step 5: Pin the Fabric Pieces Together and Sew a 1/2-Inch Seam
Place the middle ends of the envelope pieces with their right-sides together (as shown in the picture below). Use straight pins to secure the two pieces for sewing. Then, sew a 1/2-inch seam allowance with a sewing machine.
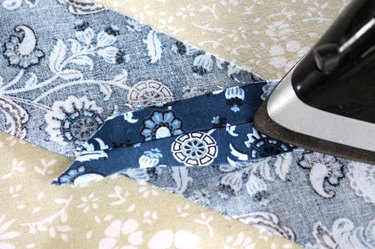
Step 6: Press the Seam Open With an Iron
Press the seam allowance open with an iron and trim off the triangles of fabric that stick out from the edge. Once that's finished, fold over the large and small ends of the envelope with their right-sides together.
Now, sew a 1/4-inch seam allowance on both the large and small ends of the tie envelope.
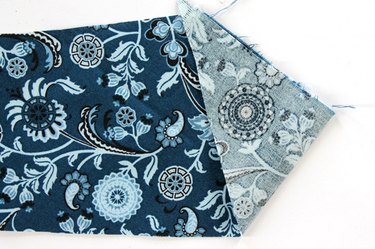
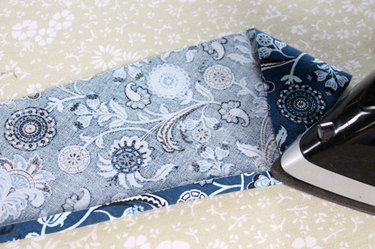
Step 7: Use an Iron to Press
Turn both ends of the tie right-side out and press with an iron. Continue to fold and press one of the long sides of the tie envelope over 1/4 inch.
Step 8: Place the Interlining in the Center on the Wrong Side
Place the interlining onto the center of the tie on the wrong side of the fabric. Fold the unpressed long side over the interlining and press with an iron. The fold will be even with the side of the interlining.
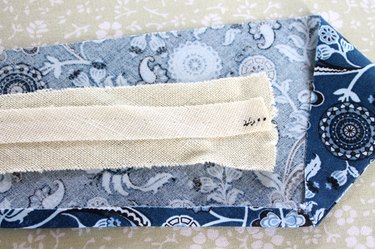
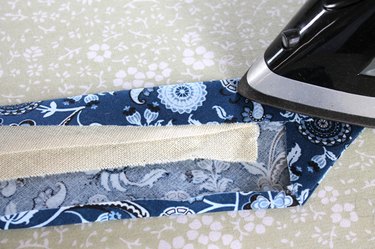
Then, fold the pressed-side over the interlining and the raw edge and iron in place. Again, the fold will be even with the other side of the interlining.
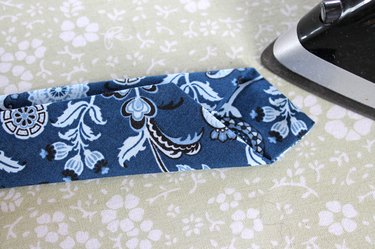
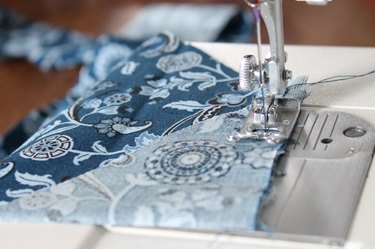
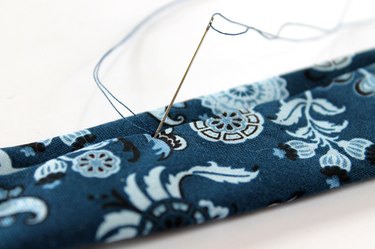
Step 9: Pin in Place and Hand Sew Using a Slipstitch
Use straight pins to secure the folds.
Sew the folds in place using a big, loose and flexible slipstitch. Be very careful not to sew through to the front of the tie.
Step 10: Rock Your New Skinny Tie
Pair the tie with a fun shirt and make a style statement. Looking good, Dad!
