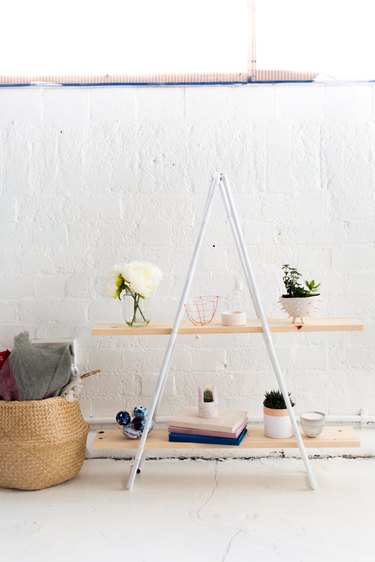
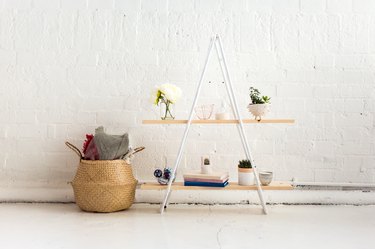
If you have a real penchant for planters, candles, small catch-all dishes, and mini baskets, like I do, then you know that these aren't so much useful as simply pretty to look at. But, I'm really ok with that—and you should be, too! I can look at these special trinkets all day and it makes me happy to see well-designed, handmade items all around me. The problem is finding somewhere just as beautiful to display them. I've put together this simple and easy copper pipe shelving that not only fits with the handmade look of my treasures, but is also modest enough to blend into the background and gives the pieces center stage.
Video of the Day
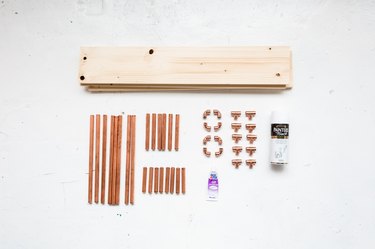
Things You'll Need
6-inch x 36-inch wooden shelf panels (2)
3/4-inch diameter copper plumbing pipes, 14-inches long (8)
3/4-inch diameter copper plumbing pipes, 6-inches long (10)
3/4-inch diameter copper plumbing pipes, 4-inches long (8)
3/4-inch diameter 90-degree copper elbow fittings (8)
3/4-inch diameter copper T-fittings (12)
Strong adhesive, rated for use on metal
White spray paint
Twine
Assemble the Pipe Brackets
Tip
We've begun this project assuming you already have the pieces of copper plumbing pipe cut to length. You can also cut your own from longer lengths of plumbing pipe purchased at your local home center, using a tool called a "tubing cutter" or a hacksaw. When you're connecting the pipes and fittings together, add a little adhesive to each end of the pipes to hold them together securely to the fittings.
Step 1
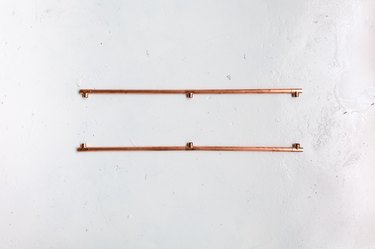
First, attach two of the 14-inch long copper pipes with a copper T-fitting, and attach copper T-fittings to each end of this assembly, using adhesive. Repeat this with two more 14-inch copper pipes and three more T-fittings. Lay out these long pieces so they face one another.
Video of the Day
Step 2
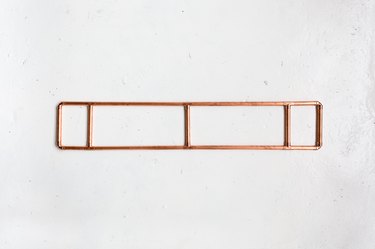
Add another 4-inch long copper pipe to each end, inserting them into the open sockets of the T-fittings. Now, add a 90 degree copper elbow fitting to each end facing the same direction as the T-fittings. Then, connect the two sides, using five of the 6-inch long copper pipes, as shown below, joining the fittings and pipes with adhesive. You have one of the two leg assemblies for your shelf.
Step 3
Spray the leg assembly with white spray paint. Use several light coats to gradually build up the paint; this will prevent the paint from dripping and sagging along the copper.
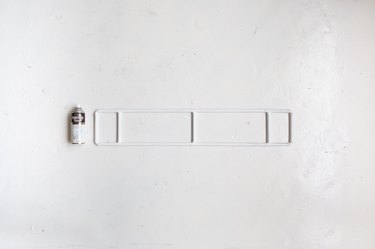
Now repeat steps 1 through 3 to create a second leg assembly identical to the one you just built.
Add the Shelves
Step 1
Ask someone to help you here (it makes it much easier!). Position the two white leg assemblies upright with the bottoms slightly apart. Insert the shelves through the centers of the leg assemblies, and rest the shelves on the second and third 6-inch copper cross pipes. Have your helper hold the pipe assemblies in place as you continue.
Step 2
Bring the tops of the leg assemblies together while the bottoms are still spread apart, creating a triangle.

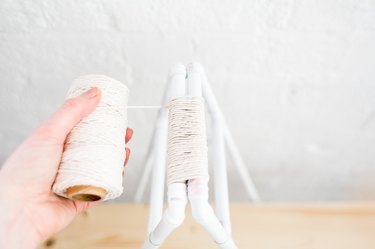
Step 3
Bind the tops of the leg assemblies together with wrapped twine to hold them in place. Apply a bit of adhesive to the end of the loose end of the twine to make sure it doesn't come unraveled. Spread the bottoms of the assemblies apart to the desired distance, but make sure the ends of the shelves overhand the cross pipes by a safe margin.
Step 4
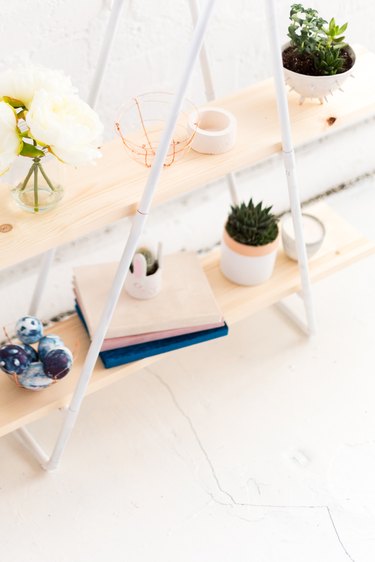
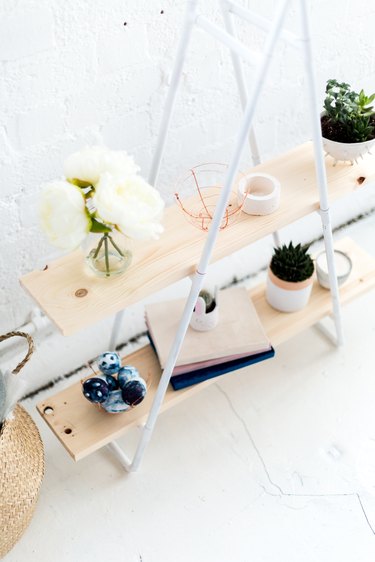
Now, collect all your favorite pieces for display and enjoy looking at them!