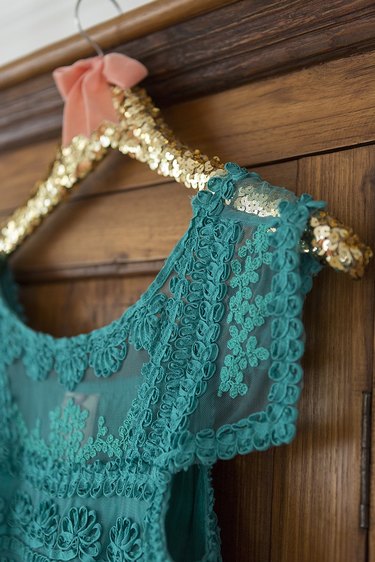
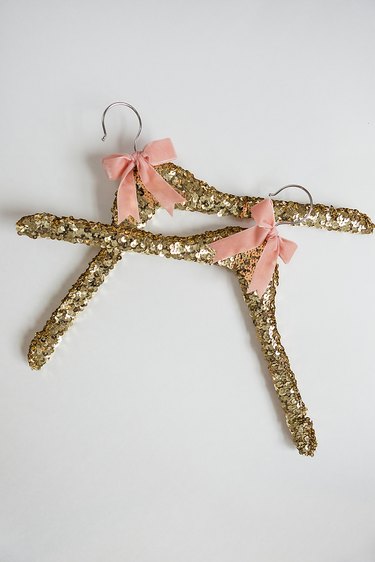
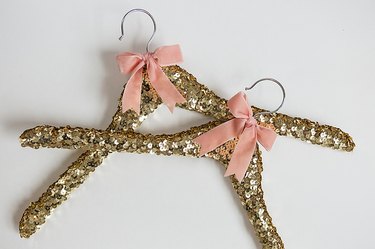
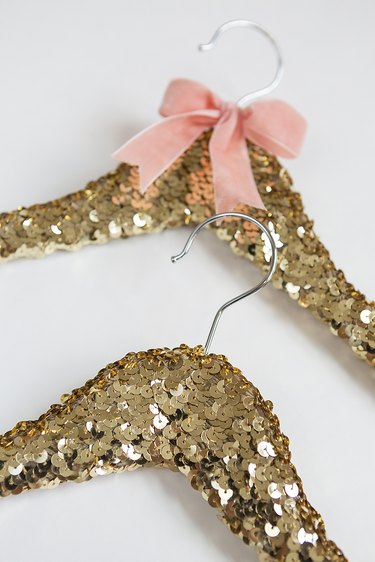
Spruce up your closet with these DIY sequin hangers. With only a handful of inexpensive supplies you can easily create these hangers that sell for much more on Etsy. They look great in photographs and spruce up even the messiest closet. They make great gifts for bridesmaids, baby showers or new home owners. Read on below to learn how you can create these hangers for yourself.
Video of the Day
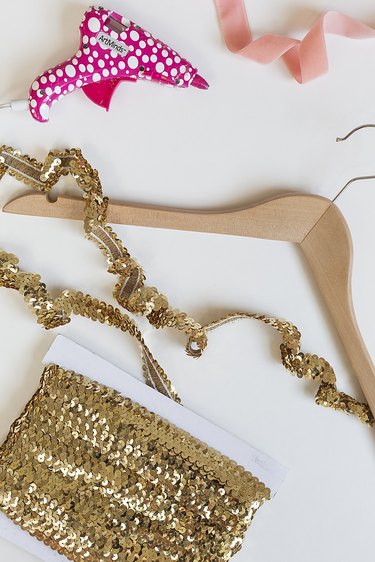
Things You'll Need
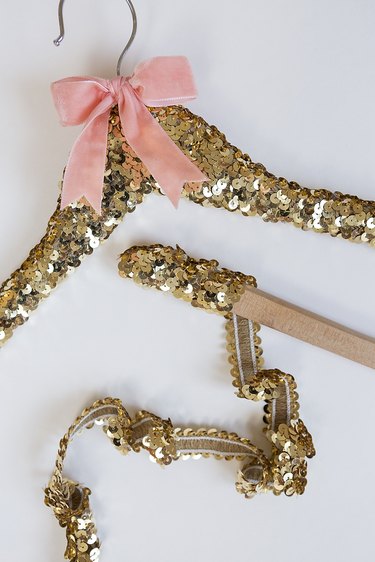
Wooden hanger
1-inch sequin trim
Hot glue gun
Scissors
Ribbon
Step 1
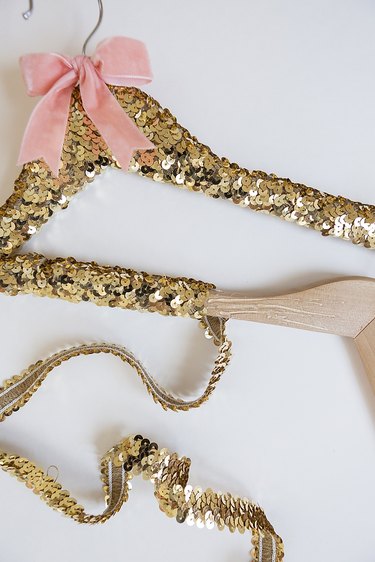
Begin by adding a drop of hot glue to the left tip of your hanger, taking care to add glue to all four sides of your hanger (top, bottom and the two sides). Take the end of your sequin trim and tightly wrap it around the hanger end. Continue gluing and wrapping your way along the length of the hanger pulling the trim tightly as you wrap. Pulling the trim keeps the sequins from bunching and creates a smoother look. The sequin trim is elastic and should easily stretch.
Video of the Day
Tip
Add an inch of hot glue at a time. This helps to keep your work surface clean so that you don't accidentally get glue on the shiny sequin part of your hanger.
Step 2
Continue the process of gluing and wrapping trim around your hanger. The hardest part will be the top of your hanger near the hook. Don't be afraid to add extra glue here as the sequin trim will hide any lumps.
Step 3
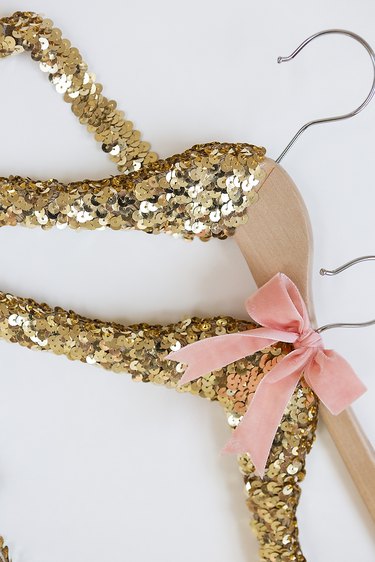
Finish off your hanger by wrapping the sequin trim around the right corner. Cut the end of the sequin trip and attach the loose piece to the back of your hanger. Adding a bow will complete your hanger and hide any imperfections near the hook!
Step 4
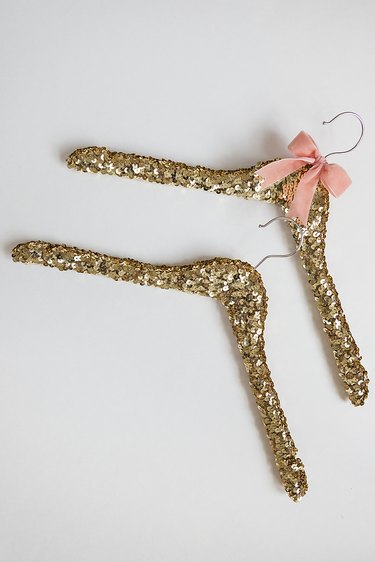
At this stage your hanger is finished, and thanks to the quick drying hot glue, you can start using it! Wrap a few hangers to gift to friends or keep them all for yourself to hang your favorite dresses on.