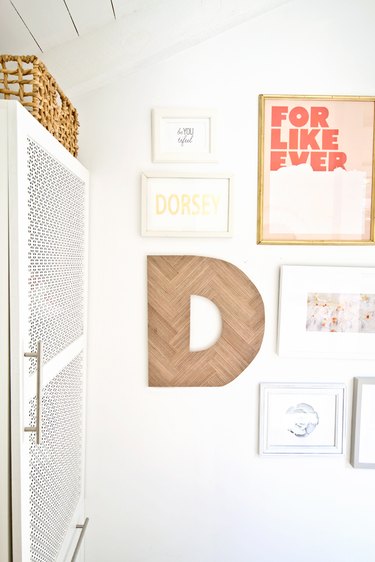
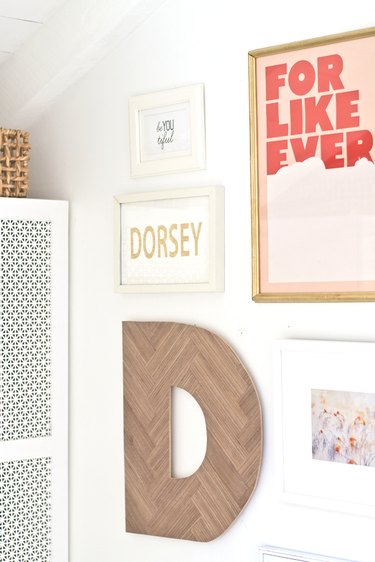
Large scale letters lend a dramatic element to home decor, especially when used in gallery walls (as shown here). Luckily, creating your own DIY version is much easier than you may think. In this tutorial, we'll show you how to make a herringbone pattern, which adds interest to the silhouette and is surprisingly simple to make. With a few materials you can quickly have your own custom large scale letter.
Video of the Day
Things You'll Need
2-foot-by-4-foot sheet Walnut veneer (readily available online)
2-foot-by-4-foot sheet 1/4-inch Birch plywood
Projector or large print of letter
Pencil
Razor knife
Metal ruler
Cutting mat
Wood glue
Heavy books
Drill and 3/8-inch drill bit
Jig saw with extra fine blade
Fine sanding block
Paste wax or polyurethane
Hanging materials, such as picture hanging strips, or d - rings and screws or nails
Step 1: Draw the Letter on Plywood
Draw or trace a letter on a small piece of paper (about 6 inches by 6 inches). Place underneath the projector and draw the letter on the 1/4-inch Birch plywood with a pencil. If you don't have a projector, freehand if you're comfortable. Alternatively, print the letter large at a copy store -- an engineering print will cost just a few dollars.
Video of the Day

Tip
Don't want to cut your own letter? Buy a pre-made letter at your local craft store.
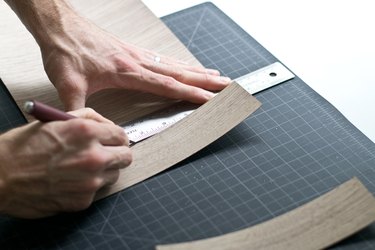
Step 2: Cut Strips of Veneer
Using the razor knife, metal ruler and cutting mat cut 2-inch-by-8-inch strips of Walnut plywood. You will need approximately 23 strips to cover a 20-inch-by-17-inch letter.
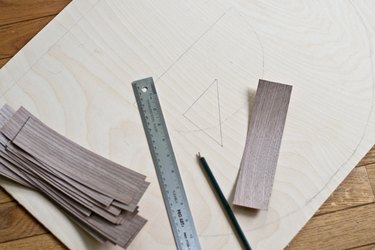
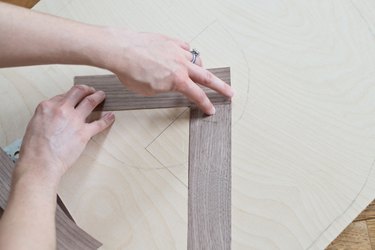
Step 3: Prepare to Place the Veneer Strips
In the center of the letter, draw a right angle triangle to ensure that the pattern is straight.
Step 4: Place Adhesive on the Veneer Strips
On the back of the veneer strips, place a thin layer of wood glue.
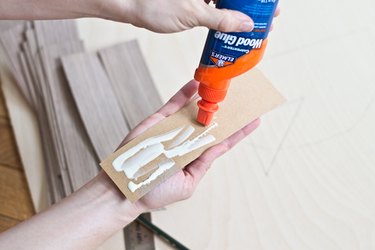
Tip
Use a small piece of veneer to spread the glue out to make sure that it is evenly dispersed.
Step 5: Place the Strips in a Herringbone Pattern
Line the first strip with the right triangle in a herringbone pattern, and then follow the diagram below and place the veneer strips in a herringbone pattern.

Tip
The thin glue sets fast, but weigh down the strips while they dry with heavy books. Painter's tape can also be used to help hold down corners.
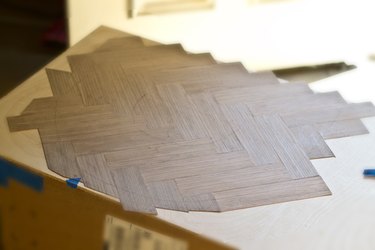
Step 6: Cover the Letter with Strips
Cover the entire letter with veneer. Let the glue dry for a few hours. Then, repeat Step 1 and redraw the letter on the veneer (if you purchased letter from your local craft store, skip to the next step).
Step 7: Cut the Center Hole Out
With a 3/8-inch drill bit, drill in the center of the letter.
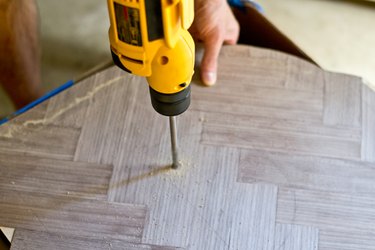
Place the extra fine blade (designed to leave clean edges) into the hole and cut out the center. Adjust the dial on the side of the jigsaw cut speed to 1, so it cuts slowly.
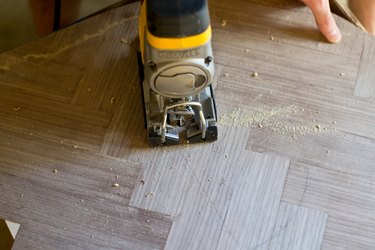
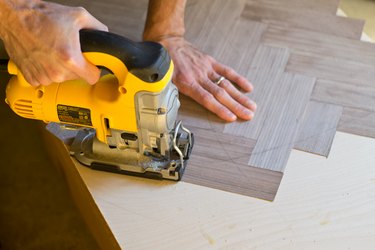
Step 8: Cut the Outside of the Letter
Using the extra fine jigsaw blade on speed 1, use the jigsaw to slowly cut out the outside of the letter.
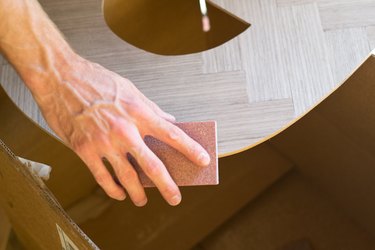
Step 9: Sand Any Rough Edges
Using a fine sanding block, sand any rough edges. Also, sand any glue marks off the front with the same sanding block.
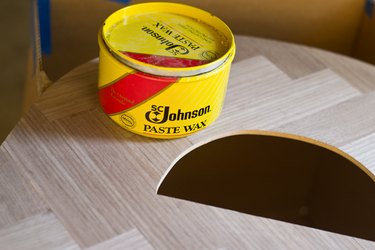
Step 10: Seal the Letter
Using paste wax or polyurethane, seal the front of the letter following the instructions on the label.
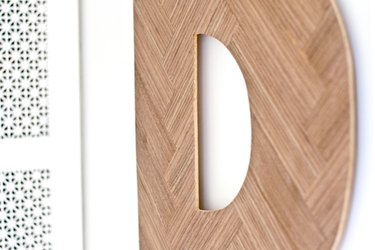
Hang the letter in a gallery wall, prop against the back of a bookcase or lean on the wall behind a desk.
For tips for hanging your homemade wall art, check out The 3 Best Ways to Hang Wood Letters on a Wall.