Things You'll Need
Tape measure
Circular saw
2-by-4-inch planks
Thinset mortar
Bucket
Trowel
Metal doorframe
Wooden shims
Pencil
Drill with masonry bit
Expansion bolts
Hammer
Caulking
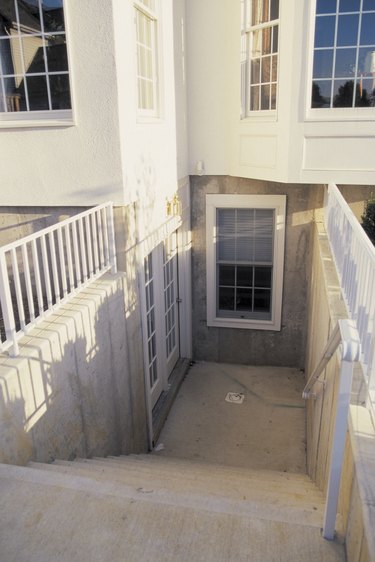
Whether your foundation is solid concrete or masonry blocks you need to place a frame into the hole in the wall to hold your walkout basement door securely in place. A steel frame usually serves this process, and as long as your rough-in doorway hole is of the proper size, the frame should fit smoothly in place. From there, it's just a matter of fastening the frame so that it does not fall out when the door is used or if the soil beneath the structure shifts slightly in place.
Step 1
Examine the sides of the door opening in the wall to determine the material makeup of your foundation wall. If the wall is concrete, you can proceed immediately to placing the frame. If the wall is made of concrete blocks, you need to fill the cavities in the blocks to provide a flat surface to which you can attach the frame.
Video of the Day
Step 2
Measure the depth of the cavities in the blocks with a tape measure. If the cavity is deeper than 1 1/2 inches, cut a piece of 2-by-4-inch board with a circular saw to the height of the block. Make a 2-by-4-inch block for each concrete block with a cavity of the required depth.
Step 3
Mix a batch of thinset mortar in a bucket. Spread a thin layer of the mortar over one side of the wooden blocks with a trowel, and then press the wood into the concrete block cavity. Fill each of the deep cavities with one of the wooden blocks.
Step 4
Fill the shallow cavities with the thinset using the trowel until the surface of the mortar is at the same level as the top of the cavity. Spread the thinset over the wooden block-filled cavity as well until the cavity is even with the top of the cavity surface. Allow the thinset to dry overnight in order to firm.
Step 5
Place the frame into the space in the wall. Check that the frame is plumb and level using a carpenter's level. Place wooden shims into the gap between the frame and the wall to adjust the angle of the frame if needed to square the frame within the hole in the wall. Mark the position of the doorframe mounting holes against the sides of the foundation using a pencil thrust through the holes.
Step 6
Drill through the markings using a bit the same size as your expansion bolts. Use a masonry bit if the wall is concrete. Subtract the width of your doorjamb from the length of the expansion bolts you're using to hold the door in place. Make the depth of the hole the same as the adjusted length.
Step 7
Press the expansion bolts through the holes in the doorframe and into the pilot holes in the wall. Tap the bolts into place with a hammer to leave the head of each bolt flush with the surface of the frame.
Step 8
Caulk the gap between the frame and the wall, filling the space completely to create a waterproof seal.
Warning
Wear a pair of work gloves, safety goggles and a particle mask when drilling through the wall or handling mortar.
Video of the Day