Things You'll Need
Safety glasses
Dust mask
Solid wood door, preferably cedar, oak or pine
Wood putty
Sandpaper or sander with paper
Measuring tape
Four hinges
Screwdriver
Pencil
Two sawhorses
Straightedge
Circular saw
Router
1/8-inch-thick aluminum bar slightly longer than door width
Stainless steel screws
Caulk
Caulk gun
3/8-inch-by-3/8-inch stop
Sealer
Weatherstripping
Copper-plated nails
1/4-inch-by-1-inch wood strip 1/4 inch less than door width
Wood glue
Finishing nails
Power drill
Two door handle sets
Sliding door bolt
Paint
Paintbrush
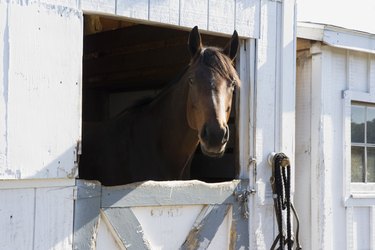
A split stable door is divided in half so that the top and bottom can be opened or closed separately. A bolt that slides from one half to lock in the other makes the door usable as a single unit. Often used in stables, as the name implies, split stable doors allow air circulation while preventing escape by horses, or by children and pets when installed in a home. Also called Dutch doors, the style originated in the Netherlands in the 1600s as a way to keep out dirt. Used as interior or exterior doors, weatherproofing the latter can be challenging.
Split Stable Door
Step 1
Remove any existing hardware from the door and fill in the holes with wood putty. Sand to smooth once the putty is dry.
Video of the Day
Step 2
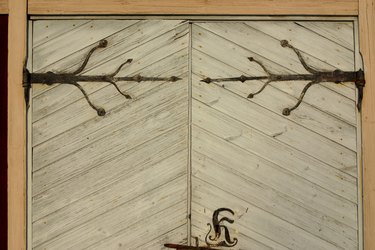
Measure and mark out the locations of the four hinges (two for each half), installing the hardware on both the door and the door jamb. Hang the door to ensure that it swings freely. Take the door down.
Step 3
Mark two lines 1/4 inch apart where you'd like to divide the door and lay the door across the sawhorses. Cut the door along both lines with the circular saw.
Step 4
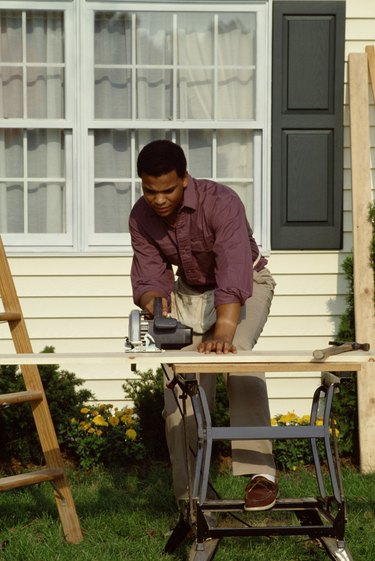
Cut a 3/8-inch rabbet (recessed groove) 1/4 inch deep along the top edge of the lower door with the router. Install the 1/8-inch aluminum strip here with countersunk screws. Caulk where the strip extends beyond the door edge.
Step 5
Attach the stop to the bottom half of the upper door, rounding off the visible edges by sanding. Apply sealer. Finish off the bottom by attaching weatherstripping with the copper-plated nails.
Step 6

Rout a 10-degree bevel on the top and bottom edges of the 1/4-inch-by-1-inch wood strip. Rehang the door. With the door closed, attach the strip to the exterior of the upper door with wood glue and finishing nails. Allow a 1/8-inch gap on either side to facilitate closing the door. Caulk the strips top edge.
Step 7
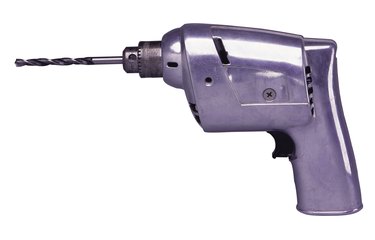
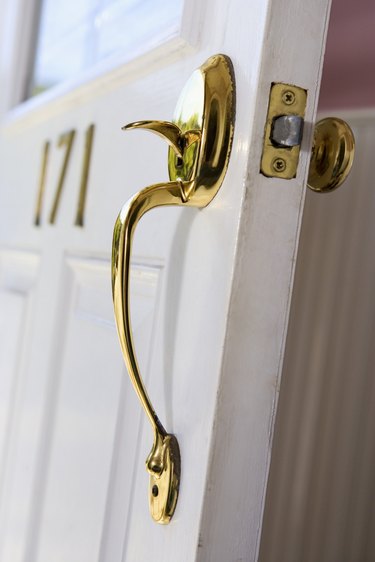
Measure, mark and drill out the holes for the necessary hardware, including the bolt to keep the door halves together.
Step 8

Paint the door as desired, taking it off the hinges if necessary. Attach the hardware once the paint is dry.
Tip
Spread a tarp under the sawhorses to catch the sawdust, or use a saw with a vacuum attachment. Use a drop cloth when painting or staining the door.
Warning
Follow safety instructions on all power equipment.
Use paint or stain in a well-ventilated area.
Video of the Day