Things You'll Need
Flesh-colored swim cap
Flesh-colored foundation make-up
Flesh-colored face powder and cosmetic brush
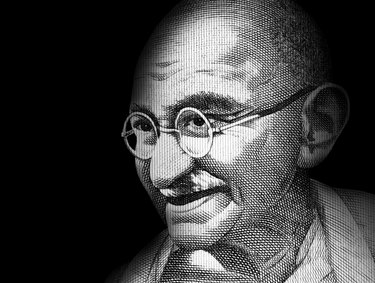
Fake mustache
Round, wire-rimmed glasses
Cycling shorts, boxer brief or trunk underwear
6 yards of lightweight white fabric, 60 inches wide and cut in to two pieces
2 1/2 yards of same lightweight fabric cut to approximately 18 inches wide
Flat, open-toe sandals
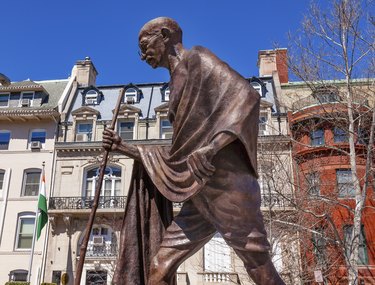
Tall walking stick
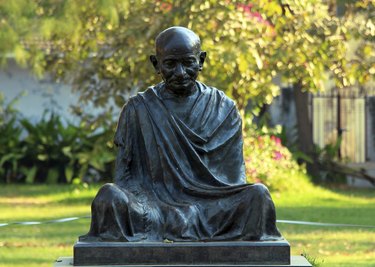
The famed Indian leader and ahimsa fighter of 150 years ago, Gandhi is strongly associated with the minimalist style of dress he adopted. In fact, when he was invited to visit the king and queen of England, he arrived, true to his style, sporting just a loincloth and shawl. When asked if he was wearing enough clothes, he wittily responded that "The King has on enough for both of us!" With a generous amount of fabric and a few very simple accessories, you can create your own Gandhi costume at home.
Pull on the Swim Cap
Put on the swim cap. Carefully poke stray locks up under the cap with your fingertips. Try to hide any evidence that you ever had any hair.
Video of the Day
Generously Apply Foundation Makeup
Evenly apply flesh-colored foundation to both your face, neck and the swim cap.
Dust on a Powder Coating
Using a cosmetic brush, lightly dust your face, neck and swim cap with a flesh-colored makeup powder.
Wear the Glasses and Fake Mustache
Apply the fake mustache and put on the glasses.
Video of the Day
Assemble the Top of Your Gandhi Costume
Hold one of the two largest pieces of fabric behind you with both hands outstretched at waist level. With your right arm still stretched to the side, bring your left arm across the front of your body and tuck the end of the fabric in to the waistband of your underwear. Bring your right arm across to the left side of your body and tuck the end of the fabric into your waistband. Tuck any excess fabric into your waistband.
Wearing the Costume Bottom
Hold the 18-inch side of the remaining piece of fabric behind you and tuck it into your waistband. Allow it to drop to the floor. Bring the fabric up between your legs and tuck the remaining edge into the front of your waistband.
Create the Costume Shawl
Use the final large piece of fabric as a shawl and wrap it around your bare shoulders.
Accessorize Your Gandhi Look
Put on the open-toe sandals and grab the walking stick to complete your Gandhi costume.
Tip
Since a generous amount of fabric is used, consider cutting up an old white sheet for the costume. Try using safety pins or a belt for added security when wearing the loincloth.
The outer garment can be worn at any desirable length, so cut to suit your Gandhi costume if necessary.
Find inexpensive glasses at your local thrift store or drug store. You can carefully take out the lenses if the prescription doesn't suit your eyes.
Warning
Keep in mind that this costume will need to be disassembled for bathroom breaks, so don't wait until the last minute.