Things You'll Need
Screwdriver
Multi-sized Allen wrench
New Singer gears
Singer sewing machine oil
Singer sewing machines vary in style and function from the simple one stitch of the first electric Singer 301 to the 600 stitches of the Stylist. Because of the differences in function, some of the inner gears of the Singer machines are different. The main cam stack drive gear, the essential long, thin bar that connects the top gears to make the different systems work together, is always in existence in any model of Singer sewing machine.
Step 1
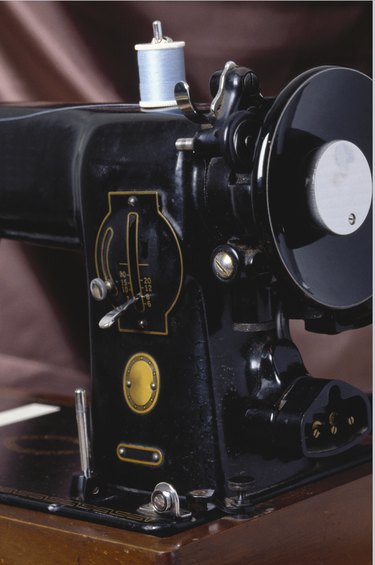
Determine whether your Singer sewing machine opens at the head or on the bottom. For machines that open at the head, remove the two screws found on the top cover to release the cover and expose the gears. The models made after 1960 are made of hard plastic. In the models where the cover lifts straight up, the screws are found along the top between the spool pin and the take-up lever. In the models where the covers are pulled off the side, the screws are found on the side of the machine in the middle of the sewing head and about an inch from the wheel. Singer sewing machines made before 1960 were made of iron. On these machines, you must remove a metal plate at the bottom of the machine with two large screws on each end of the plate and four small screws in a square in the middle of the plate.
Video of the Day
Step 2
Locate the cam stack gear drive. This is the metal bar that runs from the front, the needle shaft, to the back, the hand wheel, of all Singer sewing machines made in any year.
Step 3
Remove the wheel from the casing by popping off the wheel cover with the screwdriver using the small notch in the casing. Unscrew the wheel from the base and pull the wheel shaft and wheel out of the machine.
Step 4
Insert the screwdriver in the wheel shaft hole to reach the cam shaft vertical adjustment screws. Turn these screws counterclockwise to release the shaft at the end.
Step 5
Loosen the screws along the shaft on the gears inside the sewing machine with either the screwdriver or an Allen wrench, depending upon the model. Some Singer machines have four gears and some have five. The number will depend upon how long the machine is from wheel to needle shaft.
Step 6
Pull the cam stack gear drive bar through the gears and out the wheel hole, pulling slowly so you do not chip or bend the bar. The gears will rest on curved spaces just under each gear. Check the bar for any irregularities and replace it if necessary.
Step 7
Replace the gear that is damaged with a new gear, setting the new gear into the exact spot the old gear had been in.
Step 8
Hold the gears in place with your left hand and push the cam stack gear drive through the holes. Tighten the gears with the tool used to loosen them by turning the tool in a clockwise direction.
Tip
Check the machine's parts manual, a supplemental document found with the instruction manual, for the number and size of gears.
Warning
Always unplug the machine from any power source before starting repairs.
Video of the Day