Things You'll Need
Handheld vacuum or dust cloth
Gel copper cleanser
Soft cloths
Foam wax applicator pad
Car wax
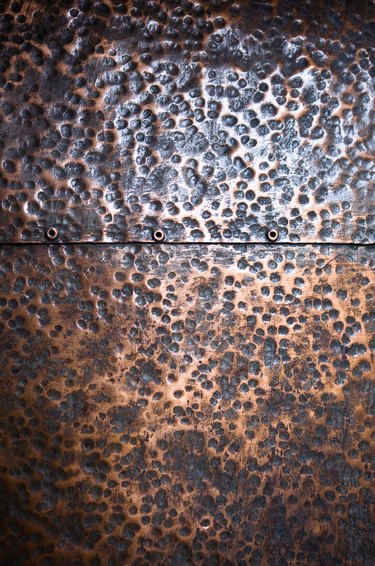
Just because a fence accomplishes the functional task of keeping strangers out and homeowners in, doesn't mean it has to look utilitarian. Copper fence caps give your fence a timeless look and an understated elegance. The natural patination of copper causes it to take on a greenish hue over time and perhaps one of the most famous examples of this is with the Statue of Liberty. If this blue-green look isn't your thing, there's no reason why you can't keep your copper fence caps looking as bright and shiny as the first day you added them.
Step 1
Run a handheld vacuum or dusting cloth over the copper fence caps to remove loose layers of dirt or dust.
Video of the Day
Step 2
Squirt a silver-dollar sized amount of a copper cleansing gel onto a soft cloth. Rub the cloth down on the copper fence caps, getting into all the crevices and nooks of the cap. This will strip off any rust of other signs of age and wear. Most cleansers coat the copper with a light protective coating so you don't have to rinse them off. Allow the copper fence caps to dry.
Step 3
Moisten the foam pad with a light coat of car wax. Spread the car wax over the copper fence caps once the cleanser has dried thoroughly in a thin layer. The car wax will form a protective coating that will prevent the copper from losing its shiny look.
Step 4
Repeat with another thin layer of car wax over each fence cap. Reapply the car wax every three to six months to keep the posts looking shiny.
Video of the Day