Kids can learn about colors while making their own paints for suncatchers or votive candle holders. Simple ingredients -- school glue and food coloring -- combine to make paint that gives glass or plastic the look of stained glass. Use either white or clear glue; clear glue will be the most transparent and white glue will leave a slightly cloudy look. You can combine colors to make new shades -- check the label on the food coloring package for suggestions.
Mixing Suncatcher Paint
Video of the Day
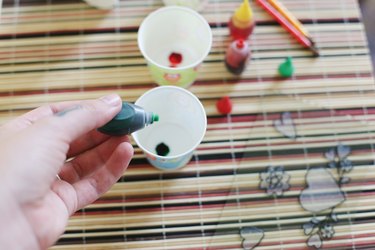
Set out a 3-ounce plastic cup, or other disposable container, for each color you want to make. Put about 1 tablespoon of liquid glue in each container. For each color, add one or two drops of food coloring to a container. Stir with a disposable coffee stirrer, toothpick or similar item until thoroughly mixed. Stir smoothly to keep the glue free of bubbles. If the paint seems too thick, add one or two drops of liquid dish soap and stir. For deeper colors, add more food coloring one drop at a time, stirring after each drop.
Video of the Day
Using Your Suncatcher Paint
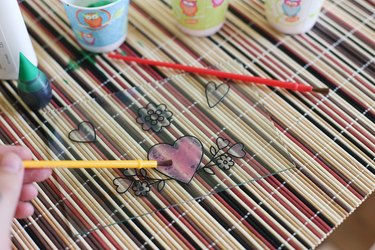
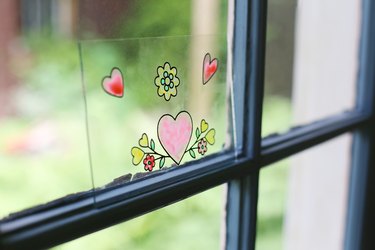
Use a small paintbrush to fill in each section of a clear plastic suncatcher with your suncatcher paint. You can also paint the outside of a clean glass jar to make a votive candelholder. Let the paint dry overnight before hanging your suncatchers or using the jar with a candle. These paints aren't waterproof, so enjoy the suncatchers inside a sunny window and keep other painted items away from moisture.