Things You'll Need
Loosely-woven wool fabric
Measuring tape or ruler
Dressmaker pins
Sewing machine
Large darning needle
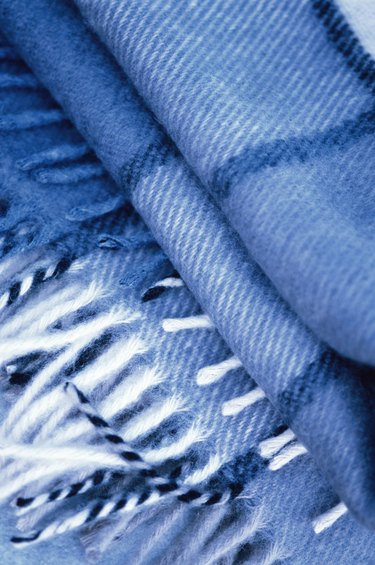
Fringed borders on scarves, blankets or shawls add a softer, fashionable touch. Some fringes are made separately and stitched on after the garment is completed. With wool and other loosely-woven fabrics, however, you can create fringe directly from the edges of the cloth itself. You are basically unraveling part of the fabric to create a fringed edge integral to the garment. This style of fringing gives you the option of straight fringe, twisted fringe or braided and knotted fringe.
Step 1
Determine the length of fringe you want. Measure that distance from the edge of the cloth and mark the measurement with straight pins. Repeat measuring and marking for the length of the edge to be fringed.
Video of the Day
Step 2
Sew a line of zigzag or loose basting stitches along the pinned line for the length of the fabric. Remove the pins.
Step 3
Lay the stitched fabric flat on a table or counter. Begin to remove threads from the outermost edge of the designated fringe area. Using the darning needle, separate the first thread from the fabric. Move down the entire edge, pulling the thread apart from the rest. When it is completely loosened, gently pull the entire thread out of the woven fabric and discard.
Step 4
Repeat Step 3 until you have loosened and removed all the threads on the edge of the fabric up to the stitched line. This creates the fringed edge.
Step 5
Repeat Steps 1 through 4 until you have made a fringed edge on all desired sides of the fabric. Fluff fringe loosely with fingers to make it look fuller. If desired, twist or braid three or four consecutive strands of fringe together to make evenly-spaced, larger fringes. Tie these in a tight knot at the bottom of the joined threads to keep them from coming apart.
Video of the Day