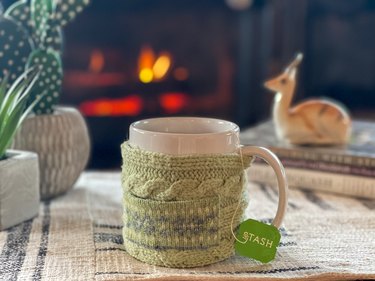
Have you spotted adorable mug cozies across social media? These lovely little cup-huggers have popped up on Etsy, Instagram and beyond in all sorts of colors and designs—but you don't have to buy one to get in on the trend. If you're more of a DIYer, we have a simple mug cozy tutorial that will make you feel like a crochet connoisseur. (Spoiler alert: There's no actual crocheting involved!)
Our DIY cup sleeve and attached tea bag pocket are made with preloved sweater scraps, Liquid Stitch (a foolproof fabric adhesive) and a few simple zigzag stitches, so expert sewing skills aren't necessary. When you tackle this project at home, your completed mug cozy will make it appear as though you've spent hours toiling away over your crochet hook or yarn needle—but your low-stress crafting secret is safe with us! Whether you're gifting cozies to a loved one or creating the perfect outfits for your favorite tea and coffee cups, this is one simple and fun DIY that's sure to warm hearts (and mugs).
Video of the Day
Video: Craft an Adorable Mug Cozy (With a Pocket for Tea!)
Part 1: Make Mug Cozy
Things You'll Need
Preloved cable-knit sweater (wool yarn, acrylic yarn or cotton yarn)
Felted wool sweater
Toggle buttons and loops
Mug
Sewing machine or needle and thread
Measuring tape
Sharp scissors
Straight pins
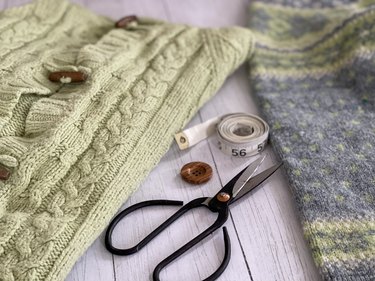
How to make a Mug Cozy:
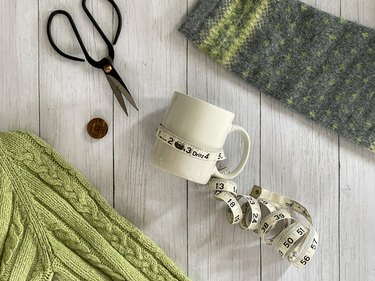
1. Measure mug
Wrap a soft measuring tape around your mug of choice to measure its circumference. Then, use the measuring tape to confirm the mug's height.
2. Cut cable-knit sweater
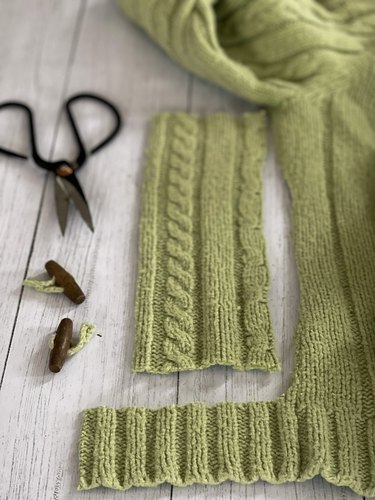
Choose a section of cable-knit sweater to use as the base for your mug cozy. Using sharp scissors, carefully cut a piece from the sweater that matches the circumference and height of your mug. In addition, cut two buttons and two loops from the sweater. If your sweater doesn't have toggle buttons and loops, you can use flat buttons instead.
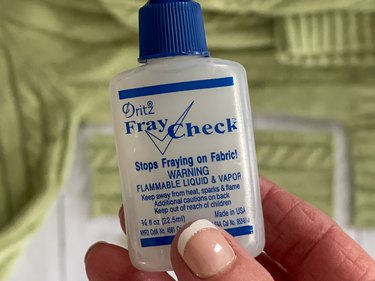
3. Apply Fray Check
To keep the edges of the sweater cozy from fraying, gently squeeze the Fray Check bottle to apply a small amount around all edges. Wait 15 to 20 minutes to allow it to dry thoroughly.
Tip
Fray Check is washable and dry cleanable after it dries. However, if you happen to get an unwanted spot of Fray Check on your mug cozy, you can use a little rubbing alcohol to remove it.
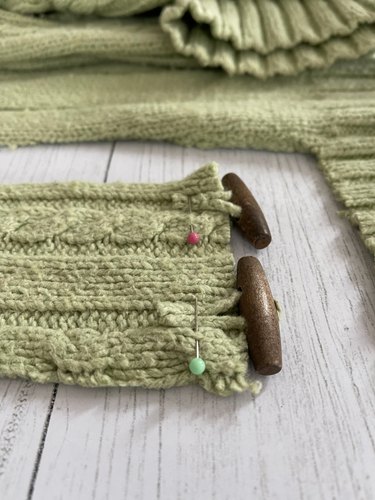
Pin toggle buttons and loops to the short sides of the mug cozy.
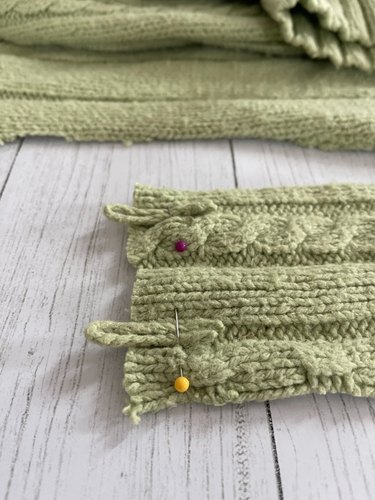
Use a zigzag sewing stitch to attach buttons and loops.
Part 2: Add Tea Bag Pocket
How to add a Tea Bag Pocket:
1. Cut piece of felted wool
Use a sharp pair of scissors to carefully cut a 3 1/4 by 1 1/2 in. piece of felted wool. This will form the cozy's tea bag pocket.
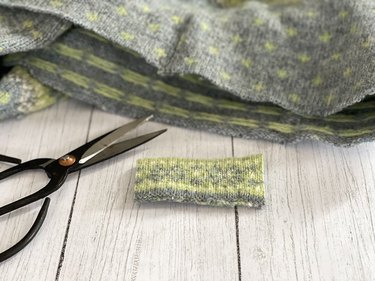
Tip
If you happen to have a preloved wool sweater that shrank when it was accidentally washed and dried, there's no need to toss it. When you washed and dried it (aka a process called "felting"), the fibers tightened and were matted together, which resulted in a dense fabric that will no longer fray. It's actually a warmer, more durable fabric that can now be used to make things like mittens, hats, slippers...or tea pockets for mug cozies!
You can also "felt" a preloved wool sweater on purpose to use it in craft projects. Simply wash the sweater with soap on the heavy-duty cycle in hot water and then dry it in a hot dryer.
2. Attach pocket
Apply Liquid Stitch, a permanent fabric adhesive, on the inside and bottom of the felted wool pocket. Turn the pocket over and place it on the outside of the mug cozy.
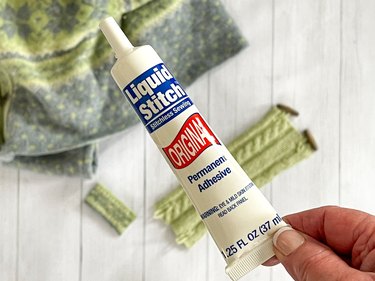
Let it dry for at least 30 minutes before using the pocket and don't get it wet for at least 24 hours. Liquid Stitch is water-soluble until completely dry—but once dry, it's washable, flexible and long-lasting.
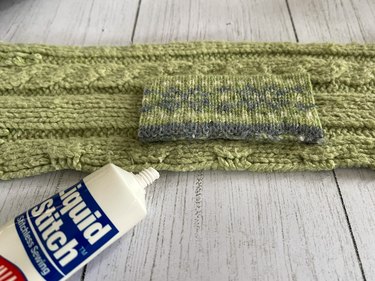
3. Dress mug
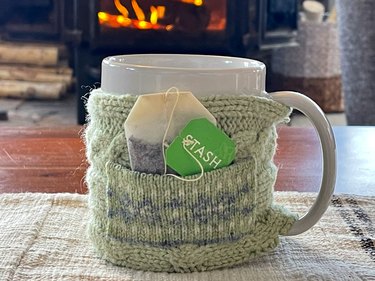
Once everything is dry, wrap the cozy around the mug and button it in place.
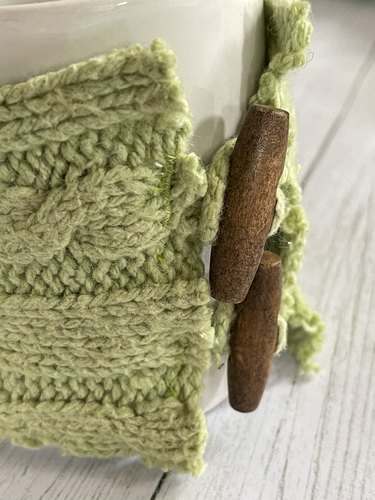
4. Insert tea bag
Choose your favorite tea, pop it into the pocket, curl up by a roaring fire and enjoy! We can't imagine a cozier way to enjoy your next hot beverage.
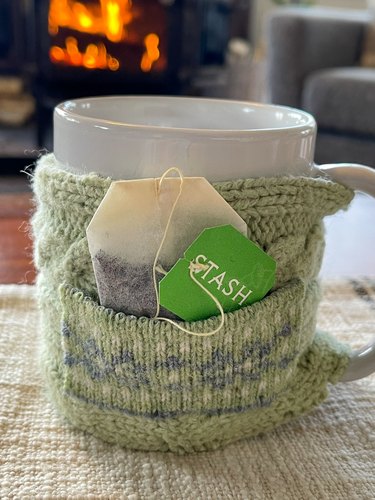
Ditch those crochet mug cozy patterns, say "no" to repeat rows of single crochets and give our DIY cozy a try. We think it's "beau-TEA-ful!"
