Things You'll Need
Balloon
Empty cardboard cereal box
Box cutter
Masking tape
3 cups all-purpose flour
3 cups water
Plastic butter bucket, clean
Wooden spoon
Newspaper
Acrylic paint and paint brush
Hot glue gun
Artificial feathers (optional)

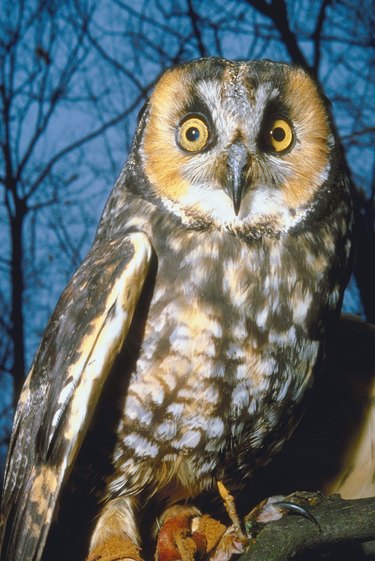
Construct a snowy owl in white or a more common brown barn owl using paper mache. Paper mache is a crafting method that involves three inexpensive common ingredients to produce a long-lasting rock-hard structure. Make an owl using paper mache to add to your decor, or for a seasonal item, such as for use during Halloween. If you have an owl-loving friend, fashion an owl to give as a gift, complete with a personalized name tag collar.
Step 1
Inflate a balloon to its maximum size. Tie a knot in the mouthpiece and set aside.
Video of the Day
Step 2
Cut an empty cardboard cereal box apart along the seams so you have the front, back and two side panels. Lay the panels with the print side facing down on your work surface. Draw a 9-by-4-inch oval on each of the larger panels, and one 9-by-2-inch oval on one of the side panels. Draw the ends of the ovals in a sharp point and cut the shapes out.
Step 3
Hold the balloon with the knotted end closest to you. Position the two larger ovals along the right and left sides of the balloon for the owl's wings. Secure the cardboard wings to the balloon with masking tape placed across the wings on the end furthest away from the knotted end; leave the tips of the wings closest to you unattached to the balloon.
Step 4
Place the long and narrow oval across the center of the top of the balloon parallel to the wings. Position this oval so that it is extended over the knot of the balloon. Use tape to secure the oval to the balloon at the top, which is the end of the oval further from you; leave the end that is hanging over the knot unattached. Set aside.
Step 5
Mix 3 cups of all-purpose flour and 3 cups of water in a clean plastic butter bucket until the paste mixture is free from clumps; use a wooden spoon. Set aside.
Step 6
Tear newspaper into 3-by-3-inch strips. Dip the strips of newspaper into the paste. Squeeze away excess paste with your fingers and place the strips on the owl-shaped structure.
Step 7
Continue applying pasted strips, overlapping them as you go, over the entire structure. Add the strips around the cardboard pieces as well. Allow the first layer of strips to dry for at least 18 hours or until the owl is dry and hard to the touch.
Step 8
Add three additional layers of strips, allowing each layer to dry for at least 18 hours or until dry and hard.
Step 9
Cut one 1-inch triangle, two 1-inch circles and two 3-inch long three-pronged fork shapes for the owl's feet out of the remaining cereal box cardboard. Paint the triangle black, and the two circles and two feet yellow using acrylic paints. Let dry. Paint a black dot in the center of the two yellow circles.
Step 10
Paint the entire owl white, grey or brown using acrylic paint. Let the owl dry.
Step 11
Affix the black triangle for the owl's beak to the front of the owl's face using hot glue. Add the two circles to the face for the owl's eyes, also with hot glue. Hot-glue the two feet to the front of the owl near the bottom.
Tip
You can also hot-glue artificial feathers to the wings and tail, or to the entire owl for a fluffier appearing bird.
Warning
Do not add layers over wet paper mache strips or the owl will eventually mold.
Video of the Day