Things You'll Need
Material for new mane and tail, such as horse hair, synthetic hair, ribbon or wool
Thread (optional)
Piece of dowel
Wood carver's knife, chisel and hammer
Sand paper
Glue
Screwdriver
Scissors
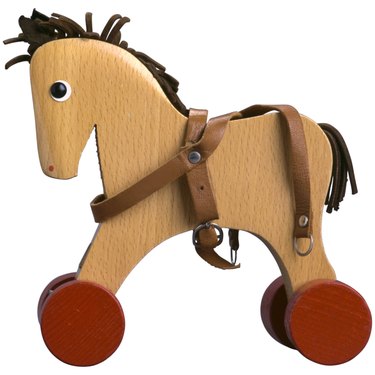
Wooden horses have been a popular children's toy for generations, ranging from tiny models given to boys for use with soldier sets to large, realistic rocking horses. These larger horses were designed to help very small children find their balance before graduating to real horses, and were normally painted to look realistic. Vintage wooden horses usually had manes and tails made from real horsehair, and if you are restoring a vintage horse, the mane and tail should be replaced with this material. Horse hair is available online from rocking horse restorers. Modern wooden horses can be given new manes and tails from a range of material such as synthetic hair or ribbon.
Step 1
Prepare the horse. If the horse has had a previous tail fitted, there should be a hole at the top of the hindquarters. Clean this out with sand paper to remove any traces of old glue. There may already be a groove down the horse's neck where a previous mane was attached. If not, cut a shallow groove using a chisel and sand the edges off with sand paper. It is possible to skip this step and glue the mane directly to the neck, but the final result will not be as good.
Video of the Day
Step 2
Whittle the end of the dowel into shape. Holding it firmly in your left hand, make small shallow cuts to the far end of the dowel, moving the knife away from you and down. Check frequently to make the dowel with the tail hole. Stop when the dowel is still a fairly tight fit.
Step 3
Cover the dowel with the required tail material. Real horse hair is normally attached to a strip of hide to make attachment easier. Glue the hide to the dowel, leaving the top inch or so clear. Make sure that the seam is underneath the tail. If you are using synthetic hair, tie it tightly into a bundle at one end. Push the dowel through the middle of the bundle, then sweep the hair back leaving the dowel exposed. Spread a thin layer of glue over the dowel then smooth the hair back. Wool or ribbon should be glued on in individual strands. Spread glue into the tail hole and hammer the tail into place.
Step 4
Tie the material for the mane into little bundles about 1/2 inch wide. Spread glue into the neck groove. Starting at the top of the mane behind the ears, push each bundle in turn into the groove by holding the end at right angles to the neck and pushing it down with a screwdriver. Real horse hair should be cut to a thin strip of hind, then the whole strip pushed into the mane groove. Allow to dry completely before trimming to the required length.
Tip
If your wooden horse is an antique toy, it may be better to have it restored professionally as these can be valuable.
Warning
Take care when using sharp implements such as chisels, so as not to damage your fingers or scratch the horse.
Video of the Day