Home Sweet Home
Hacks, Tips & Tricks
Squeaky Clean
DIY Decor
Carpentry & Remodeling
Maintenance & Repair
Green Thumb
All Home Sweet Home
Chow Down
Main Dishes
Sweet Treats
Snacks
Copycat Recipes
Drinks & Cocktails
Sides & Appetizers
Veggie Faves
Food Hacks
All Chow Down
Get Crafty
Sew Simple
Fun Crafts
Art Projects
All Get Crafty
Let’s Celebrate
Valentine's Day
St. Patrick's Day
Easter
Mother's Day
Father's Day
4th of July
Back to School
Halloween
Thanksgiving
Christmas
New Year
Weddings
Baby Showers
Birthdays
Parties & Events
Gifts
All Let’s Celebrate
JOIN OUR NEWSLETTER
JOIN OUR NEWSLETTER
Home
Get Crafty
Sew Simple
Sew Simple
By
Beth Huntington
Sun Hat Tote Bag
Get Crafty
By
Beth Huntington
Fabric Lip Balm Holder
Get Crafty
By
Beth Huntington
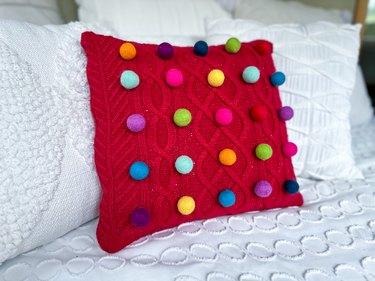
Cheery Pom Pom Pillows Made From Cable-Knit Sweaters
Get Crafty
By
Ayanna Massey
Crochet Pie Coasters Are the Ultimate Cozy Craft
Get Crafty
By
Beth Huntington
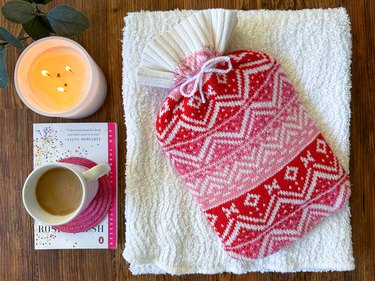
Craft a Cozy Hot Water Bottle Cover From a Sweater
Get Crafty
By
Beth Huntington
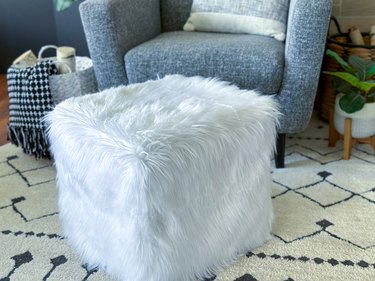
A Stylish Ottoman Pouf With Faux Fur & Glam Vibes
Get Crafty
By
Elba Valverde
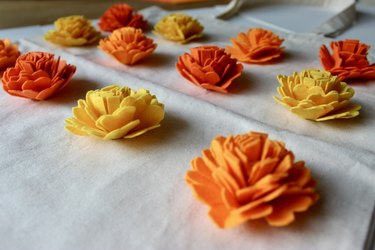
A Marvelous Marigold Tote Bag to Celebrate Fall
Get Crafty
By
Elba Valverde
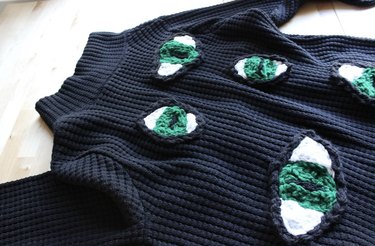
A DIY Cat-Eye Cardigan for Ultimate Coziness
Get Crafty
By
Beth Huntington
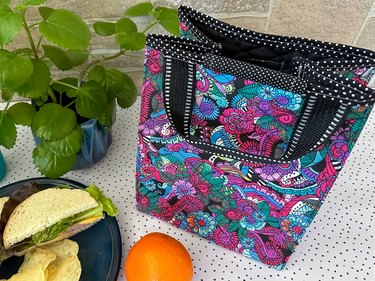
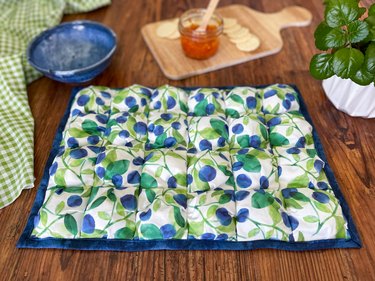
A DIY Quilted Lunch Bag to Upgrade Lunchtime
Get Crafty
By
Beth Huntington
A DIY Crossbody Bag for Concerts, Festivals & Beyond
Get Crafty
By
Beth Huntington
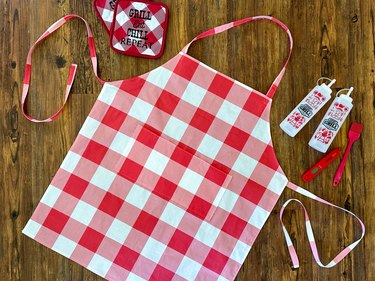
A Gingham Grilling Apron with Pockets for Tools
Get Crafty
By
Beth Huntington
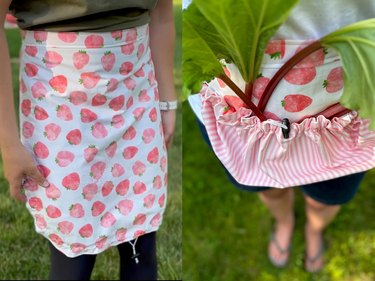
A Charming Harvest Apron for Gathering Fresh Produce
Get Crafty
By
Beth Huntington
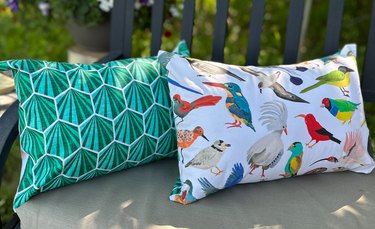
A Delightful Duo of Tropical Outdoor Pillows
Get Crafty
By
Beth Huntington
Puff Quilt Placemats to Dress Up the Table
Get Crafty
By
Beth Huntington
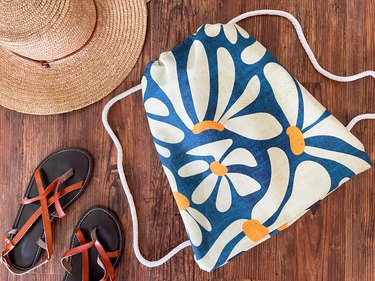
A Bright & Beachy Drawstring Bag to Carry the Essentials
Get Crafty
By
Beth Huntington
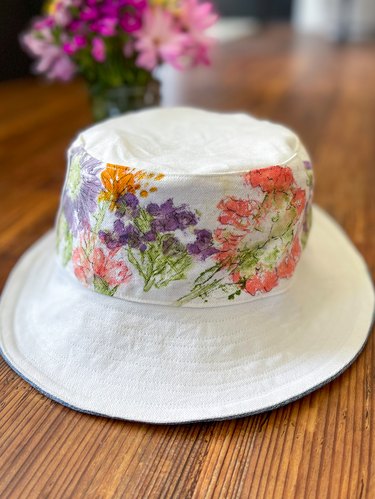
A Whimsical Gardening Bucket Hat Decorated With Natural Flower Dye
Get Crafty
By
Jessie Quinn
Want to Make Your Own Rugs? Here's Everything You Need to Start Tufting
Get Crafty
By
Beth Huntington
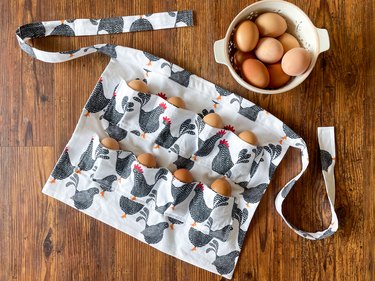
Farmhouse Fashion: A Homemade Egg Apron
Get Crafty
By
Kirsten Nunez
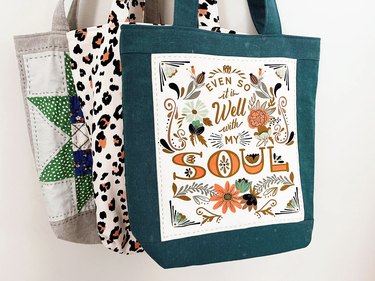
Embroidered Corner Bookmarks with Whimsical Vibes
Get Crafty
By
Beth Huntington
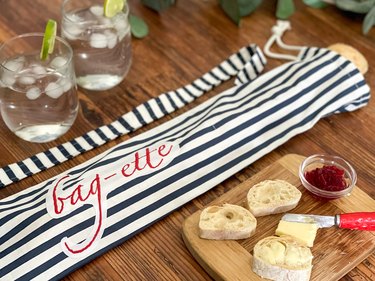
Bakery Chic! A French-Inspired Baguette Bag
Get Crafty
By
Jessie Quinn
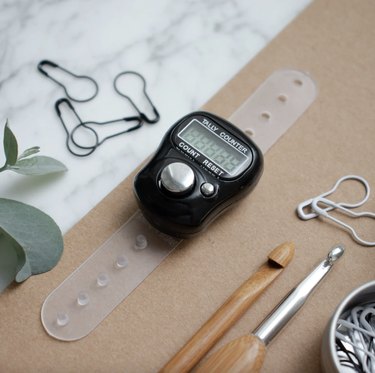
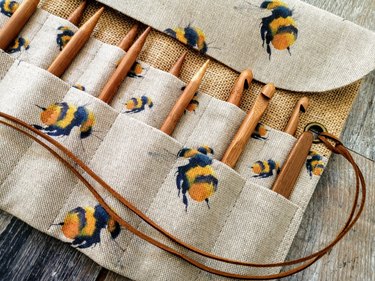
Tools to Take Your Crochet Hobby to the Next Level
Get Crafty
By
Jessie Quinn
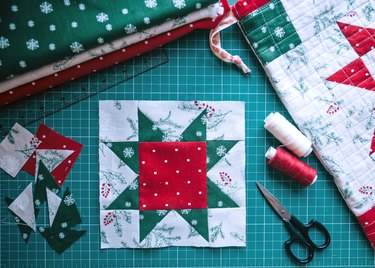
We Scoured Etsy for the Best Beginner Sewing Patterns
Get Crafty
By
Jill Layton
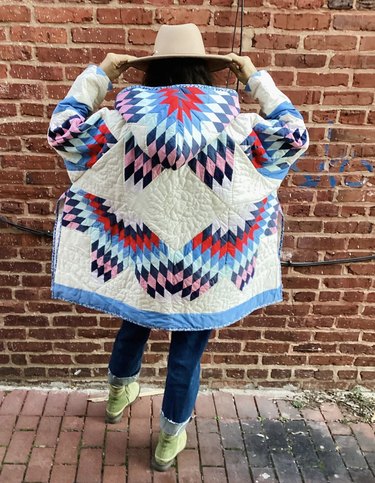
These Etsy Makers Turn Handmade Quilts Into Stylish Clothes
Get Crafty
By
Jill Layton
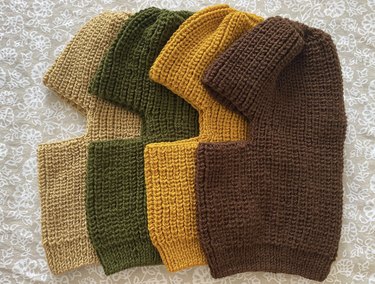
Knitted Balaclavas Are This Winter’s Must-Have Accessory
Get Crafty
By
Jill Layton
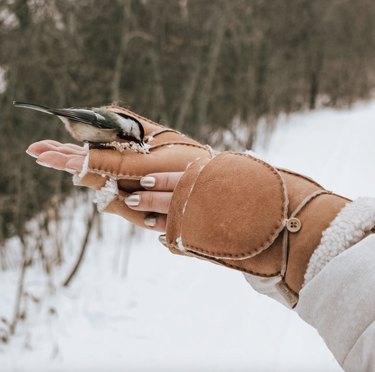
Ultra-Cozy, Handmade Mittens You Can Buy on Etsy
Get Crafty
By
Beth Huntington
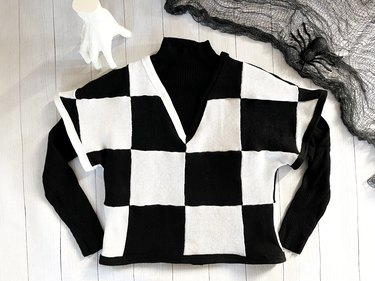
Embrace Your Inner Addams with a DIY Wednesday Sweater
Get Crafty
By
Beth Huntington
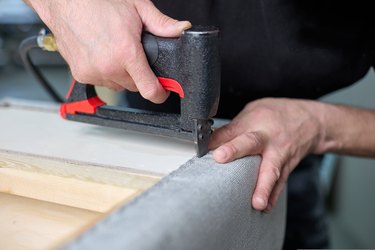
These Staple Guns Are Perfect for Using on Upholstery
Get Crafty
By
Beth Huntington
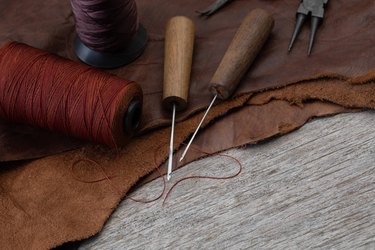
Sewing Awls Perfect for Sewing Leather and Heavy-Duty Materials
Get Crafty
By
Beth Huntington
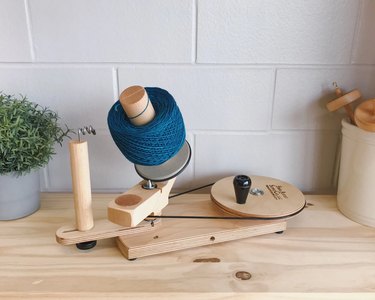
Yarn Winders That Will Keep Your Sewing Space Neat and Tidy
Get Crafty
By
Beth Huntington
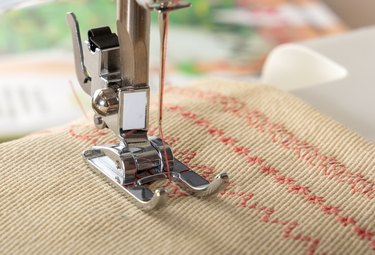
Sewing Machine Feet Are the Sewing Companions You've Got to Have
Get Crafty
By
Beth Huntington
Sewing Pins That Make Every Type of Project Sew Simple
Get Crafty
By
Sophie Boudreau
Crafts That Give Back: Spread Cheer by DIYing for Charity
Get Crafty
By
Jessie Quinn
Holiday Gift Shopping for Sewers—Made Sew Simple
Get Crafty
By
Beth Huntington
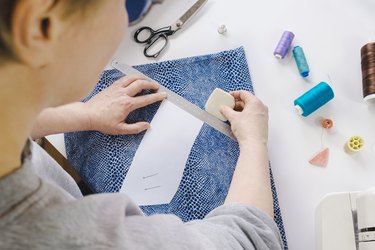
The Best Marking Tools for Sewing in 2022
Get Crafty
By
Beth Huntington
The Best Crochet Tools for Beginners
Get Crafty
By
Beth Huntington
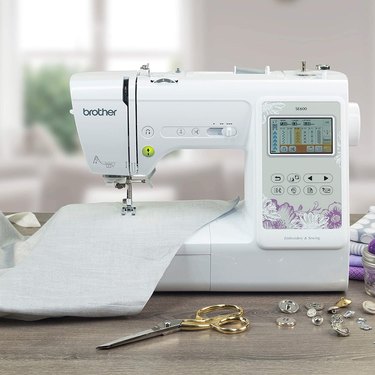
The Best Embroidery Machines in 2022
Get Crafty
1
2
3
4
5
>
Report an Issue
Contact*:
Severity*:
High
Normal
Low
Description*:
Screenshot loading...
Cancel
Submit