In PowerPoint, no two objects are ever exactly side by side. If you drag a picture or a shape, for example, you'll find that it's always above or below other shapes, including text boxes. Opening the Selection pane makes it easy to manage these layers, particularly when you have a lot of objects, for example in a photo collage.
The screenshots here show PowerPoint 2013; however, the process is the same for PowerPoint 2010 and 2007.
Video of the Day
Video of the Day
Step 1
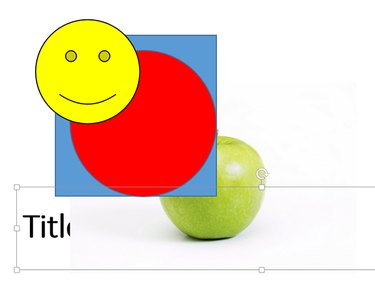
Add some shapes or pictures to any PowerPoint slide by selecting the options in the ribbon under the Insert tab. Arrange them in any positions you please.
Step 2
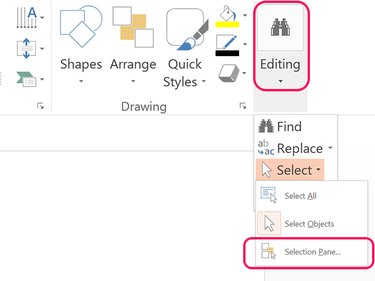
Click the Home tab and then click the Editing icon on the far right of the ribbon. Click Select and then Selection Pane. The Selection Pane opens, listing every object in the PowerPoint slide.
Step 3
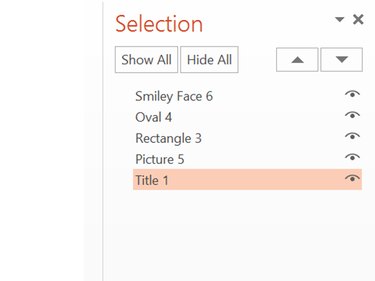
Click any object in the Selection Pane. The object is also selected in the slide, with a border appearing around it. Drag the object up or down in the list, or click the Arrow icons, to change its layer position.
Step 4
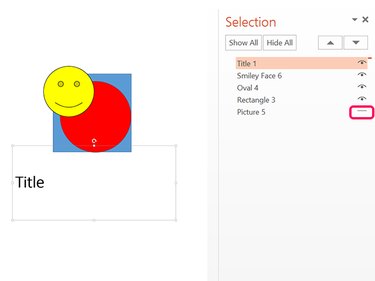
Click the Eye icon beside any item in the Selection Pane to hide it from view. To reveal the object again, click the empty Bar that appears where the Eye icon was. Note that there are two buttons at the top of the pane to Show All or Hide All of the objects.
Step 5
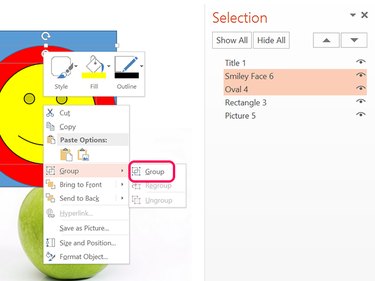
Select two or more items by Ctrl-clicking them in the Selection pane. To group or ungroup the selected objects, you can right-click one of the objects or use the icons in the Picture Tools' or Drawing Tools' Format ribbon. A new Group item appears in the Selection panel.
Step 6
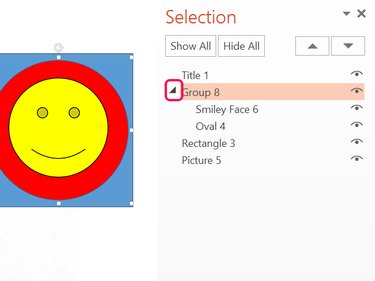
Hide or reveal items under a Group item by clicking the small Arrow beside the group name. Clicking the Group in the Selection panel selects all of the items in that group, while clicking a single item in that group selects only that item.