Things You'll Need
Plastic or wooden ruler
Drill and drill bits
Small screws
1/2-inch plywood, 6 by 24 inches
1/2-inch vinyl tubing, 6 feet long
5 1/2-inch hose clips
16-ounce measuring cup
Food coloring
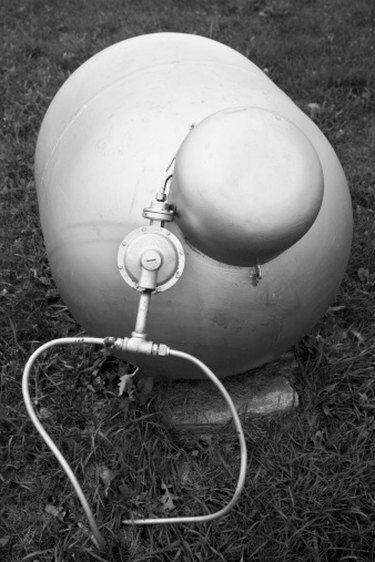
If you have a weak flame on your propane barbecue grill, but the tank is full and the valve is on all the way, your next step is to track down the mysterious lack of gas pressure. A water manometer is a handy gadget that can be used to test the pressure on propane and natural gas appliances, among other things. You can buy one, but making one is easy, inexpensive and requires just a few simple tools.
Step 1
Drill two small holes in a plastic or wooden ruler. Make one hole near the top and the other near the bottom, in a location that won't interfere with the visibility of the inch scale.
Video of the Day
Step 2
Place a 6-by-24-inch piece of 1/2-inch plywood lengthwise on a solid work surface. Align the edge of the ruler against the right side of the plywood, with the top of the ruler at the top edge of the board. Make sure the inner scale on the ruler reads from 0 at the lower end to 12 at the top. Mount the ruler to the plywood with two small screws.
Step 3
Place one end of a 6-foot length of vinyl tubing alongside the ruler, with the end of the tubing even with the top of the board. Attach the tubing to the plywood using two 1/2-inch tubing clips and screws. Screw one clip at the top of the tubing and the other midway down the plywood. Make sure the clips don't interfere with the ruler.
Step 4
Attach the tubing with two more clips near the bottom of the board, one on each side, so the tubing forms a U. Make sure the bottom of the U remains on the plywood. Run the tubing halfway up the other side of the board and attach it with a tubing clip. Allow the rest of the tubing to hang free.
Step 5
Place the board upright and lean it against a solid surface. Mix two cups of water with three drops of food coloring in a measuring cup. Pour the colored water into the tubing until the water level reaches the 0 mark on the ruler.
Step 6
Attach the loose end of the tubing to a low-pressure appliance or supply line to check the pressure. Each 1/2-inch increment on the ruler is equal to 1 inch water column of pressure, or 1 WC.
Tip
Propane appliances such as grills and RV stoves generally run on 10.5 to 11 inches WC.
You may have to use fittings that have a 1/2-inch barb connector on one end and threaded connectors on the other to attach the manometer to different kinds of appliances and supply lines.
Warning
Use soapy water to test for leaks after reattaching supply lines to appliances.
Video of the Day