Things You'll Need
Coarse-grit sandpaper
Concrete base
Wire/ wire mesh
Nails
Chalk
Fine clay soil
Sand
Lime putty (optional)
Rubber gloves
Palette knife
PVA glue
Water-based colors

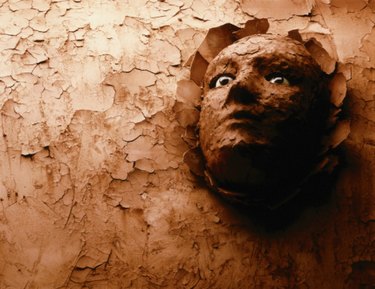
Mud is a term that refers to a wide range of materials including soils, clay and plaster or a combination of them. The material can be used in art projects to make free-standing sculptures or relief patterns on walls. Mud has similar properties as clay, but it doesn't require firing to harden it. To make a resistant sculpture, make a wire frame and apply the mud on it.
Step 1
Wash the wall to prepare it for the mud relief sculpture. Sand the wall with a coarse-grit sandpaper to create a rough surface so that the mud sticks to the wall. If making a free standing sculpture, choose a base for the piece. A concrete base works best.
Video of the Day
Step 2
Sketch the design for the sculpture and make a wire frame, also known as armature. The armature holds the sculpture together. If you plan to make a relief sculpture, draw the shape of your sculpture on the wall using chalk. Insert nails in the wall following the outline of the sculpture. Add a few nails inside the outlined area and tie wire around the nails.
Step 3
Prepare the mud using fine clay soil, sand and water. Add equal parts of soil and sand and mix with water to obtain a homogenous paste. This way there won't be cracks in the sculpture once the mud dries.
Step 4
Apply a thin layer of mud on the wall or the free-standing wire frame. Use a palette knife or your hands, while wearing rubber gloves. Allow the mud to dry.
Step 5
Apply a thicker layer of mud and shape it according to the desired design. Allow the piece to dry.
Step 6
Seal the sculpture using diluted PVA glue.
Step 7
Paint the sculpture using water-based colors. Color the relief sculpture in the same color as the walls or choose a complementary color.
Tip
Use timber or windbreak netting instead of the wire to create a frame for a free standing sculpture. Use the palette knife or a carving tool to create textures on the mud, before the second layer of mud dries. Mix colors into the plaster and mud to obtain a colored sculpture. Add lime putty to the mud mixture, which is a binder and makes the material more durable and less prone to cracks. Textured walls are ideal for relief mud sculptures, because the mud adheres better to the wall. Display your sculpture outdoors and mix the mud with grass, so that your piece of art is continually changing.
Video of the Day