Preserve precious memories and clean out your junk drawer simultaneously by creating these quirky resin creations. Encase plastic toys, beach-combing treasures, spare hardware, beads and other found things into jewelry or decorative objects for your home.
Things You'll Need
Resin
Resin casting molds
Wood stir sticks
Disposable plastic mixing cups
Hard objects to encase in resin
Decoupage
Toothpicks
Wax paper
Fine grit sand paper
Scissors
Video of the Day
Hard objects like plastic toys, sea glass, rhinestones and beads work best for this project, while wood, fabric and paper inclusions must be sealed multiple times with decoupage to avoid resin from seeping in and discoloring the objects. Resin molds can be purchased online -- silicon baking molds are a great option and make it easy to remove cured resin.
Video of the Day
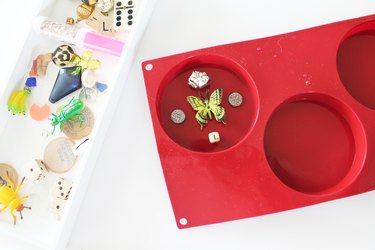
Step 1: Arrange Items in Casting Mold
Before mixing resin, arrange the items you'd like to include in your casting mold. When choosing objects be aware of the depth of the mold -- if it sticks out above the level of the mold it won't be encased by the resin. Be sure you're working on a level surface and your mold is clean before you move on.
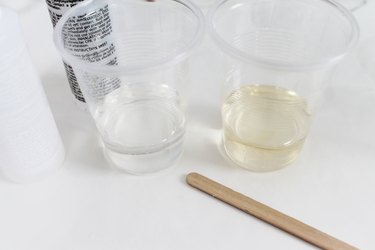
Step 2: Mix Resin
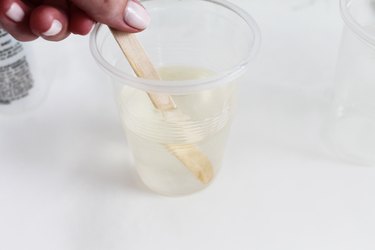
After covering your workspace with wax paper, measure equal parts of resin and hardener into disposable plastic cups and mix with a wood stir stick according to instructions on packaging.
Warning
It is crucial that you follow the mixing and stirring steps included with your resin explicitly. Measurements and stir times must be precise to ensure your resin cures properly and doesn't create a sticky mess.
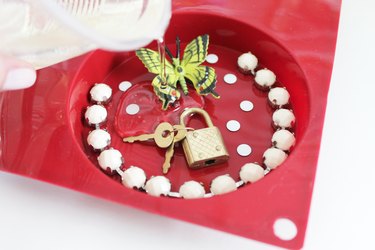
Step 3: Pouring Resin
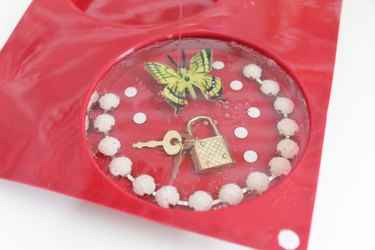
Pour mixed resin slowly into the mold over your objects until all items are encased by the resin. Pour from the center to avoid drips hardening on the side of your mold. You will see bubbles forming and rising as the chemical reaction of hardening occurs, but these bubbles won't be in your final casting.
If items shift while pouring resin you can easily move them back into place with a toothpick. Allow to sit 24 hours on a level surface for the resin to fully cure before removing from the molds.
Step 4: Remove Castings from Mold
Test to be sure your resin has cured and is no longer tacky to the touch--castings may require longer standing times depending on the thickness of your mold.
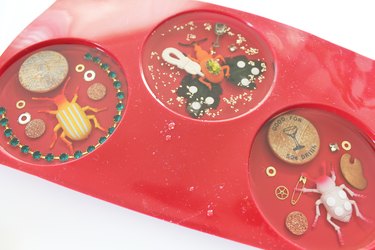
Remove your castings by bending back the edges of the mold until the resin pops out. Use a fine grit sandpaper or nail file to sand any uneven edges or drips.

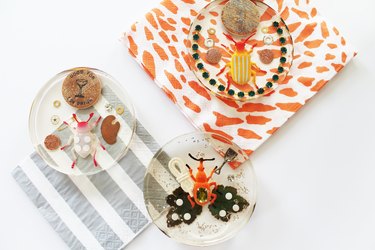
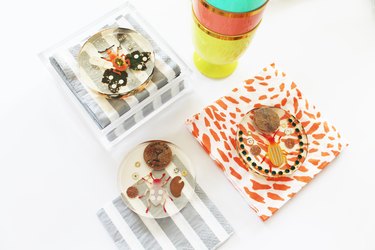
Style your resin castings around your home or office as fun paper weights and coasters or give a set as a handmade housewarming gift! Create fun colors by mixing in powdered pigments, or try bangle bracelet molds to cast wearable works of art!
Have questions about resin casting or suggestions on what types of objects to include? Leave them for us in the comment section below.