Things You'll Need
Scallop or oyster shell
Stiff-bristled cleaning brush
Pencil
Rotary power tool
Cutting wheel bits
Router carving bit
Grinder bit
Sand paper
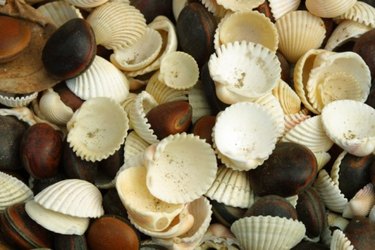
Similar in properties to both bone and delicate stone, seashells are a renewable carving medium that is good for beginners and experienced artisans alike. Carved shells are often seen transformed into jewelry, inlays, or small sculptures and textured art pieces. To get started with the art and craft of shell carving, try out a basic outline carving form that you can master with relative ease before trying out more complex projects.
Step 1
Thoroughly wash and dry the shell. If it's a fresh, natural shell you collected yourself, scrub it with a stiff-bristled brush, inside and out, and soak it overnight in a solution of one part bleach, eight parts water.
Video of the Day
Step 2
Sketch an outline of the carving design you want on the surface of the shell in pencil. Use thick, dark lines to cover the pencil, since some of the pencil may rub off as you handle it. Shade in the areas on the shell that you'll be removing and leave white the parts that will remain as the finished carving.
Step 3
Fit the rotary power tool with a small grinding wheel. Remove as many large chunks of material from the shell using the wheel attachment, being careful to keep from getting too close to intricate lines. Remove pieces in roughly rectangular shapes so that you can use the wheel, which only cuts straight lines.
Step 4
Use the conical routing attachment or carving tool to make more detailed cuts in the shape. Use a medium speed setting or a number in the middle range of the tool's speed dial. Follow the outline edges of the pencil sketch. Remove the material in many very small chunks, rather than trying to follow the cutting lines in one continuous movement.
Step 5
Switch to a detail grinding bit. Soften the edges of the carving using a low speed. Round the cut edges down and make them consistent across the entire carving.
Step 6
Remove the pencil lines using an eraser. Wash the shell with soap and water to remove eraser residue and any pencil that still remains.
Step 7
Sand the finished shell by hand using sand paper. Tear tiny pieces of sand paper, as needed, to fold and work into the edges and crevices in the carving's shape.
Tip
The thicker the shell you have, the smaller you can make the details in your carving, because the shell will be thick enough to stay sturdy.
Video of the Day