Things You'll Need
Tape measure
Louvered shutters to fit window
Hardwood lumber
Band saw
Sander
Drill
Treated deck screws
Wood filler
Paint or stain
Paint brush
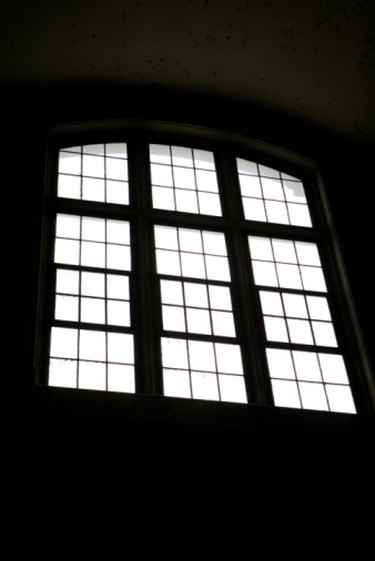
With their adjustable louvers, plantation shutters add a sense of sophistication to your window treatments, while helping you control light. Creating arch topped plantation shutters from scratch is out of reach for most at-home carpenters, but don't despair over fitting those arch topped windows with custom shutters. You can create an arch top plate to fasten to a wooden plantation shutter of your choice. Careful measurements and patience in getting the right fit are the keys to success in this project.
Step 1
Measure the width and the height of your window, up to the point that the curve of the arch begins. Select your shutter as if fitting a rectangular window that same height and width.
Video of the Day
Step 2
Place a piece of cardboard over the top of the window, large enough to cover the arched area. Trace the arch onto the cardboard. Mark the point on each side where the arch meets the vertical side of the window. This should be the same spot you measured to for the shutter height.
Step 3
Draw a line along the bottom of the arch on the cardboard, between the points where the arch meets each side of the window frame. Cut this semi-circle out with a utility knife. Lay the two halves of your window shutter side-by-side with the semi-circle centered on to the top of the shutters. Mark the outside edges of the shutters on the cardboard.
Step 4
Measure in from the edge of the cardboard to the marks on each side. Fold the cardboard template in half and draw a line, following the curve of the top, as far in as the mark you made. This will create an arc the right shape and size to match the shutters and the window. Cut the template in half along the fold.
Step 5
Select hardwood 2-by lumber in the same species as the wood in your shutters. Most shutters are made from 2-by stock, which is1 ½ inches thick. If yours is not, plane the hardwood to match the thickness of the shutters, or pay a cabinet shop to do it for you.
Step 6
Trace each half of the template onto the hardwood lumber, placing the square corner in a corner of the lumber, so that you only have to cut the curve. Cut the two curved lines on a band saw to create the top plates for your shutters. Sand the pieces thoroughly with 100-grit sand paper.
Step 7
Remove the shutter mechanism from the frame. Consult your owner's manual for specifics. In general, the shutters will either be controlled by a central wooden rod, which can be disconnected at the top and bottom to remove the entire assembly, or by a rod along the side. For the second style, carefully flex the top two louvers and remove them from their slots.
Step 8
Mark the inside of the top of each shutter 2 inches in from the inside corner on each side of the shutter. Make the mark centered from front to back on the inside of the top. Drill pilot holes with a 1/8 inch bit in each marked location.
Step 9
Apply wood glue to the top of the shutter and clamp the top plates to the shutters with bar clamps. Drive a 3 inch screw through each pilot hole into the bottom edges of the top plates to anchor them in place. Fill the holes over the screw heads with wood filler and allow it to harden. Sand the filler smooth.
Step 10
Paint or stain the top plates of the shutters to match the color of the shutters. Use two coats of latex semigloss paint for painted shutters or two coats of stain and finish all-in-one for stained shutters. Use a fine bristle brush and long straight strokes to apply the finish. Spread it as even as possible to avoid runs and drips. Allow the label recommended drying time between coats.
Video of the Day