Things You'll Need
Plumber's putty (optional)
Basin wrench
Screwdriver
Bucket
Plumber's tape
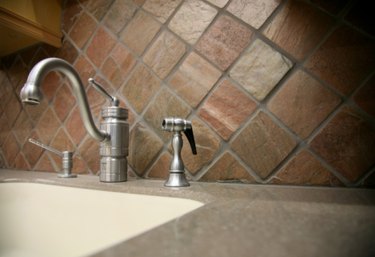
Countertop mounted faucets are available in a variety of shapes and designs, but the installation procedure is essentially the same. If possible, have the holes predrilled in your granite countertop to match your faucets and their spacing before mounting. Countertop mounted faucets are generally of a single hole design, and are fixed to the countertop from underneath, using either a mounting bracket or a locknut. The two water supply holes run through this same hole. Get your countertop mounted first, if it isn't already.
Step 1
Read the directions that come with your faucet first. Some faucets have specific plumbing needs that cannot be addressed by a general set of instructions.
Video of the Day
Step 2
Attach the faucet supply pipes to the connectors in the interior of the faucet. Tighten the connections, and insert the other end of the supply lines first through the faucet base plate, and then through the mounting hole on the countertop. If the faucet base plate has a rubber gasket underneath to provide a watertight seal, and fits into the mounting hole of your granite countertop snugly, you need not add additional sealant.
Step 3
Press a ring of plumber's putty around the top edge of the mounting hole if there is no rubber gasket ring. Press the base plate into this putty ring to create a watertight seal. Scrape the putty that squeezes out on the outside, and allow it to set.
Step 4
Screw the large nuts that mount the faucet into place up the threaded connector from underneath the sink. Tighten with a basin wrench to ensure snug contact with the granite countertop. If your faucet comes with a mounting bracket and mounting screws instead of using a nut and a threaded connector, slide the mounting bracket into place from under the sink and fasten the mounting screws through the bottom of the counter with a screwdriver.
Step 5
Flush the supply line into a large bucket to clear any debris before connecting the supply line to the connector. Connect the supply lines to your water supply pipes using the threaded connectors attached at the other end. If your supply lines are not long enough to reach the connector, use braided steel extension pipes to ensure strength and longevity of the supply line. Tighten until you feel resistance, but do not overtighten.
Step 6
Turn on the faucet to check for leaks, and tighten or apply plumber's tape around any threaded connectors and reconnect.
Video of the Day