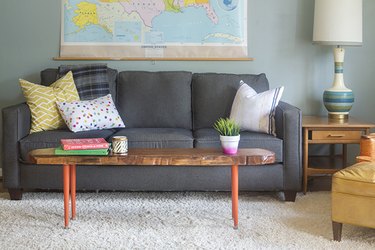
Live edge wood slabs, when used in décor, offer an added dose of texture and one-of-a-kind style. Because no two are ever the same, you can rest assured knowing that your piece is completely custom-made. In this tutorial, you'll learn how to turn a live edge wood slab into either a coffee table or a bench that can be changed up on a whim.
Video of the Day
Things You'll Need
Live edge wood slab
Wood carving tools
Sand paper, 40-grit and 100-grit
1-inch foam paintbrush
Clear urethane sealant
Pencil
Ruler
4 flat table leg brackets
16 #8 1 1/2 inch screws
4 16-inch wood round tapered table legs with threaded center section and metal caps
Drill bits to match the screws and table legs
Electric drill
Painter's tape
1-inch foam paintbrush
Interior paint in your color of choice (orange was used for this project)
Felt table leg pads (optional)
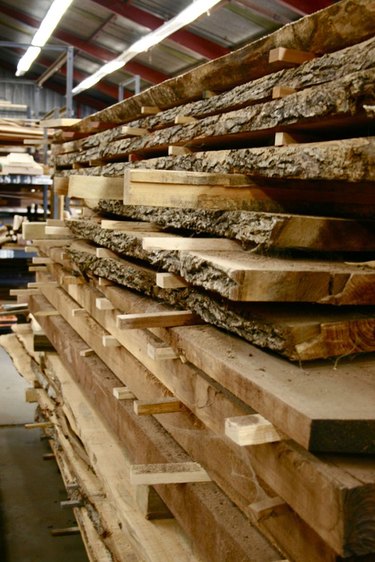
Step 1: Find and Prep a Slab of Live Edge Wood
To find a live edge wood slab, visit your local lumber yard. These large warehouses often source all types of wood and will have a section specifically dedicated to wood that still retains its natural edge and bark. Once you've chosen your slab and brought it home, cut off the bark with a sharp carving tool (if desired) and sand both sawed edges and the sides of the slab where the bark was removed with sandpaper—first with a rough 40-grit, and then a finer 100-grit sandpaper.
Video of the Day
Then finish the slab prep process by coating the entire slab with two coats of clear urethane sealant—including the sides of the slab where the bark was cut off—using a foam paintbrush. Allow the urethane sealant to dry for one hour between coats, and allow the final coat to cure for a full 24 hours.
Warning
Be sure to wear thick safety gloves while trimming the bark off your wood slab. You'll also want to wear safety goggles and a face mask while sanding.
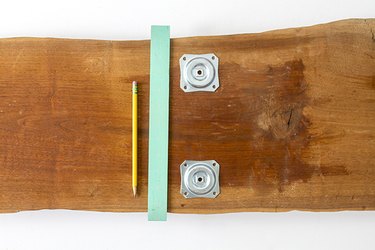
Step 2: Place and Mark Where the Table Leg Hardware Will Go
Flip the wood slab over and place your four flat table leg brackets where you'd like them to go on the underside of the tabletop. You can use a ruler to ensure an even placement on the wood. For this project, the hardware was placed 1 inch in from the front and back of the table, and 14 inches in from either end.
Hold each bracket in place, and mark through the bracket holes with a pencil. Make sure to mark all four of the screw holes on the corners of the brackets, as well as the center hole where the table legs will be screwed in.
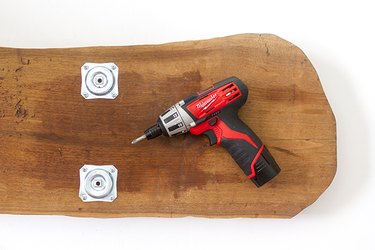
Step 3: Drill and Screw in the Table Leg Hardware
Using drill bits matched to the widths of your screws and to the center threaded section of the table legs, pre-drill all five holes that were previously marked on the underside of the wood slab. Then, use an electric drill outfitted with a Phillips-head screwdriver to attach the brackets to the wood with the accompanying screws.
Step 4: Mask Off the Ends of the Table Legs
Use painter's tape to carefully mask off the metal caps of the tapered table legs so that they don't get paint on them. Press the tape firmly in place before moving on to the next step.

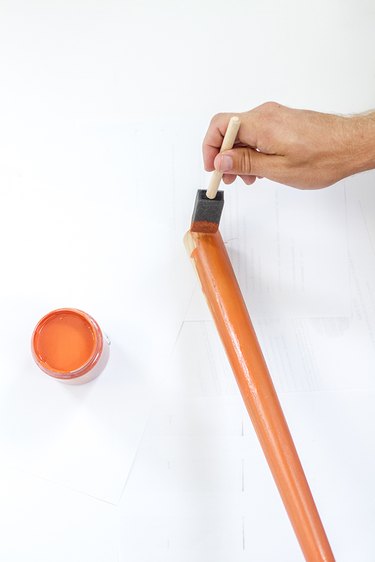
Step 5: Paint the Table Legs
Paint 2 to 3 coats of an interior paint in your desired color on the wooden table legs using a foam paint brush. Allow each layer of paint to dry for one hour between coats and allow the final coat to cure for a full 24 hours. Remove and discard the painter's tape.
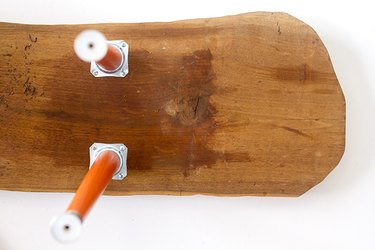
Step 6: Screw in the Painted Table Legs
Situate each of the four table legs over the center of the metal brackets on the underside of the wood slab, and screw them into place by turning the entire leg over the hole. Make sure that the threaded section on the end of each table leg securely screws into the pre-drilled hole you added in the center of the bracket in step 3 to ensure a tight, wobble-free construction.
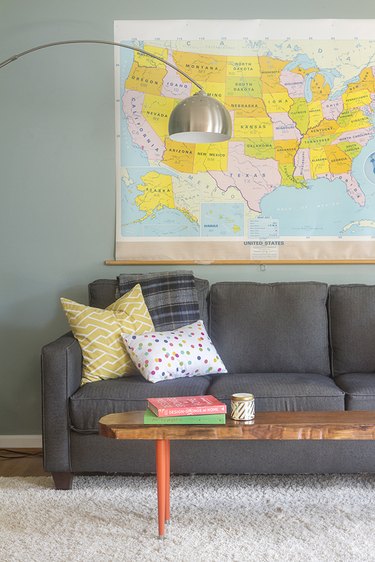
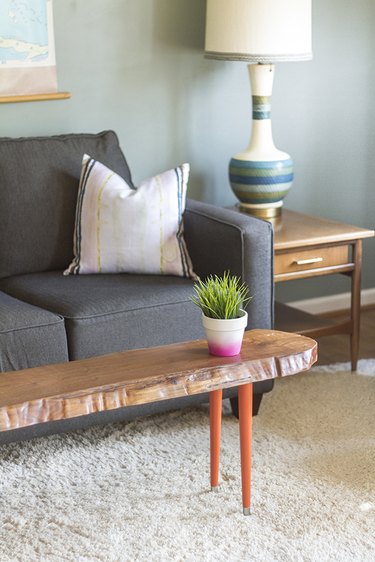
Step 7: Style Your Live Edge Wood Slab as a Coffee Table or Bench
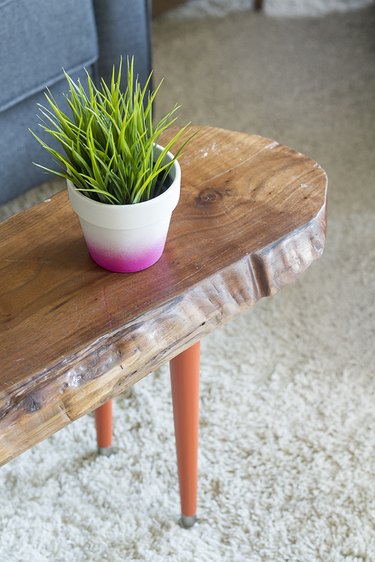
Flip your completed live edge table over and check for stability. Because live edge wood is often rough hewn and not perfectly straight, you may need to add a felt cushion to the bottom of certain legs that don't quite touch the floor. This will further stabilize the table and prevent it from wobbling when in use. Finish by styling the bench as either a coffee table or bench!
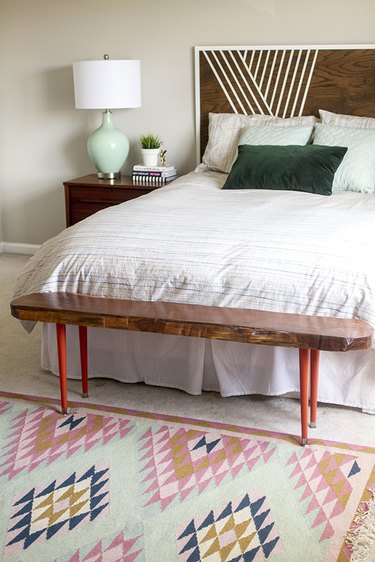
Get the DIY for the headboard pictured above here.