Things You'll Need
Screwdriver
Wire cutters
Wire strippers
Kinfe
ROMEX® 12/3 wire is used in buildings for circuits that use higher amperage than the standard 20 amps. Most people are not familiar with this type of wire because it is used to hook up heavy-draw appliances such as water heaters and central air conditioning. In most cases, there is no plug outlet because it is directly wired into the unit itself. The wire components of ROMEX® 12/3 wire are a black, red, white and a bare copper wire. Black is the hot wire and red is called the traveler wire which is also a hot wire. The white wire is the neutral wire. As for the non-coated copper wire, it is the ground.
Step 1
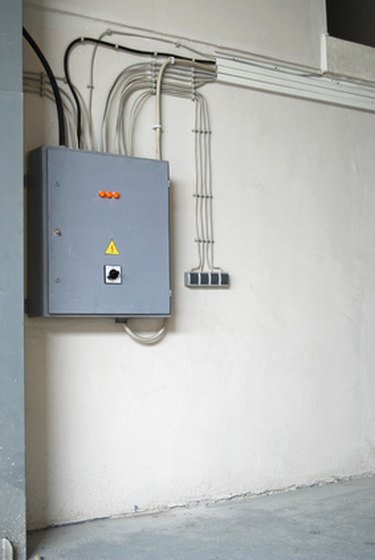
Turn off all power by switching the main power breaker at the fuse box to the "Off" position.
Video of the Day
Step 2
Measure the distance from the fuse box to the unit you are wiring. Go as closely to the route the wire will take as possible. Add a few extra feet of wire to make sure you have enough. Cut the ROMEX® wire to length with wire cutters. Remember that if you cut the wire too short, you cannot splice wires together to add length.
Step 3
Feed the ROMEX® wire through the wall or run it along the baseboards to the fuse box, starting at the unit you are wiring. Be sure that you comply with local building code wiring laws. Leave approximately 6 inches of play in the wire at the fuse box end of the wire.
Step 4
Locate the fuse switch you are going to be using in the fuse box. It will be a double-pole breaker switch (two 110-volt switches connected together). Remove the switch from the fuse box following the removal instructions on the box.
Step 5
Remove 6 inches of the outer coating from the end of the ROMEX® wire at the fuse box. Cut into the outer coating with your knife and turn the wire around to make a complete circle cut without cutting into the wires inside. Slide the outer coating off. Remove 3/4 inch of coating at the end of each of the three color-coded wires, using the wires strippers.
Step 6
Check the end of the switch for two holes into which the wires will fit, with a screw to tighten the wire into place. Insert the black wire into one of the holes and tighten the locking screw with your screwdriver. Insert the red wire into the second hole and tighten in position. Connect the white wire to the neutral bus and tighten the screw. The neutral bus is a long metal bar usually near the bottom of the fuse panel with a lot of other white wires connected to it. Bond the noncoated copper wire to the panel enclosure where the main ground wire hookup is.
Step 7
Cut back the other end of wire to length for the unit you wish to connect. Remove the outer coating of the ROMEX® cable the same way as in Step 5.
Step 8
Follow the wiring instructions for units such as a water heater. These units will have a wiring diagram on the service panel of the unit. Close the service panel door when complete. Turn the power back on.
Tip
Plan your wiring job out first. Work on one end at a time.
Warning
Make sure that power is turned off before you start, and that the switch is the correct amperage for the wire.
Video of the Day