Things You'll Need
2-inch by 4-inch utility lumber
1-inch by 4-inch utility lumber
Circular saw
Saw horses
C-clamps
Builder’s square
Wood chisel
Hammer
Cordless screw gun with screw tip
1 1/4-inch wood screws
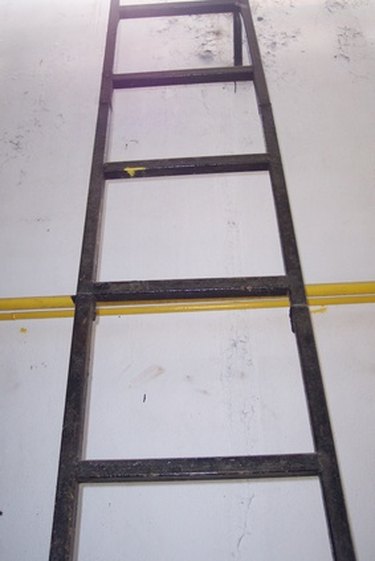
Ladders that provide ground access to a roof are made from steel, aluminum or wood. Welded steel roof ladders are required on many commercial buildings. Aluminum and wood ladders are suitable for home use. For safety reasons, a roof ladder must be long enough to stand at a convenient angle and extend above the edge of the roof. This allows you to maintain balance while climbing the ladder and to access the roof safely. Homemade roof ladders can be made with utility lumber and assembled using wood screws.
Step 1
Measure the distance from the ground or a landing to the edge of the roof. Add 4 feet to this measurement and cut two pieces of 2-inch-by-4-inch utility lumber to this length for ladder rails. Place the rails on edge and side by side atop sawhorses. Even the ends of the rails and clamp the rails at each end with c-clamps.
Video of the Day
Step 2
Start at one end of the rails and make layout marks for ladder rungs every 12 inches. Use a builder's square to mark across the rails at each 12-inch mark. Measure the width of the 1-inch-by-4-inch utility lumber that will be used as ladder rungs. The width should be about 3 1/2 inches for standard utility lumber. Make additional marks across the edges of the rails 3 1/2 inches from each of the first marks.
Step 3
Set the depth of the circular saw blade to the thickness of the 1-inch-by-4-inch lumber. This will be about 3/4 inch for standard utility lumber. Cross-cut the rails at each of the rung marks with the circular saw. Remove the c-clamps and lay the rails flat on the sawhorses.
Step 4
Use a wood chisel and hammer to chip out the 3 1/2-inch wide sections in each rail. Work the chisel between the saw cuts to create 3/4-inch recesses for the rungs. Count the total number of recesses on one rail and cut as many pieces of 1-inch-by-4-inch lumber 16 inches long, to be used as the ladder rungs.
Step 5
Position the rails 16 inches apart on edge with the recesses facing up. Lay the ladder rungs in the recesses and flush the ends with the outside edges of the rails. Use a cordless drill with a screw tip and attach the rungs to the rails by using 1 1/4-inch wood screws. Use two screws on each end of a rung for a stable attachment.
Step 6
Stand the ladder against the roof at an angle that allows for balance when climbing. Cut two additional pieces of 1-inch-by-4-inch lumber 16 inches long as stabilizers. Place a stabilizer on edge against each rail at ground level. Attach the stabilizers to the rails with wood screws.
Tip
Use wood glue with screws to attach the rungs.
Paint the ladder with exterior wood trim paint.
Warning
Do not use lumber that has large knots.
Video of the Day