Things You'll Need
Beaded dress
Measuring tape
Fabric pencil
Thread
Sewing needles
Pins
Seam ripper
Scissors
Home sewing machine
Although dress tailoring is a fairly common practice for those that sew at home, tailoring beaded items is not. The process is extremely time-consuming and can be difficult, especially for complex beaded designs. Even some professional tailors will not touch a garment that requires alterations in the areas where the beading is present, as the possibility of ruining the beading is high. However, it is possible to tailor your own beaded clothing, like dresses, by taking a few precautions to protect the beading.
Step 1
Determine the type of alteration that needs to be performed. You may need to hem the dress, take in the side seams or take in the back seam. If you need to let out any seams, you may create gaps in the beaded design. However, it is also less likely that you will have any problems with the beads themselves.
Video of the Day
Step 2
Measure the amount of fabric you need to take in or let out on the area of the dress you are altering. Mark the new seam lines with a fabric pencil.
Step 3
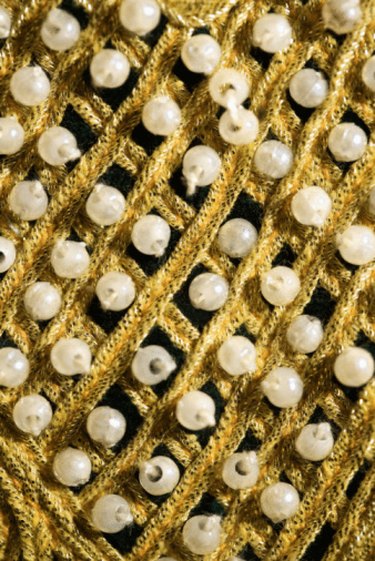
Find the beads that are closest to the area you need to sew and decide which beads you will need to remove. Make sure that no beads will be caught under the presser foot of your sewing machine. If necessary, you can draw a diagram to use as a reference for reattaching the beads later.
Step 4
Reinforce the remaining beads near the alteration area with some hand stitching. Examine the threads that already attach the beads to the dress, and determine whether cutting any of the threads will cause the whole design to fall apart. If so, you will need to tie down the remaining ends of the bead threads and tack down each individual bead by hand.
Step 5
Remove the beads you decided upon in Step 3 by cutting the threads that attach them to the dress. Put the beads aside.
Step 6
Open the existing seam line that you wish to alter, using a seam ripper. Pin the seam back together along the new seam line you drew in Step 2.
Step 7
Sew the new seam line or hem with your sewing machine. Knot and trim the thread ends as desired.
Step 8
Reattach the beads you removed in Step 5, using your drawn diagram as a reference if you need to. Use small hand stitches to secure the beads.
Tip
In addition to securing the beads by hand stitching, you can also use seam tape to temporarily hold the beads while you work.
Video of the Day