Things You'll Need
Old newspaper
Thick gloves
Protective glasses or goggles
Walnuts
Hammer
Garden hose or bucket
Nutcracker
Vice
Sealable plastic bag or airtight container
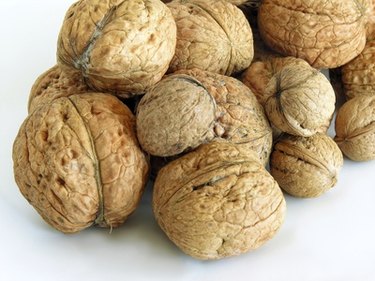
Walnuts come in different varieties; there is the black or American walnut, and the Carpathian, Persian or English walnut. The black walnut has a much tougher husk than the Carpathian walnut, so much so that people have been known to drive their cars over them just to break them open. The black walnut also has a much stronger flavor, but both varieties of walnut can be used in baking, on salads and in desserts. The walnut is a versatile ingredient to add to your kitchen cupboards, and cured walnuts have the additional benefit of being long lasting.
Prepare
Step 1
Cover your work surface with old newspaper and put on gloves and protective glasses. Walnut husks contain a brown dye that stains, so protect your surfaces and your hands.
Video of the Day
Step 2
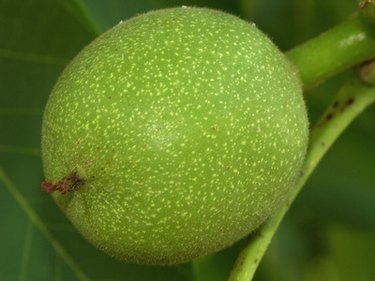
Take off the husks of the walnut by rubbing with your hands or using the side of a hammer. Black walnuts are much tougher, and you may need to use some force to remove the husks.
Step 3
Rinse the nuts either outside using a garden hose or in an old bucket; dye will still be on the nuts so this will get rid of it. Let the nuts dry.
Cure
Step 1
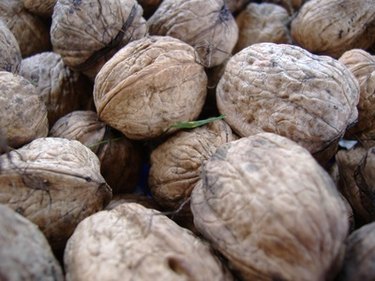
Place the nuts in a cool, dry place to dry out. Stack them only two or three layers deep so that there is plenty of air circulating for them to dry well.
Step 2
Leave the nuts to cure for four weeks. Do not allow any direct sunlight into your curing space.
Step 3
Take out a sample nut and test. If the shell breaks easily and makes a sharp cracking sound the nuts are ready. If not leave for another week and sample again.
Shell and Store
Step 1
Moisten your walnuts before you shell them; this stops them from shattering and you are more likely to end up with whole nuts. Soak them in hot water for 24 hours, drain them and soak them again for two hours.
Step 2
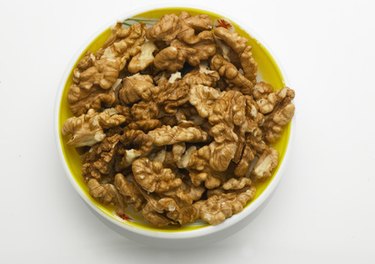
Use a nutcracker to remove the shells, if the shell does not yield use a vice to take off the shell. If you do use a vice, do this slowly and gently so as not to shatter the nutmeat.
Step 3
Place all your shelled walnuts in a sealed plastic bag or airtight container. The nuts can be stored in the refrigerator for up to nine months and frozen for up to two years.
Tip
Airtight storage jars can be bought from home and garden stores. Use the attic, cellar (if it's not damp) or airing cupboard to cure your nuts.
Warning
Do not use sharp knives or other sharp objects to remove husks or shells from nuts; this is a dangerous practice and you could be injured. Do not put walnut husks to compost as they contain chemicals harmful to other plant life.
Video of the Day