Rubber and vinyl baseboard moldings protect wall bases from scuff marks caused by brooms, vacuum cleaners and wet mops. Since it is waterproof, rubber molding is an ideal choice for wet areas such as bathrooms, laundries and utility rooms. Two types are available: flat molding supplied in rolls or strips of cove molding, which have a curved bottom edge to cover the expansion gap between walls and floors. Both types are 4 inches high and about 1/16 inch thick. The material is flexible and comes in various colors. Cove molding is trickier to install than flat molding.
Video of the Day
Things You'll Need
Pencil
Steel Tape Measure
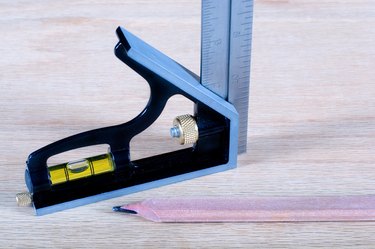
Carpenter’S Square
Small Rubber Roller
Rag
Plywood
Manufacturer’S Recommended Adhesive
Notched Trowel
Utility Knife
Caulk Gun
Step 1
Measure the exact length of the starter wall with a steel measuring tape. If this exceeds the length of a strip, measure the difference on another piece and mark the cut-line with a pencil and carpenter's square.
Video of the Day
Step 2
Place the piece to be cut face down on a plywood working surface with the lip overlapping the edge. Use the carpenter's square as a guide and cut the piece with a sharp utility knife. Place the uncut cove section onto the plywood and finish the cut.
Step 3
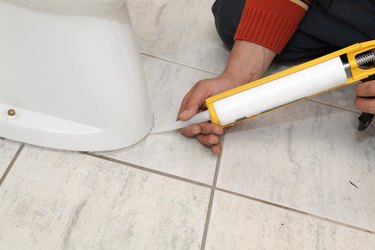
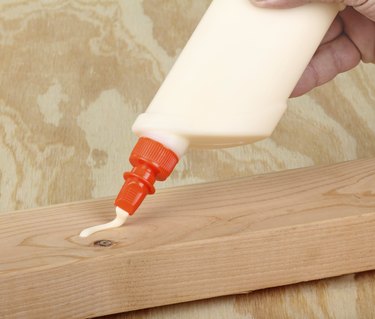
Load a caulk gun with the adhesive recommended by the manufacturer. Apply a thin, wavy strip of adhesive to the back of the molding. Spread the adhesive evenly over the surface with a trowel.
Step 4
Butt the end against the doorjamb molding. Press the length of molding firmly against the wall with the flat of your hand. Place a small rubber roller against one end of the molding and roll the entire section while applying sideways pressure. Wipe excess glue off with a damp rag. If more than one length is required, apply adhesive to the back of the second section, butt the ends together and repeat.
Step 5
Dry fit a length of cove molding against the inside corner of the adjacent wall. Place the new section into the corner with the coves overlapping. Mark a line on the new piece where the coves overlap.
Step 6
Place the new piece flat on the plywood with the cove upright. Cut through the top edge of the cove up to the cut line. Cut through the short face of the cove and remove the scrap piece.
Step 7
Dry fit to ensure the two pieces form a seamless corner joint. Complete the inside corner installation along the adjacent wall as described in Steps 4 and 5.
Step 8
Fit cove molding around an outside corner by positioning the molding against the wall. Mark the back of the molding at the corner with a pencil.
Step 9
Carefully bend the piece at the mark until the insides are face to face. Use a sharp utility knife to shave away about half the thickness of the rubber where it turns the corner. Test the fit by bending the molding around the outside corner to ensure proper fit. Install as described in Steps 4 and 5.
Tip
Store the material at room temperature for three to four hours prior to installation to allow it to acclimatize and become flexible. Work from right to left and begin installation against the door molding at the entrance to the room. Install vinyl baseboard molding the same way you install rubber baseboard molding.