Things You'll Need
Bobbin
Needle
Stiff brush
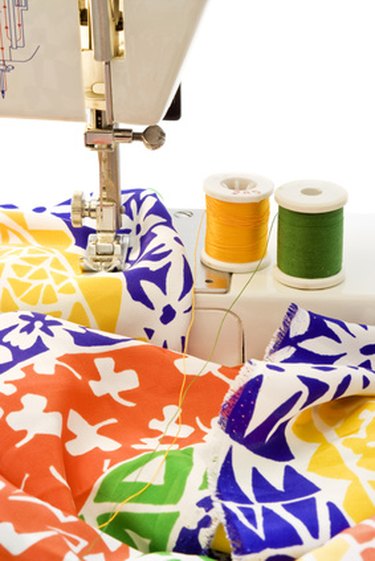
The Brother VX-1120 sewing machine offers basic stitches for the novice sewing or crafting enthusiast. While the lack of bells and whistles might sound unappealing, it also means that less can go wrong which is of great benefit to those just learning how to sew. If your Brother VX-1120 isn't working properly or you aren't happy with the quality of the stitching, simple troubleshooting can allow to you to quickly identify and solve the problem.
Broken Thread
Step 1
Inspect the thread from the spool located at the top of your Brother Sewing machine to the needle. If the thread is tangled or knotted, it may not run smoothly through the machine and could snap or break while you are sewing. Untangle the thread to solve this problem.
Video of the Day
Step 2
Remove the shuttle cover located underneath the needle on your Brother VX-1120 sewing machine. This exposes the bobbin case. Remove the bobbin case and ensure that the bobbin thread is not tangled. If the bobbin is tangled and knotted, unwind the thread and refill the bobbin. Replace the bobbin case and shuttle cover before you continue sewing.
Step 3
Adjust the thread tension on your Brother sewing machine. If the thread tension is too high, the thread may snap during sewing. The thread tension knob is located above and to the right of the sewing machine needle. Reduce the setting by one or two numbers to decrease the tension, keeping in mind that a setting of four or five is sufficient for most fabrics.
Step 4
Remove the needle from your Brother sewing machine if your thread continues to break. Hold the needle straight up in front of you and look for any damage or bent areas in the needle. If the tip appears worn or dull or if the needle is warped, replace it to resolve the issue.
Unattractive Stitching or Fabric Wrinkling
Video of the Day
Step 1
Verify that the needle installed in your sewing machine is appropriate for the fabric you are using. Some fabrics, such as denim or leather, require special needles. Replace the needle, if necessary.
Step 2
Wiggle the sewing machine needle gently with one finger. If the needle moves noticeably or falls out of the machine, it is not properly installed which can cause uneven stitching. Push the needle firmly into place and tighten the needle clamp screw to the right of the needle until the needle does not wiggle back and forth.
Step 3
Tighten the thread tension if your stitches appear sloppy or loose. Adjust the thread tension by one number at a time and stitch on a piece of scrap fabric until you are satisfied with the setting.
Step 4
Clean your machine's feed dogs if your fabric continues to catch in the machine or if the machine begins to skip stitches. Feed dogs are the metal treads below the needle which pull the fabric along as you sew. Remove the screws on the needle plate--the metal piece located beneath the needle--with a coin and lift the plate gently away from the machine. Clean the feed dogs with a stiff brush to remove any lint, hair or scraps of fabric.