Things You'll Need
Four 18-inch sticks
Four 12-inch sticks
One 36-inch stick
Masking tape
Two balloons
Cardboard
10 drinking straws
Flour
Water
Bowl
Newspaper

The human skeleton provides the body with structure, and protects the interior organs from damage. When students learn about the human skeleton, you can provide them with a hands-on activity to show them how rigid and sturdy the skeletal bones can be. One way to do this is to construct a life-sized skeleton out of ordinary items, such as sticks and drinking straws. Once finished, you can embellish the skeleton with paint or attach clay muscles to the frame.
Step 1
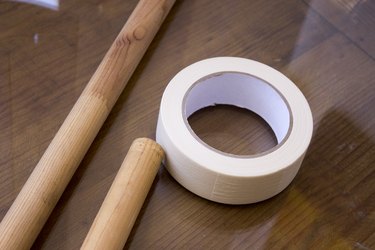
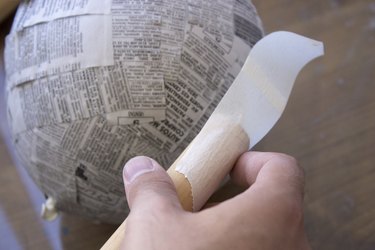
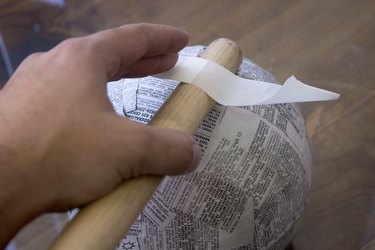
Tape each of the 18-inch sticks onto the end of the 12-inch sticks with masking tape. These will be the legs and arms of the skeleton.
Video of the Day
Step 2
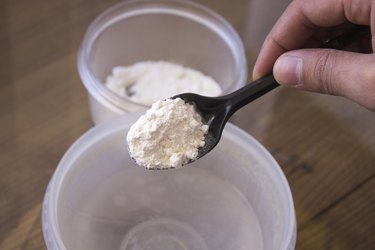
Mix together four cups of flour with two cups of water in a bowl, stirring well.
Step 3
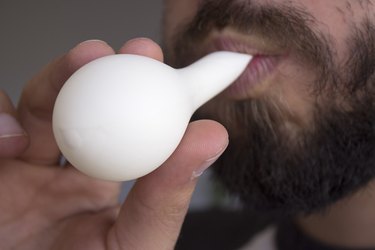
Blow up two large balloons. One will act as the skeleton's head, and the other will act as the pelvis.
Step 4
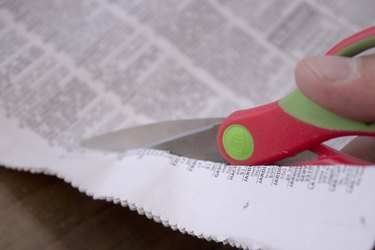
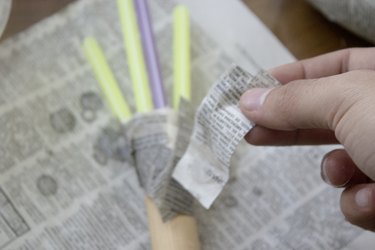
Cut newspaper into strips.
Step 5
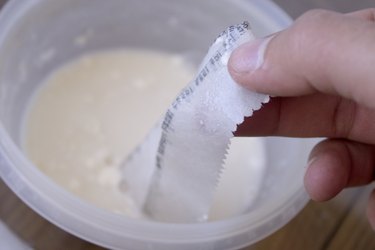
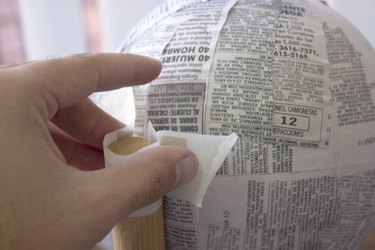
Dip the newspaper strips into the flour mixture. Cover each of the balloons with at least four layers of newspaper strips.
Step 6
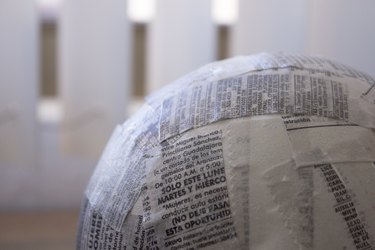
Allow the balloons to dry completely.
Step 7
Tape the leg bones onto either side of one of the balloons.
Step 8
Tape the largest stick onto the middle of the same balloon. This will be the spine of the skeleton.
Step 9
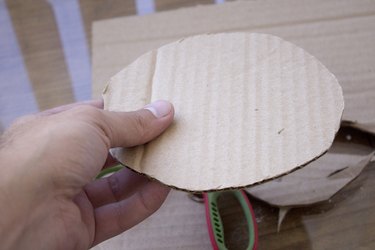
Cut out two eight-inch circles from cardboard, and tape them to the open end of the stick. These will be the shoulder blades.
Step 10

Tape one of the arm bones onto each of the shoulder blades.
Step 11
Tape the other balloon vertically onto the end of the stick. This will be the skull.
Step 12
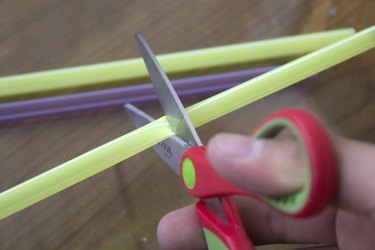
Cut 10 drinking straws in half.
Step 13
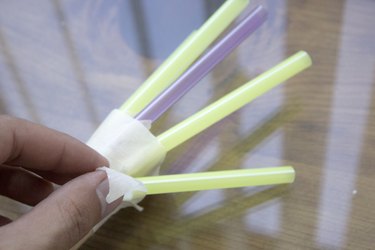
Tape five straws onto the ends of each of the arm and leg bones. These will be the fingers and toes.
Step 14
Cover the entire structure with more paper mache-coated newspaper, and allow it to dry before displaying the skeleton model.
Video of the Day