Things You'll Need
Sandpaper
Sanding block
Paintbrushes
Stain
White cloths
Sanding sealer
Finish
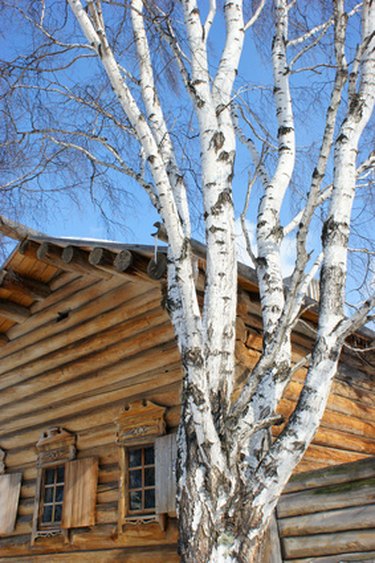
While most types of wood look the same to an untrained observer, each species features unique characteristics that can change the look and feel of wood products. For example, birch wood is a closed-pore wood, meaning that staining and finishing birch products is easier when compared with woods such as maple; the stain sits on the surface, often resulting in a darker finish than those you find on other woods. Birch needs only light preparation before staining and finishing.
Step 1
Wrap a piece of 100-grit sandpaper around a sanding block, or use a sanding sponge. Sand the birch surface in the direction of the wood's grain; this will remove any uneven or damaged areas, and will prepare the wood for the stain.
Video of the Day
Step 2
Soak the bristles of your paintbrush in stain; press the bristles gently against the side of the stain can to remove excess, preventing drips or runs in the final coat.
Step 3
Brush the stain onto the wood surface in the direction of wood. Work in smooth, even strokes, overlapping by about ½ inch; do not brush back and forth across the surface, or the look will be uneven.
Step 4
Wipe off excess stain immediately with a white cotton rag or cloth; this will help to prevent dripping or running. Wipe in the same direction and the same order in which you applied the stain. Change rags as necessary to remove all excess stain.
Step 5
Examine the surface carefully for splotches, fingerprints, swirls and other marks in the stain. Flatten these out with the brush or the cloths; these marks will be permanent once the stain dries.
Step 6
Allow the stain to dry overnight. Inspect your work in the morning; apply a second coat of stain, if necessary. Birch is a relatively dark wood, and therefore will not usually require a second coat of stain to achieve the desired color. If necessary, allow the second coat to dry overnight before continuing.
Step 7
Paint a thin layer of sanding sealer on the birch wood. This will help the wood to resist moisture and other damage. Paint the sealer on with the grain of the wood; cover all areas thoroughly. Allow the sealer to dry completely before continuing; drying times may vary by specific products.
Step 8
Sand the birch surface with 280-grit sandpaper to prepare it for the final fishing coat. Wipe away any sanding dust with a tack cloth.
Step 9
Apply a layer of finishing topcoat; paint in smooth, even strokes in the direction of the grain. Allow the finish to dry overnight and inspect for any damage or dust in the finish; if necessary, sand and apply the finish again. Allow the final coat of finish to dry for 24 hours before moving the birch.
Tip
If you cannot get into cracks or crevices with the white cloths, use the bristles of a clean paintbrush to wipe away excess stain. Clean the edges of the brush on a cloth between wipes to avoid accidentally reapplying stain.
Warning
The chemicals for this project can be toxic if inhaled for long periods of time; work in a well-ventilated area to avoid injury.
Do not attempt to finish birch wood until it is completely dry. The wood shrinks and warps as it changes from fresh to dry, and must be dried under proper lumberyard circumstances to avoid damage.
Video of the Day