Things You'll Need
Two 2-inch by 4-inch by 6-foot wood beams
Four 2-inch by 4-inch by 3-foot wood beams
One 3-foot, 4-inch wide, 6-foot long hardwood panel
Hammer
Steel nails
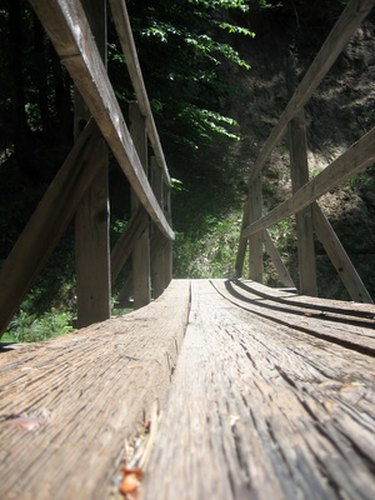
One of the earliest human structures, by necessity, was the wooden bridge, which enabled our ancestors to cross otherwise impassable crevasses and reach critical food supplies and shelter. Modern-day bridges can be incredibly long and carry unbelievable burdens.
However, building your own simple, wooden footbridge is a relatively easy project requiring no more than an hour of your time, as well as some wood (naturally) and basic tools. A well-stocked hardware store should be able to provide you with everything you need.
Video of the Day
Step 1
Lay the two 6-foot wooden beams side-by-side, three feet apart and on their 2-inch side.
Step 2
Fit the 3-foot-long wooden beams between the 6-footers, beginning flush at one end and in intervals of 2 feet apart. These will act as support beams for the finished bridge.
Step 3
Nail the four support beams in place with two nails into each end, through the 4-inch side of the longer beams. While hammering, make sure the support beams stay flush with the longer beams.
Step 4
Lay the wooden panel measuring 6 feet long on top of the bridge. Start at one end and work your way down, nailing it flush against the ladder-like structure you've built, including the support beams.
Step 5
Lay your bridge across the gap you'd like to traverse, and make sure the edges of the bridge won't slip into the gap.
Video of the Day