Things You'll Need
Clear glaze epoxy
All-purpose crafter's glue
Decorative rocks
Copper bonsai wire
Artificial foliage & flowers
Plain or pre-shaped wood piece
Wood carving knife
Bonsai pot
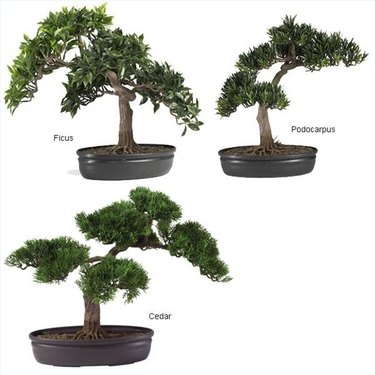
Artificial bonsai trees are great for those who love the appearance of a bonsai, but do not want to deal with the crafting and maintenance of natural bonsai. Since artificial bonsai trees can sometimes be as expensive as natural bonsai trees to purchase, it makes the idea of making your own bonsai even more appealing. Making your own artificial bonsai tree also provides you with the opportunity to customize it so that you have a truly unique piece of art for your home or office.
Step 1
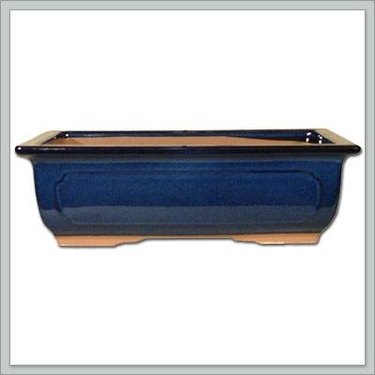
Purchase a bonsai pot to put your artificial bonsai tree in. Bonsai pots are shallow containers that are typically made of ceramic. A genuine bonsai pot will make your artificial bonsai appear more genuine.
Video of the Day
Step 2
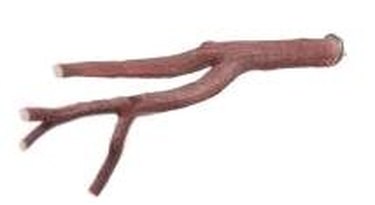
Find or buy a piece of wood to use for the base of your artificial bonsai tree. You may purchase one that is already carved with natural curves and appeal. If you choose to do your own carving, you can customize the base of your artificial bonsai tree to appear however you like. Remember that it must have branches that extend out with a flat base on the top in order to hold the artificial foliage.
Step 3
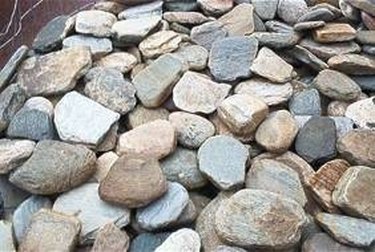
Gather up a collection of earth-toned, decorative rocks. You can get these from the great outdoors or simply purchase these at an art supply shop. Many bonsais have a decorative rock filling on top of the soil in the bonsai pot. This rock filler adds to the attractiveness of the overall appearance. This will also help your artificial bonsai be sturdier and long lasting since a clear epoxy glaze can be applied to the rock base.
Step 4
Place the wooden tree base in the bonsai pot full of the decorative rocks. Neaten the rocks so they appear as you prefer them to. Apply the epoxy to the rock base inside of the pot. Let this set and dry overnight.
Step 5
Choose an artificial plant or flowering plant from your local crafts store. Since bonsai are made from hundreds of different types of plants and trees, you can choose just about anything you want to for your artificial bonsai.
Step 6
Use a strong, all-purpose crafting glue to apply the foliage and flowers, as you choose, to the top base of the bonsai branches. Use copper bonsai wire to wrap around the foliage and the wooden branches and base to secure the top portion of the bonsai tree. This will hold it all together while the glue dries and can even be left on if need be since many natural bonsai trees have this wiring for bonsai training of branches. It may even add to the genuine appearance.
Tip
Keep your artificial bonsai dust free to maintain the appearance of being a genuine bonsai.
Warning
Don't leave your artificial bonsai sitting out in direct sunlight. The foliage color will fade if exposed to direct sunlight for an extended period of time.
Video of the Day