Things You'll Need
Original key
Blank skeleton key
3X5 sheet of flat tin
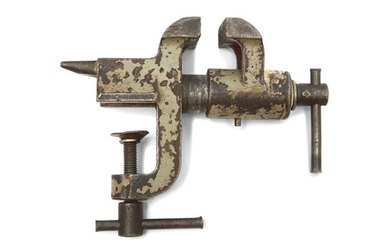
Small vice grip
Tinsnips or utility scissors
Sharpie marker
Metal file
Or:
Old skeleton key lock
Blank key
Table vice grip
Metal saw
Metal file
Hammer
Screwdriver
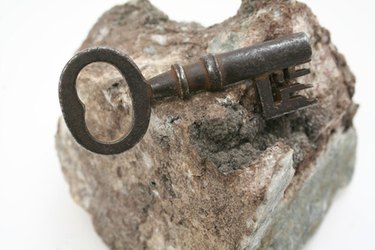
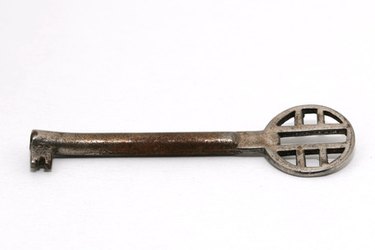
The skeleton key (also known as a passkey) is the oldest known metal key, dating back to 900 A.D. This key type was the first to use a "ward" mechanism to lock the door. This involves an object blocking the interior of the lock which the key must pass by to unlock, hence the name passkey. What makes the skeleton key unique is that it performs under the same concept of a master key in that it can unlock any door which performs on a similar mechanism as the original lock that the key was forged for.
There are two ways to make a replacement skeleton key. One way requires that you have the original key to pattern the duplicate after; the second way requires that you have more mechanical skill to create a duplicate key, as you will have to take the lock the key is intended apart for to forge a new key. (With the second method it is essential you use an old lock that is not in a door, as you'll be taking it apart in such a manner that it will be difficult to put it back together again. You can find old skeleton key locks in thrift, junk and second hand stores.)
Video of the Day
Using An Original Key as a Pattern
Step 1
Lay the original key on the piece of flat tin. Trace around the outline, making sure to accurately duplicate the teeth or bit (portion that unlocks the lock) onto the tin.
Step 2
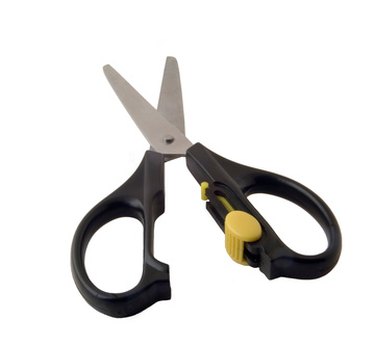
Cut the pattern out of the tin using tinsnips or utility scissors. Line up your blank key with your pattern and attach them together using your small vice.
Step 3
File the key bit (teeth) and barrel of the key with your metal file. Hold the pattern/blank key in the small vice firmly in one hand while filing with the hand you would write with. Once the key is the approximate shape of the original, remove it from the vice and pattern and try it in the lock you wish to use it in.
Step 4
Tweak the key until it unlocks the lock you wish to use it in. Continue to use your pattern as a guide and to try the key in the original lock until it works to unlock the lock. Skeleton keys are unique locking mechanisms as you should be able to feel as the key is getting closer to unlocking the lock. Small tweaks may be necessary, but remember that less is more. Make small corrections instead of large ones and you'll be successful in creating a duplicate key.
Using An Old Lock as a Key Pattern
Step 1

Put the lock that you want to pattern your key after into a table vice grip. Use the screwdriver and hammer as a lever to pop the back plate off of the lock.
Step 2
Remove the second panel of the lock using the same method as with the first panel. Once the panel is off, take the keyhole out of the lock.
Step 3
Place the keyhole into the vice grip and saw the keyhole. Make three incisions into the lock -- one on the top and one on either side of the cylinder. The metal casing will fall away and you will be able to see the key pattern.
Step 4
Holding the key upright, carefully remove the thinner casing and the protruding casing. If you are not careful, small lock bits will fall out of the casing and you'll have to start the project again with a new lock. When you are done, the only thing left will be the pins on the keyhole.
Step 5
Remove the top set of pins and leave the bottom in place. Put the blank key into the keyhole and file the key with the metal file until the remaining pins lay flat. Your key should be done. Try it out in a working lock. If it doesn't work at first, continue to adjust using your metal file until the key unlocks the door. Remember, small adjustments are best.
Tip
An electric metal file will expedite the process of filing down your key.
Warning
Children under the age of 13 should be supervised while using power tools.
Video of the Day