Things You'll Need
Adjustable wrench
Brass fitting
Copper pipe
Emery cloth
Lead-free solder paste (flux)
Propane torch
Lead-free solder
Rag
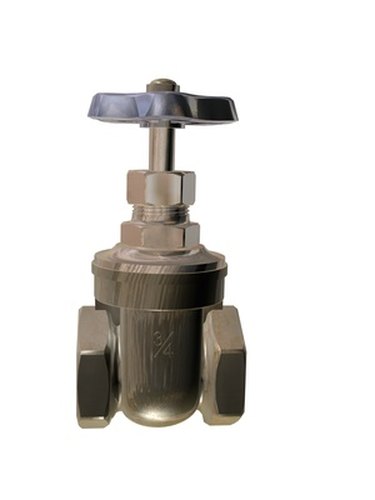
Brass is a denser, harder metal than copper, though you can still solder the two together. Brass simply needs more heat than copper for the solder to melt into the joint between the two metals. Brass fittings, such as shutoff valves, have valve stems on the side of the fitting, which have rubber or plastic parts that you need to remove to protect them from the heat of soldering. They are usually threaded and you can undo them with an adjustable wrench.
Step 1
Sand the end of the copper pipe with an emery cloth, as well as the inside of the brass fitting. Apply lead-free soldering paste, or flux, to the pipe end, as well as the inside of the brass fitting. Push the brass fitting onto the end of the copper pipe.
Video of the Day
Step 2
Uncoil 8 inches of solder from its spool and bend 2 inches of the end at 90 degrees. Turn on the propane torch and heat the brass fitting evenly by moving the flame side to side. When you hear the flux sizzling, touch the end of the solder to the join between the brass and the copper. If it melts, the brass is hot enough.
Step 3
Remove the propane torch and apply 3/4 inch of solder to the joint. Capillary action sucks the solder into the joint. Wipe away excess solder. If you removed the valve stem from the brass fitting, replace it using the adjustable wrench.
Tip
Always take care when using a propane torch; be aware of any flammable objects that could catch fire.
Video of the Day