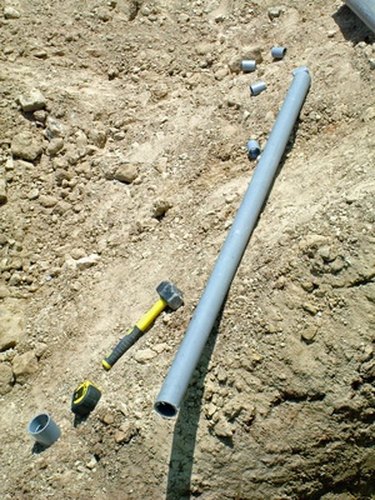
Things You'll Need
Shovel
Hacksaw
Marker
Tape measure
PVC pipe
2 PVC pipe couplers
PVC pipe cleaner
PVC pipe cement
Protective eyewear and gloves

Septic tank pipes are buried from depths of 6 inches up to 4 feet. When a pipe is located near the surface, it is prone to damage from vehicle traffic, roots or other circumstances. When damage does occur, it is important to make repairs as quickly as possible. A crushed or crack pipe can allow dirt and other debris to enter your system, causing a minor problem to become a major problem very quickly.
Step 1
Locate the area where the damage has occurred. In many cases, this will be as simple as going to the spot where water is gathering, or where the ground remains moist even in dry periods. If the damaged pipe is located in the field lines, it may be slightly harder to pinpoint the location, but with close observation, it should still be possible.
Video of the Day
Step 2
Dig down to the damaged pipe. Once you locate the pipe, be very careful so you do not cause any additional damage. Clear away the dirt to expose the entire damaged portion and also reveal another 12 to 18 inches of pipe on either side of the damaged area.
Step 3
Cut out the damaged area of the pipe using the hacksaw or other cutting instrument. Cut out just slightly more pipe than is necessary to remove all the damaged pipe. Attempt to keep your cut as straight as possible to make repairs much easier.
Step 4
Measure the length of PVC pipe needed to replace the damage and mark it off with marker. Most PVC drain lines will be 4 inches in diameter, but measure yours to be certain. Cut a new pipe 1/8 inch shorter than the distance needed to allow for easy insertion. Keep the cut as straight and neat as possible.
Step 5
Slide a pipe coupler over each end of the repair section of pipe. Be certain to purchase the couplers without the internal stops so they will slide completely over the replacement pipe.
Step 6
Apply pipe cleaner on all pipe ends. Lay the pipe in place and apply pipe cement to the ends of both the replacement pipe and the existing drain. Slide the coupler over the glue until it is centered over the seam between the two pipes. Repeat this on the opposite end of the pipe.
Step 7
Allow the pipe cement to dry and check to make certain all connections are secure. To be certain, you can run water through the line to check for any leaks. Once the check is complete, back-fill the hole.
Tip
Apply the pipe cleaner and cement with a course brush or the brush supplied with the material. Be certain to wear protective gloves to keep the cleaner and cement away from your skin.
Warning
As you will be working in sewage, be certain to wear protective gloves and eye protection while completing repairs.
Video of the Day