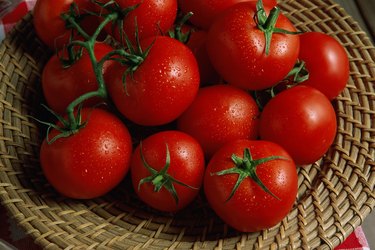
Nothing captures the flavor of summer like a fresh tomato picked from the garden, still warm from the sun. Unfortunately, some people are unable to enjoy this simple indulgence due to digestive issues that are aggravated by eating tomato seeds. Horticulturists have found a way to address this, producing tomatoes without fertilization. Because they are "virgin" tomatoes, the result is substantially seedless tomato varieties.
About Seedless Tomato Plants
Video of the Day
Seedless fruits are said to be parthenocarpic, meaning that they developed from the ovules of a flower without fertilization. Parthenocarpy can occur naturally, as it does in bananas, or result from genetic manipulation, usually with the introduction of a plant hormone called gibberellic acid. It is also possible to induce parthenocarpy by stimulating the over-expression of certain genes involved in regulating fertilization without the use of exogenous hormones. The technology has allowed seed companies to develop plants that are typically sensitive to temperature, like tomatoes, to set fruit in more climates. Also, because the process doesn't affect flavor, leading seedless tomatoes can rival the best heirloom tomatoes in taste.
Video of the Day
Cherry Seedless Tomatoes
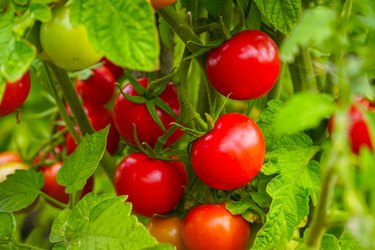
Up to 75 percent of 'Gold Nugget' (Lycopersicum esculentum 'Gold Nugget') cherry tomatoes are completely free of seeds. Originally developed for cooler climates, this variety produces sweet-tasting fruit all summer that doesn't fall off the vine when ripe and is often the first tomato to yield edible fruit. The 'Oregon 11' (Lycopersicum esculentum 'Oregon 11') is also an early producer and 75 percent free of mature seeds. This variety, however, does have a tendency to crack.
Paste Seedless Tomatoes
The best tomato plant varieties for making paste are easy to peel and have firm flesh, such as 'Oroma' (Lycopersicum esculentum 'Oroma'). This Roma-type of tomato produces early-maturing fruit, the majority of which is seedless. Another variety suitable for making paste is 'Oregon Star' (Lycopersicum esculentum 'Oregon Star'). While fruits that emerge later in the growing season tend to be larger, the early fruits will be nearly seedless. 'Amish Paste' (Lycopersicum esculentum 'Amish Paste') is a fleshy, nearly seedless heirloom variety of paste tomato that's also good for canning.
Sandwich Seedless Tomatoes
Tomatoes that are large and firm are the best kind for sandwiches and salads. 'Santiam' (Lycopersicum esculentum 'Santiam') yields large, bright red, mostly seedless fruit within 75 days. In addition to being suitable for slicing and stacking, this variety delivers tart flavor. Another good choice is 'Sweet Seedless' (Lycopersicum esculentum 'Sweet Seedless'). As the name suggests, this large, orange-red tomato is full of sweetness but produces few, if any, seeds. It's also credited with being the first seedless variety available for the home gardener.
Sauce Seedless Tomatoes
'Big Mama' is a plum-style of seedless tomato that produces ripe fruit within 80 days but continues to bear fruit all season long. This is a good choice for making sauce, not only because of its meaty texture but also because the skin readily falls away after par-boiling. Similarly, the seedless variety 'Saucy' (Lycopersicum esculentum 'Saucy') is so-named because the compact, plum-type fruit also peels easily and offers more flesh than juice and few seeds, making it ideal for tomato sauce.
- Victory Seeds: Oroma
- Victory Seeds: Oregon Star
- Echters: Tomato Varieties
- Victory Seeds: Amish Paste Tomato
- Victory Seeds: Santium Tomato
- Urban Farmer: Sweet Seedless Tomato Seeds
- Burpee: Tomato, Big Mama Hybrid
- Victory Seeds: Saucy Tomato
- Scientific American: How Do Seedless Fruits Arise and How Are They Propagated?
- University of California: Gene for Promoting Parthenocarpy, Fertilization and Fruit Size