Home Sweet Home
Hacks, Tips & Tricks
Squeaky Clean
DIY Decor
Carpentry & Remodeling
Maintenance & Repair
Green Thumb
All Home Sweet Home
Chow Down
Main Dishes
Sweet Treats
Snacks
Copycat Recipes
Drinks & Cocktails
Sides & Appetizers
Veggie Faves
Food Hacks
All Chow Down
Get Crafty
Sew Simple
Fun Crafts
Art Projects
All Get Crafty
Let’s Celebrate
Valentine's Day
St. Patrick's Day
Easter
Mother's Day
Father's Day
4th of July
Back to School
Halloween
Thanksgiving
Christmas
New Year
Weddings
Baby Showers
Birthdays
Parties & Events
Gifts
All Let’s Celebrate
JOIN OUR NEWSLETTER
JOIN OUR NEWSLETTER
Home
Home Sweet Home
DIY Decor
DIY Decor
By
Elba Valverde
How to Do Bleach Art—and Make a Table Runner
Home Sweet Home
By
Beth Huntington
How to Bleach Wooden Salad Bowls and Other Thrift Finds
Home Sweet Home
By
Kathryn Walsh
Trend Report: All Things Peppermint
Home Sweet Home
By
Kirsten Nunez
Edible Gold Leaf Fruit for a Glimmering Tablescape
Home Sweet Home
By
Sophie Boudreau
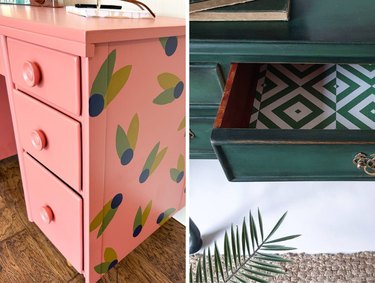
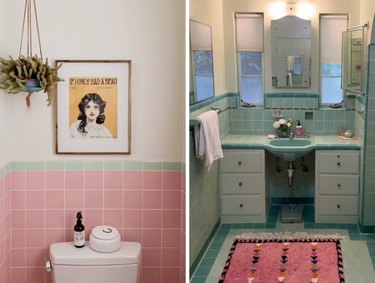
Pretty in Pink! Retro Pink Tile Bathroom Inspiration
Home Sweet Home
By
Kathryn Walsh
Desk Makeover Ideas to Dress Up Any Workspace
Home Sweet Home
By
Beth Huntington
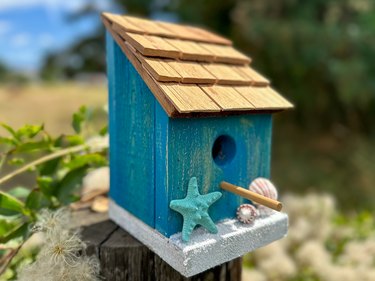
A Rustic Cottage Bird House Inspired by the Beach
Home Sweet Home
By
Kathryn Walsh
Switch It Up! Light Switch Cover Makeover Ideas
Home Sweet Home
By
Kathryn Walsh
Tiles for Miles! Vintage Bathroom Tile Designs With Lots of Charm
Home Sweet Home
By
Beth Huntington
An Upcycled Glass Bird Bath to Complete Your Garden Oasis
Home Sweet Home
By
Kathryn Walsh
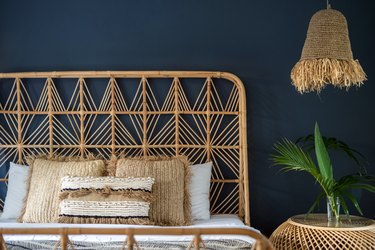
DIY Headboard Ideas to Beautify Your Bed
Home Sweet Home
By
Kathryn Walsh
Trend Report: Tile Styles, From Checkerboard to Mosaic
Home Sweet Home
By
Kathryn Walsh
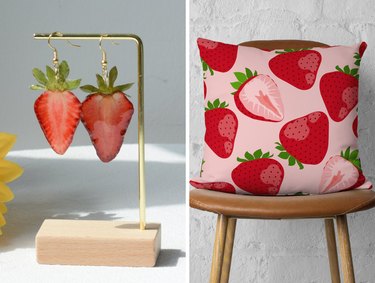
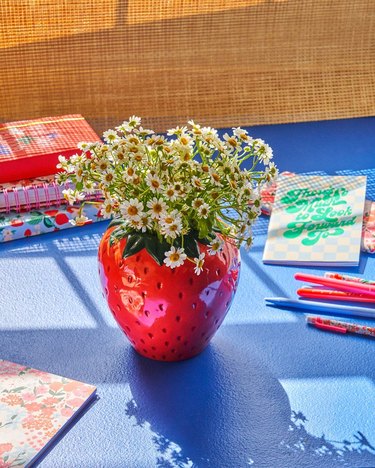
Strawberry-Themed Home Decor & More to Sweeten Your Space
Home Sweet Home
By
Jill Layton
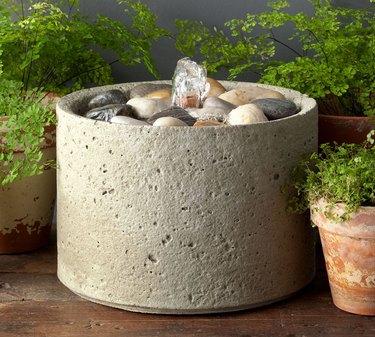
Outdoor Fountains That Will Turn Your Garden Into a Zen-Like Retreat
Home Sweet Home
By
Megan McCarty
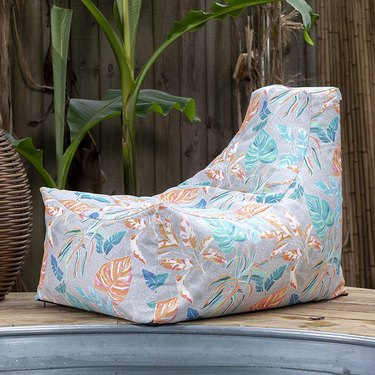
Outdoor Bean Bag Chairs Were Made for Summer Lounging
Home Sweet Home
By
Jamie Alvarenga
Peel-and-Stick Wallpaper Ideas, From Patterned Fridges to Delightful Doors
Home Sweet Home
By
Jill Layton
Cozy Up Your Patio With a Chiminea
Home Sweet Home
By
Jill Layton
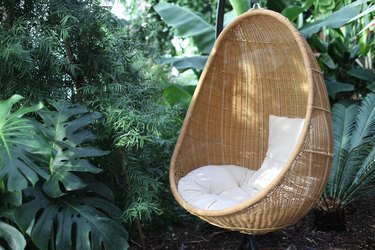
Comfy Hanging Chairs for Lazy Summer Days
Home Sweet Home
By
Megan McCarty
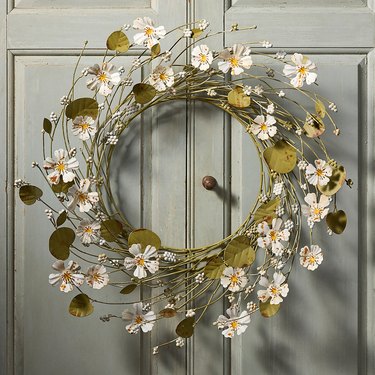
Liven Up Your Front Door With a Spring Wreath
Home Sweet Home
By
Megan McCarty
Aesthetic Glassware for Stylish Sipping
Home Sweet Home
By
Megan McCarty
Welcome Spring With These 10 Home Decor Finds
Home Sweet Home
By
Jill Layton
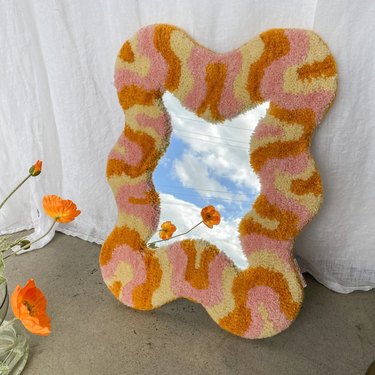
Add Some Pizzazz to Your Space With These Funky Wall Mirrors
Home Sweet Home
By
Jill Layton
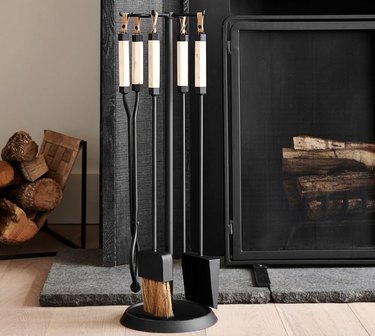
Dress Up Your Hearth With These Fireplace Tool Sets
Home Sweet Home
By
Megan McCarty
12 Wintery Decor Finds to Display After the Holidays
Home Sweet Home
By
Megan McCarty
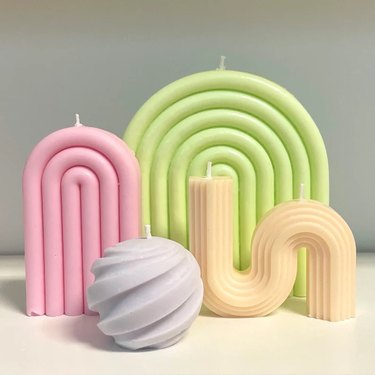
Funky, Handmade Candles You Can Buy on Etsy
Home Sweet Home
By
Kathryn Walsh
Try This Trend: Rugs on Rugs...on Rugs!
Home Sweet Home
By
Megan McCarty
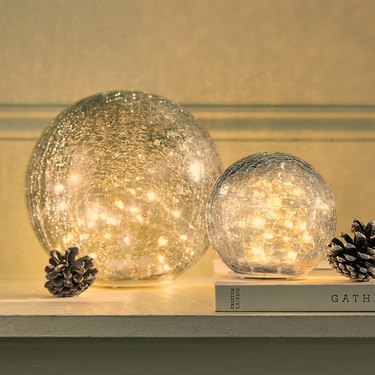
Realistic-Looking Flameless Candles for Those With Kids or Pets
Home Sweet Home
By
Kathryn Walsh
How to Have A Very Meg Ryan Fall
Home Sweet Home
By
Jill Layton
Fall Doormats to Welcome in the Season
Home Sweet Home
By
Kathryn Walsh
Trend Report: Cottagecore
Home Sweet Home
By
Jill Layton
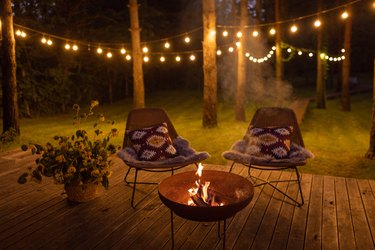
10 Ways to Cozy Up Your Patio This Fall
Home Sweet Home
By
Kathryn Walsh
Trend to Try: Scallop Patterns Everywhere
Home Sweet Home
By
Megan McCarty
10 Fall Decor Must-Haves From Amazon
Home Sweet Home
By
Megan McCarty
12 Outdoor Fall Decor Finds for a Seasonal Refresh
Home Sweet Home
By
Megan McCarty
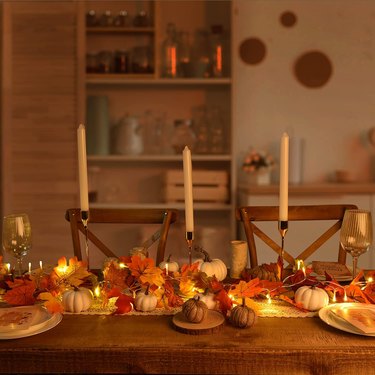
12 Fall Candles That Deliver All the Cozy Vibes
Home Sweet Home
By
Jill Layton
6 Beach Tents That Maximize Shade and Privacy
Home Sweet Home
1
2
3
4
5
>
Report an Issue
Contact*:
Severity*:
High
Normal
Low
Description*:
Screenshot loading...
Cancel
Submit