Things You'll Need
Bowls
Sauce
Bleach
Plastic bag
2-inch pot
Sand
Seedling tray or 5-inch pot
Soil-less potting mix
Cool white grow lights
30-10-10 fertilizer
Irises grown from seed take more effort than the usual tuber propagation method, but it's the only method that allows you to create your own hybrids or color combinations. Japanese (Iris ensata) and Siberian irises (Iris sibirica), which both grow in U.S. Department of Agriculture plant hardiness zones 3 through 9, grow most readily from seed, but it's possible to start most irises from seed with some degree of success. If you want the seedlings to produce true to the parent, only plant seed from nonhybrid iris varieties.
Step 1
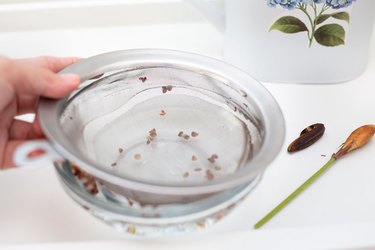
Fill a bowl with tap water. Soak the iris seeds in the water, placing a saucer on top so the seeds stay submerged and don't float to the top. Soak the seeds for two weeks, changing the water daily. Initial soaking removes growth inhibitors in the seeds, making them more likely to germinate.
Video of the Day
Step 2

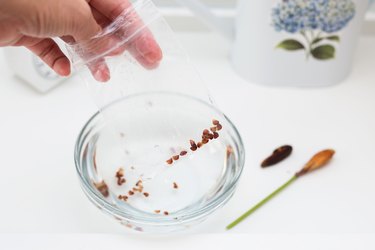
Mix 1 part bleach with 10 parts water in a small bowl after the initial two-week water soak. Soak the seeds in the bleach solution for 30 minutes to kill any mold spores that would otherwise prevent germination. Rinse the bleach solution from the seeds with cool water.
Step 3
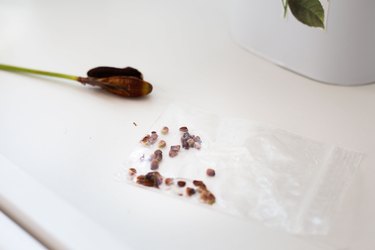
Place the seeds in a clear plastic bag and seal it closed to retain the moisture on the seeds. Store the bag in the refrigerator for 12 to 14 weeks, which emulates the cold weather that forces iris germination outdoors.
Step 4
Remove the bags and keep them at room temperature for three days, with the exception of bearded irises (Iris hybrida), which grow in USDA zones 3 through 10. These require holding at 55 degrees Fahrenheit after cold treatment.
Step 5
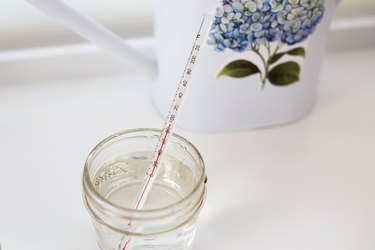
Fill a bowl with 90 to 100 degrees F water after the third day of room temperature holding. Soak any seeds that have not germinated in the water for one hour daily, with the exception of bearded iris. Most viable seeds will germinate within one week of this treatment.
Step 6
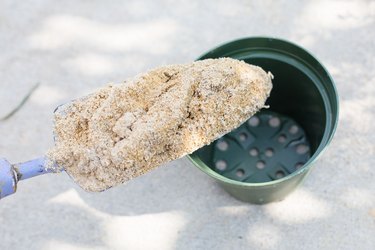
Fill a 2-inch pot half full with moist sand. Use a pot with a bottom drainage hole. Plant sprouted iris seeds 1/2 inch deep, one per pot, with the sprout above the surface of the sand. Set the cups in a warm, sunny window and water often enough that the sand stays barely moist and doesn't dry out completely.
Step 7
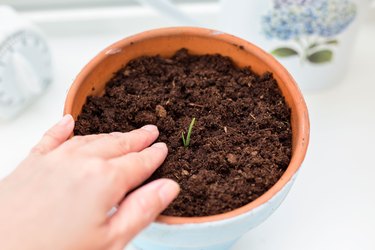
Transplant the sprouts to a seedling tray filled with sterile soil-less potting mixture once they grow to a 1-inch height. Space the sprouts 3 to 4 inches apart in the tray so the roots have room to develop. Alternatively, plant each sprout in an individual 4- to 5-inch-diameter pot.
Step 8
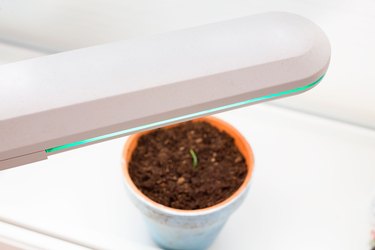
Set the seedlings under a fluorescent cool white grow light, with the light sitting 2 inches above the top of the seedlings. Run the light 24 hours a day, adjusting the height to maintain the distance as the plants grow.
Step 9
Water the seedlings when the soil begins to feel dry, providing just enough moisture to dampen the soil without making it soggy. Dissolve 1 teaspoon of a 30-10-10 fertilizer in 1 gallon of water and water the irises with this solution every two weeks to provide necessary nutrients for early growth.
Tip
If you are soaking multiple seeds of one variety, wrap them in a piece of cheesecloth before soaking to keep them together.
Although it's possible to start iris seeds directly in the garden bed, it can take 18 years after planting for them to germinate. Preparing and planting indoors greatly speeds up the process.
For best results, plant iris seeds in fall, winter and the early months of spring, according to the Tucson Area Iris Society.
Video of the Day