Things You'll Need
Cardboard tube from a paper towel roll
Small cardboard box
Clear plastic bottle
Scissors
Glue
Crayons or paint
Refashioning household leftovers like cardboard and plastic bottles into something new is a wonderful way to teach children spatial relations, and it helps encourage them to recycle, as well! Creating a display piece such as an airplane model can be accomplished with a little imagination and a few simple school-appropriate tools.
Step 1
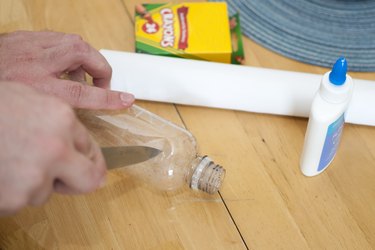
Cut off the top and bottom of a plastic bottle. Begin your cut at the top of the label -- if it has one -- or where the molded shape begins to taper.
Video of the Day
Step 2
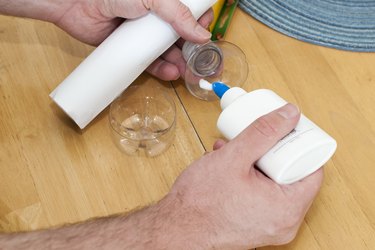
Glue the top to one end of a paper towel roll and the bottom to the other end of the roll. You can remove the cap if you want a more aerodynamic plane, or leave it on for an additional place to color.
Step 3
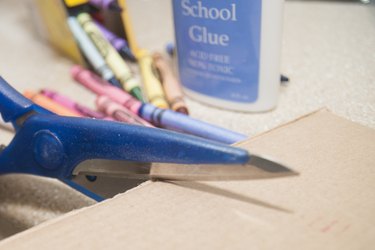
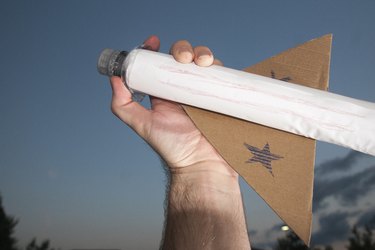
Draw two wings out on the sides your cardboard box; cut these out and glue them directly onto the fuselage. Remember to let the glue dry prior to any attempted "flight".
Step 4
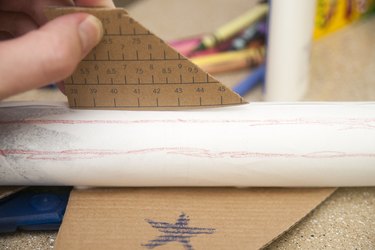
Use the discarded cardboard to create a single tailfin which goes just ahead of the plastic bottle bottom "engine". The tailfin should be roughly one sixth to one quarter of the wing size.
Step 5
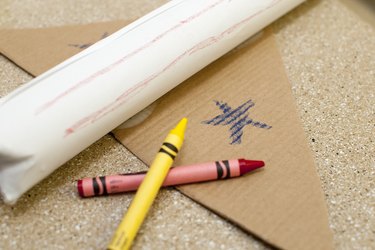
Draw or paint your own customization on the aircraft. It is best to use paints as you will likely want flames for your engine and as well as a design for your fuselage, nose cap, and tailfin. Crayons are a good alternative for younger children.
Tip
When coloring your plane, you can include a history lesson by drawing, for example, the tiger face of the P-40 Warhawk and explaining it to the other students.
Discarded water bottles usually fit better than soda bottles and are easier to color.
Video of the Day