Traditional pottery requires special equipment and materials, including kilns and plenty of space. But you can create beautiful pottery-like items using air drying clay.
Unfortunately, this type of clay is not suitable for holding water, but you can simply insert a glass or jar and use them as traditional vases for real flowers. Or make it easy and create beautiful bouquets with faux flowers.
Video of the Day
Video of the Day
Things You'll Need
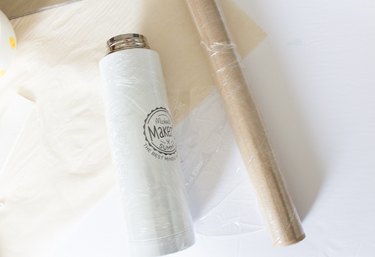
Air drying clay (Try this easy DIY and make your own)
Rolling pin
Ruler
Sharp knife
Plastic wrap
Cylinder-shaped object (such as a glass or water bottle)
Toothpick or skewer
Scissors
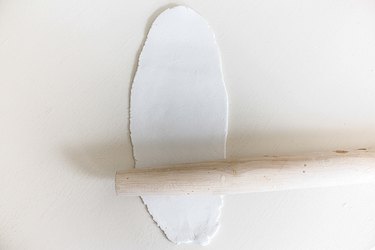
Step 1
Set a ball of clay onto a counter or table and using a rolling pin, roll it to your desired thickness.
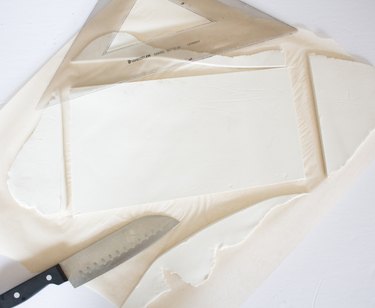
Step 2
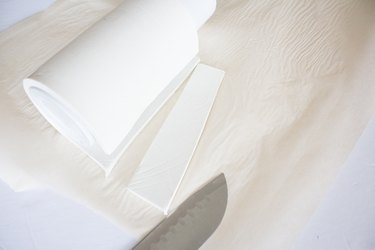
Use a ruler as a guide and with a sharp knife, cut along the edges to form a rectangle.
Place the excess clay in plastic bag and set aside.
Step 3
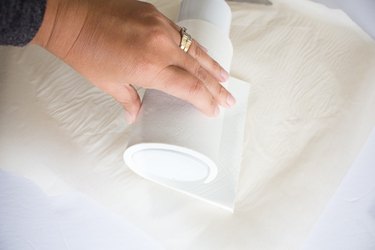
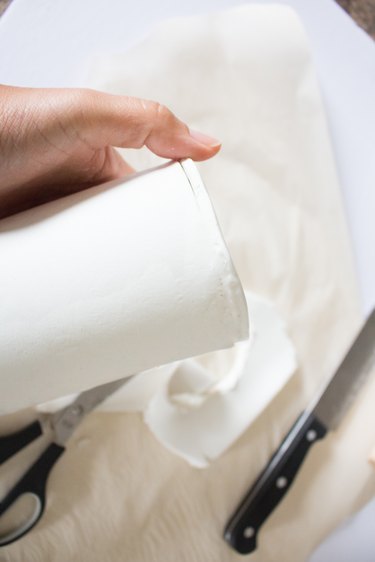
Wrap a cylinder such as a glass or smooth water bottle with plastic wrap.
Step 4
Place the vessel onto the clay and wrap the clay around it.
Step 5
Cut off the excess clay, place it in a plastic bag and set aside.
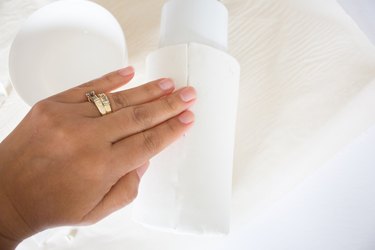
Step 6
Bring the two ends together and then dip your fingertips into water and smooth where the connection is by running your fingers along the seam.
Step 7
Combine the excess clay from steps 2 and 5, place on a table and roll with rolling pin.
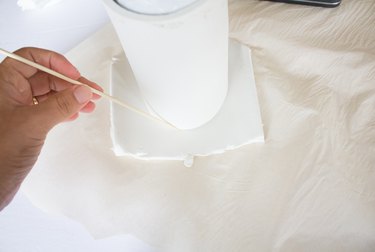
Place the vessel wrapped in clay onto the recently rolled clay and use a toothpick or skewer to mark around it.
Step 8
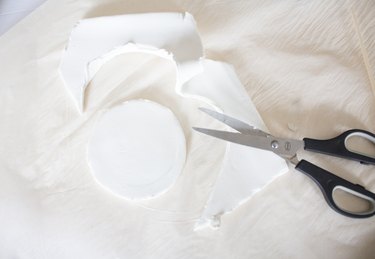
Cut out the traced circle with scissors.
Step 9
Place the circle at the bottom of the clay vessel and repeat Step 6 to smooth out the seam.
Step 10
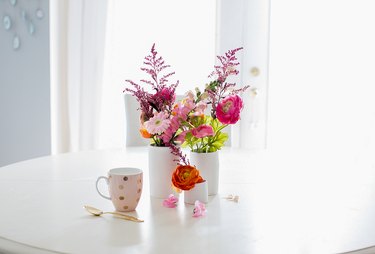
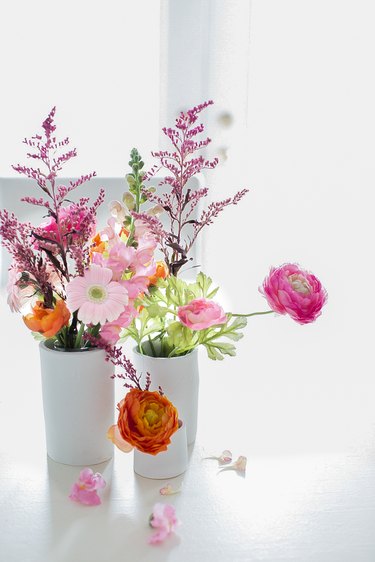
Allow 24 to 48 hours to dry. If you want to showcase fresh flowers, place a glass or jar filled with water inside the vessel to use as vase.
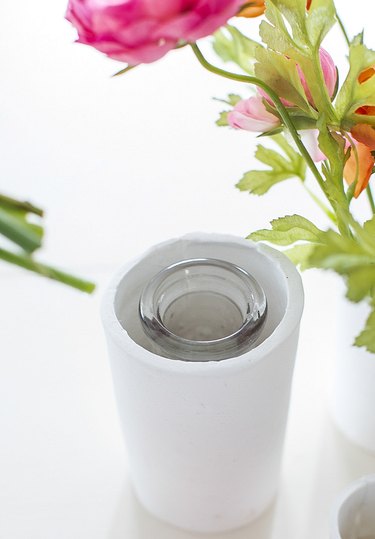
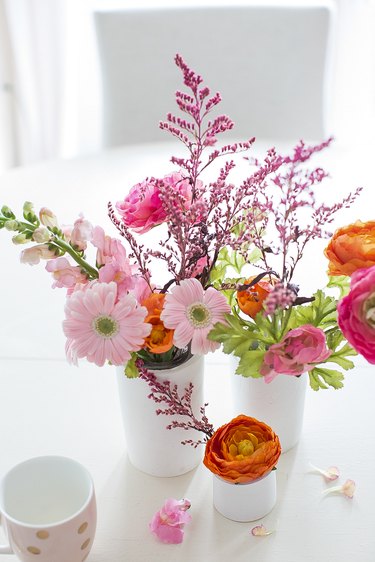
These look beautiful displayed individually, or grouped. You can use real flowers, artificial flowers or paper flowers like these crepe paper sunflowers or this poinsettia.
You can also paint the vases using acrylic paint or even permanent markers and they would make a beautiful gift for Mother's Day, your child's teacher or a housewarming.