Things You'll Need
Tile Saw
Thinset or other tile adhesive
There are many types of tile that can be used to create a backsplash for a kitchen such as those seen in kitchens. Tiling a backsplash includes planning how to install the tile around various outlets that can be used for electric or for video. Tiling a backsplash normally involves using a thinset mortar or adhesive to adhere the tile to the wall. Installing the tile around an outlet can be done by following steps to make sure the tile fits correctly.
Step 1
Decide what type of tile is going to used for the backsplash. Tile can come in individual pieces such as squares and rectangles or square sheets with a mesh backing
Video of the Day
Step 2
Apply thinset to the wall and press the tile into place and work your way until you reach an outlet. Outlets are going to require using a different approach depending on what type of tile is being used for the backsplash.
Step 3
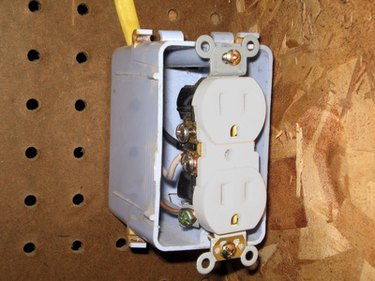
Measure the dimensions of the outlet to get the width and height. A typical outlet is normally measures 2 inches by 4 inches.
Step 4
Cut out the size of the outlet from the square tile with the mesh backing. This type of tile is held together by the mesh which can be easily cut to fit around an outlet.
Step 5
Measure individual tiles to see what size they need to be to fit around the outlet. These type of tiles will usually need to be cut to size to fit properly. Use a pencil to mark the tile where it will need to be cut.
Step 6
Cut the tile using a tile saw. A tile saw can be a hand held model or one that is setup on a stand. A tile saw can be bought or rented at places like Lowes or Home Depot.
Step 7
Grout the tile after it has had time to dry which is usually 12 to 24 hours. Apply the grout to the tile and clean the access off with a damp sponge.
Tip
The outlet cover will measure 2 ¾ inches by 4 ½ inches.
Buy extra tile in case there are any mistakes that are made.
Use spacers between the individual tile for the grout.
Warning
Wear eye protection whenever cutting pieces of tile.
Video of the Day