Things You'll Need
Shoebox
Paint
Markers
Pipe cleaner
Glue
Clay
Tape
Construction Paper
Pictures
Ribbon
Plastic Grass
Plastic Plants
Magazines
Books
Plastic Animals
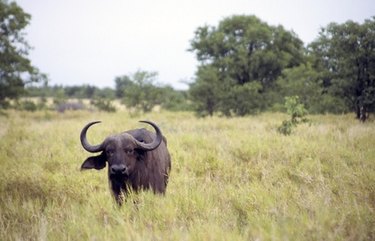
The continent of Africa is rich with natural splendor and scenic wonder. Creating an African grassland diorama as a classroom project is a dynamic way to research and explore the makeup and history of these lands. The African continent is populated by sprawling plains roaming with thousands of species of wild animals. Lions, antelope and zebras are only a few examples of the kinds of animals that call the African grasslands their home. The grasslands, in particular, experience heavy rains in the months of March and October – a period when plant and animal life grow and thrive. Building a diorama should include the plants and animal life naturally found in that environment to keep the project authentic and instructive.
Step 1
Cut out one of the long side panels of a shoebox. Place the box on a table so the bottom of the box is standing upright and the cut out side is on top.
Video of the Day
Step 2
Cut out scenic pictures of African grasslands from magazines or books. Cut out pictures of the Serengeti, for example, which display the flush red oat grass and blue skies. Glue these images to the inside of the shoebox on the side panels. These images will give your diorama an authentic backdrop.
Step 3
Glue plastic grass, plastic bushes, shrubs and clay balls to the floor of the shoebox. Red oat grass, in particular, natural in the Serengeti, Kenya's Laikipia plateau or East African plains, is tall and yellow in color. Clump small groupings of plastic shrubs together at sporadic points in the diorama. Shrubs grow sparsely in the African grasslands due to lack of year round water. Glue brown pipe cleaner to stand upright to resemble trees. Wrap green pipe cleaner or ribbon around the tops of the pipe cleaner to resemble foliage. Clay balls resemble boulders. Use gray or brown clay to shape boulders.
Step 4
Glue miniature animal figures throughout the grasslands to resemble the wildlife atmosphere of the African grasslands.
Step 5
Color in the remainder of the diorama with markers, crayons or paint as you see fit. For example, drawing in flying birds, a blazing sun or lightning bolts would be authentic natural occurrences you would see over African skies.
Video of the Day