Pine cones are a fun accent for wreaths and floral arrangements, and they also look beautiful displayed on their own on a mantel or coffee table. While they are usually associated with fall or winter, pine cones can enhance your home all year long, especially when they are bleached. Bleaching gives the pine cones an aged, whitewashed patina that works for both modern and rustic décor schemes.

Video of the Day
eHow may earn compensation through affiliate links in this tutorial.
Video of the Day
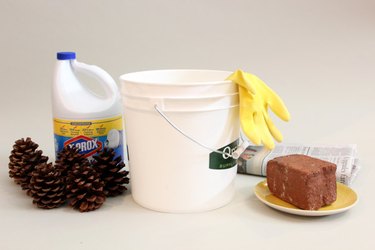
Things You'll Need
Plastic bucket
Rubber gloves
Ceramic or glass plate
Brick
Newspapers
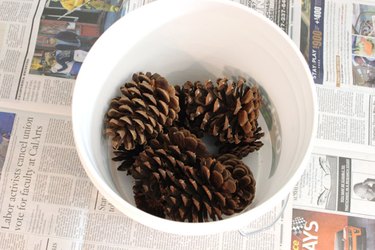
Step 1: Place Pine Cones in a Bucket
Line your work surface with newspapers in case the bleach splashes. Dust off any excess dirt from the pine cones and place them in the plastic bucket. For best results, bleach pine cones in small batches to make sure that the gallon of bleach will cover all the pine cones in the bucket. You can reuse the same gallon of bleach for more than one batch.
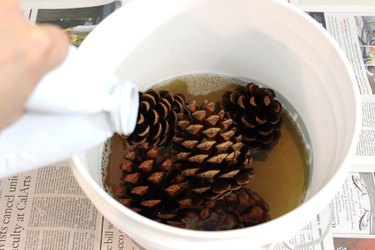
Step 2: Pour Bleach Into the Bucket
Slowly pour the bleach into the bucket until the pine cones are covered.
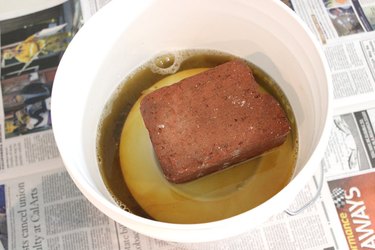
Step 3: Weigh Down the Pine Cones
The pine cones need to be fully submerged in the bleach, but they will want to float up to the surface. To prevent this from happening, place a ceramic or glass plate on top of the pine cones with a brick on top of the plate to keep it down. Wear rubber gloves at this point, as you will be touching the bleach.
Step 4: Let the Pine Cones Air Dry
Leave the pine cones in the bleach overnight, even longer if a bright white color is desired. We found that letting the pine cones soak for 72 hours was the sweet spot for getting really white pine cones.
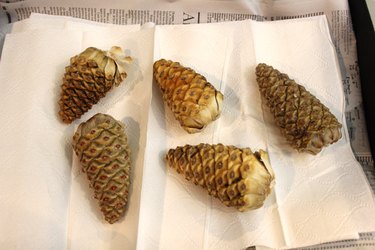
You will notice that the pine cones have closed up. Wearing rubber gloves, remove the brick, plate and pine cones, and place the pine cones on paper towels. Take the pine cones outdoors and let them dry naturally. As they dry, they will open up again. The process usually takes one to two weeks, depending on the humidity. Air drying them outdoors will eliminate any bleach smell.
If you wish to scent your pine cones, store them in a sealed container with several drops of an essential oil for a month.
Buy materials for this tutorial: