Home Sweet Home
Hacks, Tips & Tricks
Squeaky Clean
DIY Decor
Carpentry & Remodeling
Maintenance & Repair
Green Thumb
All Home Sweet Home
Chow Down
Main Dishes
Sweet Treats
Snacks
Copycat Recipes
Drinks & Cocktails
Sides & Appetizers
Veggie Faves
Food Hacks
All Chow Down
Get Crafty
Sew Simple
Fun Crafts
Art Projects
All Get Crafty
Let’s Celebrate
Valentine's Day
St. Patrick's Day
Easter
Mother's Day
Father's Day
4th of July
Back to School
Halloween
Thanksgiving
Christmas
New Year
Weddings
Baby Showers
Birthdays
Parties & Events
Gifts
All Let’s Celebrate
JOIN OUR NEWSLETTER
JOIN OUR NEWSLETTER
Home
Chow Down
Veggie Faves
Veggie Faves
By
Kirsten Nunez
Vegetarian Guinness Stew
Chow Down
By
Fred Decker
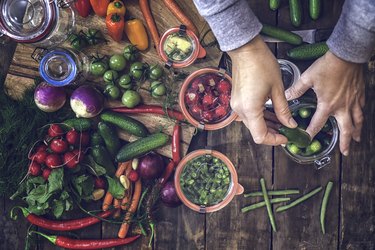
Things You Didn't Know You Could Preserve
Chow Down
By
Fred Decker
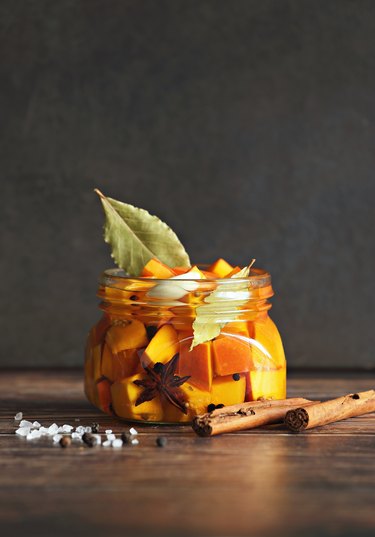
Fall Flavor Pick: Pickled Pumpkin
Chow Down
By
Kirsten Nunez
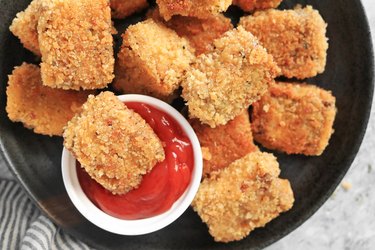
Homemade Crispy Vegan Tofu Nuggets Recipe
Chow Down
By
Kirsten Nunez
Sheet Pan Cauliflower Fajitas Recipe
Chow Down
By
Kirsten Nunez
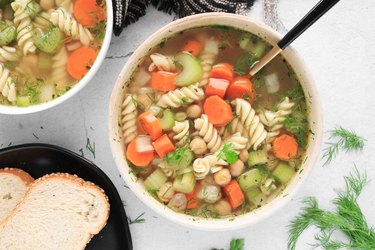
Vegan Chickpea Noodle Soup Recipe
Chow Down
By
Beth Huntington
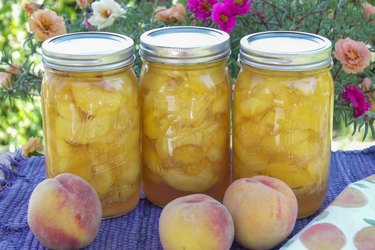
How to Preserve Peaches
Chow Down
By
Kirsten Nunez
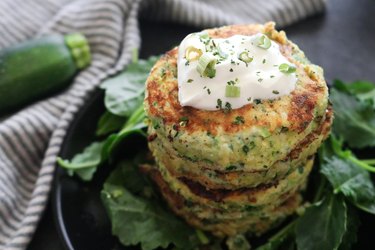
Low-Carb Zucchini Fritters Recipe
Chow Down
By
Kirsten Nunez
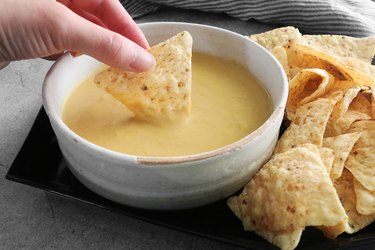
Vegan Chickpea "Cheese" Sauce Recipe
Chow Down
By
Kirsten Nunez
Vegan Jackfruit & Potato Taquitos Recipe
Chow Down
By
Kirsten Nunez
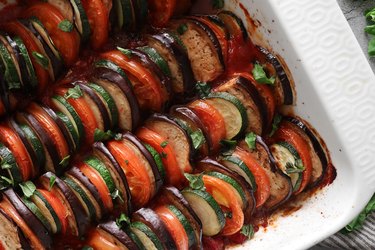
Rustic Rataouille Recipe
Chow Down
By
Kristan Raines
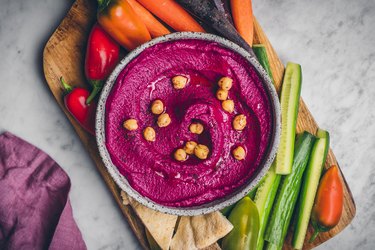
Beet Hummus Recipe
Chow Down
By
Kirsten Nunez
Vegan Gravy Recipe
Chow Down
By
Kirsten Nunez
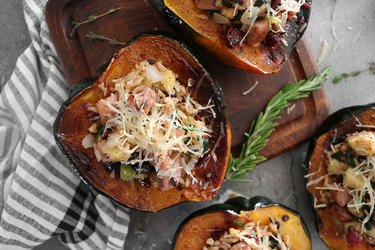
Stuffed Acorn Squash Recipe
Chow Down
By
Kirsten Nunez
Cauliflower Baked Ziti Recipe
Chow Down
By
Julia Mueller
Caprese Salad Recipe
Chow Down
By
Julia Mueller
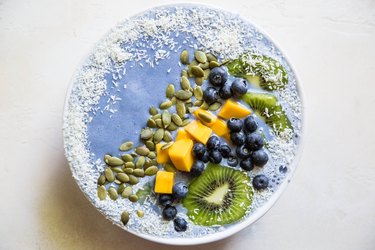
Beachy Blue Summer Smoothie Bowl Recipe
Chow Down
By
Kirsten Nunez
Elote (Mexican Street Corn) Recipe
Chow Down
By
Jackie Dodd
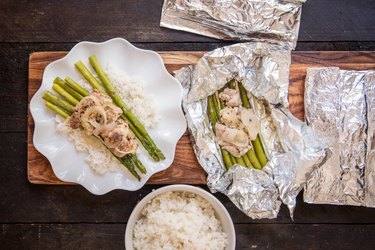
Make Ahead Foil Pack Chicken Asparagus Dinners
Chow Down
By
Jackie Dodd
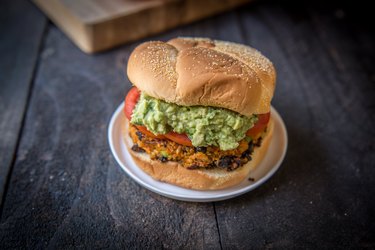
Vegan Guacamole Sweet Potato Black Bean Burger Recipe
Chow Down
By
Kristan Raines
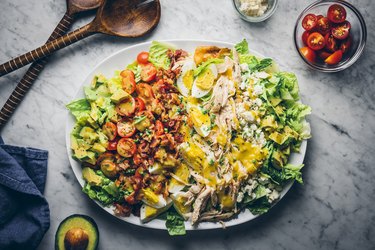
Easy Cobb Salad Recipe
Chow Down
By
Maya Marin
Keto Oat-Free Overnight “Oats” Recipe: 3 Flavors
Chow Down
By
Maya Marin
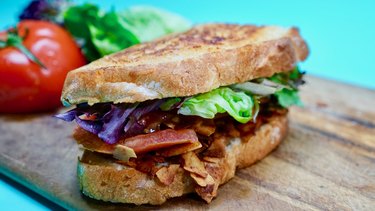
Amazing Vegan "BLT" With Coconut Bacon Recipe
Chow Down
By
Miaira Jennings
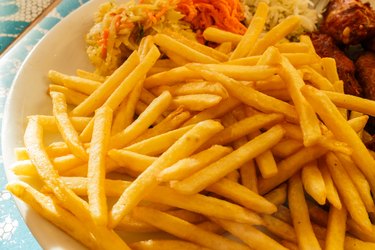
9 Highly Addictive Foods & Their Healthier Alternatives
Chow Down
By
Kirsten Nunez
Crispy Fried Green Tomatoes Recipe
Chow Down
By
Kirsten Nunez
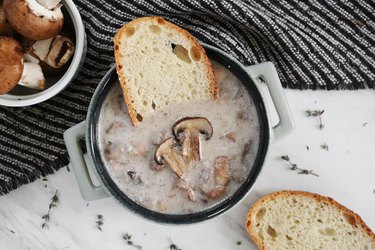
Vegan Cream of Mushroom Soup Recipe
Chow Down
By
Kirsten Nunez
Cleansing Ginger Carrot Soup Recipe
Chow Down
By
Kirsten Nunez
Vegan Copycat Crunchwrap Supreme Recipe
Chow Down
By
Kirsten Nunez
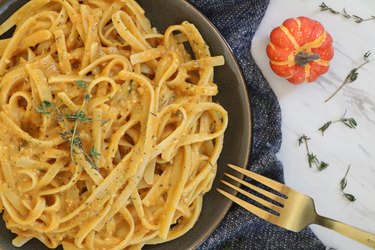
Vegan Pumpkin Alfredo Recipe
Chow Down
By
eHow Team
Fried Egg Green Tomato Sandwich with Pimento Cheese feat. Becky Reams
Chow Down
By
Kirsten Nunez
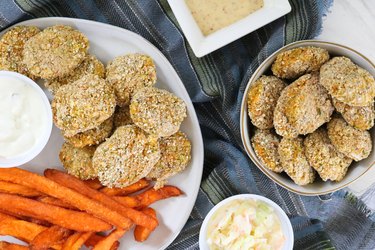
How to Make Veggie Nuggets
Chow Down
By
Kirsten Nunez
Vegan General Tso's Cauliflower Recipe
Chow Down
By
Kirsten Nunez
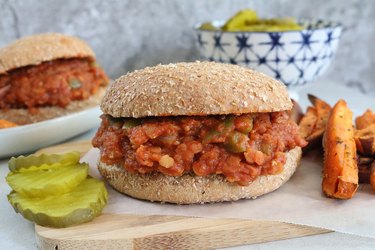
Vegan Lentil Sloppy Joes Recipe
Chow Down
By
Kirsten Nunez
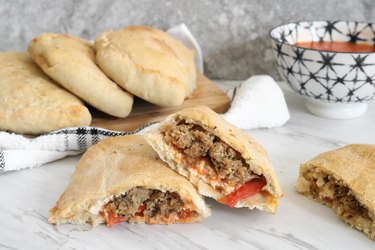
Vegan Mini Calzones Recipe
Chow Down
By
Kirsten Nunez
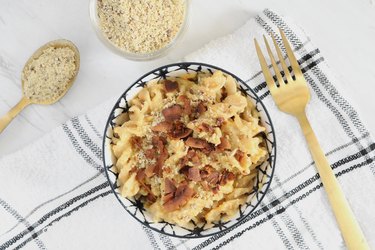
Vegan Mac and Cheese Recipe
Chow Down
By
Kirsten Nunez
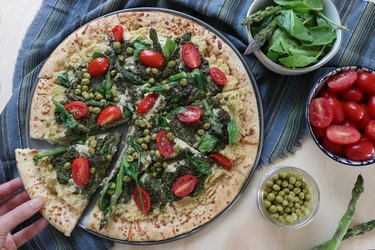
How to Make Vegan Spring Garden Pizza
Chow Down
1
2
3
4
5
>
Report an Issue
Contact*:
Severity*:
High
Normal
Low
Description*:
Screenshot loading...
Cancel
Submit