Things You'll Need
Hammer
Orbital sander
Sandpaper
Shop vac
Floor stain
Rags
Polyurethane sealer
Paint roller
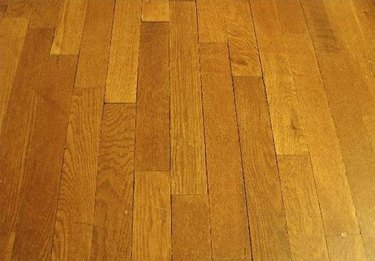
Wood floors are one of the most popular finishes available today. They are known for adding warmth, character and a unique look to homes. Many houses in the eastern and southern U.S. have beautiful pine floors, many of which are hidden under carpet or other finishes. If you discover pine flooring in your home, it is possible to refinish the surface to leave it looking like new. This process requires sanding, sealing and staining. With the large variety of stains and colors available, you can finish a floor to match any decor. Depending on the size of the room, this project can be completed in just a few days.
Step 1
Check the surface for stray nails or staples before you begin. Hammer any nails firmly into place, or remove them if they are bent or damaged. Remove any floor staples using the claw end of your hammer. The floor must be smooth before sanding, so the sandpaper does not become torn.
Video of the Day
Step 2
Rent an orbital sander from a home-improvement or hardware store. Traditional floor sanders are heavy and hard to control. Because pine is such a soft wood, you'll want to use an easy-to-control orbital sander to minimize gouges and scratches.
Step 3
Place an 80-grit paper on the sander and use it to sand the floor in a circular motion. Keep the machine moving in slow, even circles for best results.
Step 4
Repeat Step 3 using 120-grit sandpaper, then repeat it again using 200-grit.
Step 5
Use a shop vac to remove all sanding dust and other debris from the surface of the floor before proceeding.
Step 6
Use a dry rag to apply a wood stain to the surface, if desired. Work in small areas, wiping on the stain in the same direction as the grain. Leave yourself an exit path so you can leave the room without walking across the wet stain. Wait 24 hours before applying a seal coat so the stain has time to dry.
Step 7
Choose a polyurethane finish to seal the wood. When it comes to pine, polyurethane will last longer and produce better results than other wood dealer options.
Step 8
Apply the finish seal with a regular paint roller. Paint in the same direction as the grain, in smooth, even strokes. Avoid walking on the floor for 24 hours to allow the surface to dry completely.
Video of the Day