Things You'll Need
New bathroom sink drain
Plumbers putty
Teflon tape
Wrenches or pliers
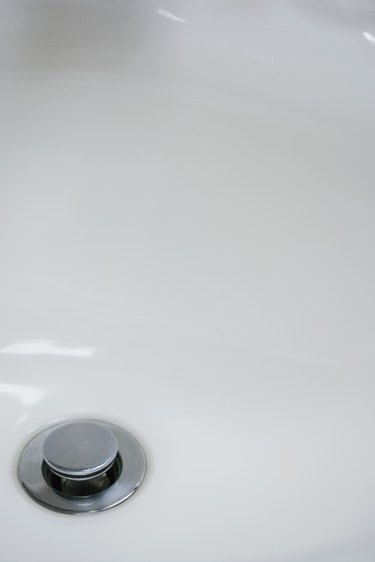
A bathroom sink drain can deteriorate over time and need to be replaced, or in a new addition, such as a built-in sink in a bathroom vanity, the sink drain may need to be installed. You will need no special tools for this task, and virtually anyone with do it yourself experience will be able to accomplish it. Parts and supplies are readily available at any hardware store.
Step 1
Start by clearing out under the sink so that you have ample room to work. Under the sink, you will see that the drain is actually connected into the trap, a U shaped portion of pipe held on by a compression cap. Loosen the cap so that the pipe will slide out and away.
Video of the Day
Step 2
Use your pliers or wrench to loosen the nut on the underside of the sink that is holding the drain in place and then remove the drain.
Step 3
Prior to installing the new drain, take a bit of plumbers putty and roll it between your palms so that it forms a long "snake" of putty of sufficient length to wrap around the drain. Press the putty onto the underside of the new drain flange and insert the drain into the sink. The plumbers putty will squeeze out from around the drain flange as the flange gets tightened. You can remove the excess later.
Step 4
Next, secure the drain to the sink from the underside by installing the large gasket and nut. Hand tighten as far as possible, then use your wrench or pliers to snug everything up. Be careful not to over tighten as you could crack the sink.
Step 5
Make sure that the drain tailpiece has seated properly into the trap and tighten the compression cap there.
Step 6
Insert the lever for the pop up drain through the back of the faucet and insert the pop up into the drain.
Step 7
Under the sink, insert the pop up drain control rod into the back of the drain tailpiece. Then tighten on the securing nut as depicted by this picture.
Step 8
Finally attach the pop up lever to the control rod as depicted. Clean off all plumber's putty and test.
Tip
Apply Teflon tape to any threaded parts if needed to help prevent water seepage. You may have to drop the entire trap in order to release the old drain. Do so by loosening the compression caps on both sides of the trap.
Video of the Day