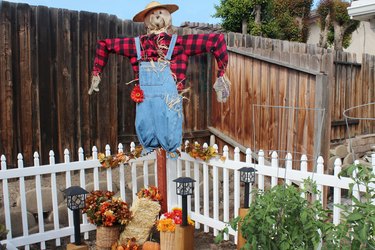
Scarecrows are handy to have in the garden since they help protect your fresh vegetables from being eaten by birds and various animals. And even if you're not worried about scaring off the crows, they also serve as festive fall or Halloween decor for your yard.
Things You'll Need
Post
Post hole digger
Two-by-two measuring 30 inches
Power drill
2 galvanized screws measuring 3 inches
Plaid long sleeve shirt
Overalls
Work gloves
Twine or string
Burlap material
Straw or raffia
Straw hat
2 safety pins
Permanent marker
Newspaper (optional)
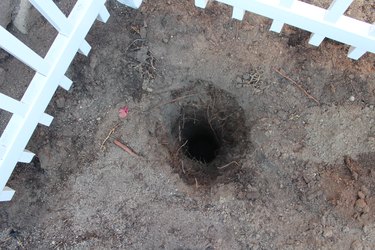
Step 1
Use the post hole digger to dig a hole in the ground about 18 inches down and wide enough to fit the post.
Video of the Day
Step 2
Place the post inside the hole and hold it straight up while replacing the dirt around it. When the dirt is almost the same height as the ground, you will need to stomp down on it to compact it around the post. You may need to place more dirt and stomp another time to keep the ground looking level.

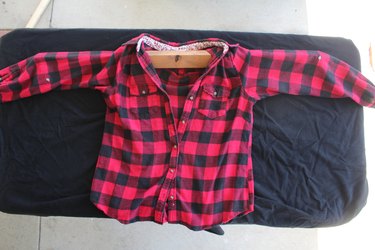
Step 3
Place the two-by-two inside the plaid shirt, placing the ends of the wood where the elbows would be inside the sleeves of the shirt.
Step 4
Place the wood against the post, leaving about 5 inches free at the top of the post for the scarecrow's head. Make sure the shirt collar is not between the wood and the post. Drill two screws through the two-by-two and into the post, securing the wood onto the post.

Step 5
With the overalls unfastened, place the straps over the shoulders of the shirt from behind and fasten them to the overalls so they hang as though being worn by the shirt. Tuck the shirt into the overalls.

Step 6
Tie some twine tightly around the ends of both pant legs to close them off so that when you stuff the pants with straw, the straw won't fall out.
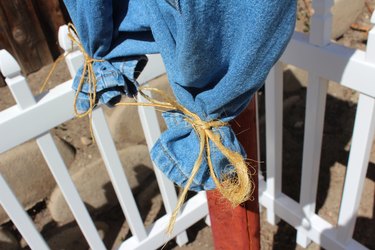
Step 7
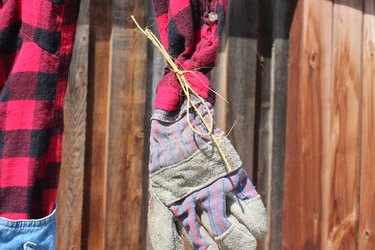
Tuck the gloves inside the sleeves of the shirt. Now take some twine and tie the wrists of the sleeves tightly closed. This will also hold the gloves in place.
Step 8
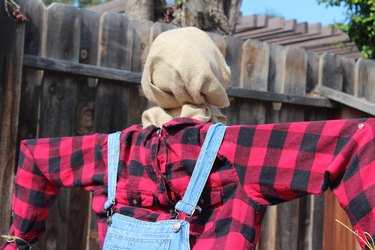
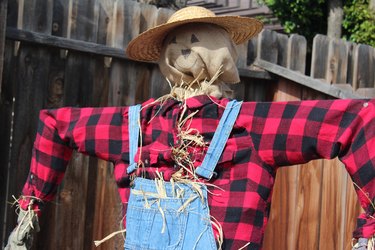
Cut a piece of burlap material at 2 feet by 2 1/2 feet. Place some straw in the middle of the burlap and fold the fabric over itself to create a head shape. If it isn't round or big enough, add more straw. Be sure to leave a little extra burlap at the bottom of the head so you can tie it to the post. When you have the right size, attach the head to the post by sticking the extra burlap around the post and tying it into place with twine. Tuck the extra burlap into the shirt collar.
Step 9
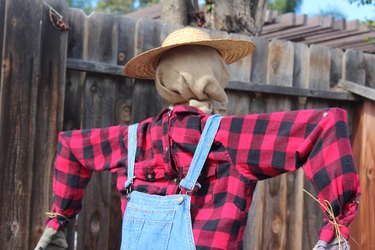
Place the hat on the head of the scarecrow. Secure it in place with safety pins.
Step 10
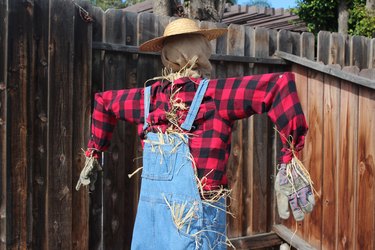
Add as much straw as you would like inside the shirt and overalls, making sure to fill out the chest, arms and legs as much as possible. Leave some straw sticking out of the shirt from between the buttons and sticking out from the neck.
Tip
You could also use newspaper as an added filler to create the scarecrow's body, but don't use it as the only filler since rain or moisture will cause it to sag.
Step 11
Use a permanent marker to draw a face on the scarecrow. The traditional style is two triangles for the eyes, an upside-down triangle for the nose and a half circle for the smile.
If your scarecrow is more for decoration than function, add some decorative items around the post, such as a hay bale, pumpkins or autumn-colored flowers. Whether or not you use it to scare off birds, all eyes are sure to be on your scarecrow.

Video of the Day